Repairing Broken Plastics on a Dirt Bike
Contents
A cracked dirt bike plastic almost always comes back with plastic welding: bevel the break, melt the part’s own material together with a filler rod of the same family, then reinforce the back side with a welded strip. Done properly, it lasts seasons. Only UV-chalked plastic or a panel shattered into too many pieces is worth replacing outright.
Identify the plastic before you heat anything
Dirt bike fenders, side panels and number plates are nearly all polypropylene. You recognize it by its give: it bends before it breaks, and it swallows repeated impacts without spidering. Two shop tests confirm it. Polypropylene floats in water. And a fingernail won’t leave a real mark in it, unlike the ABS used on street bodywork.
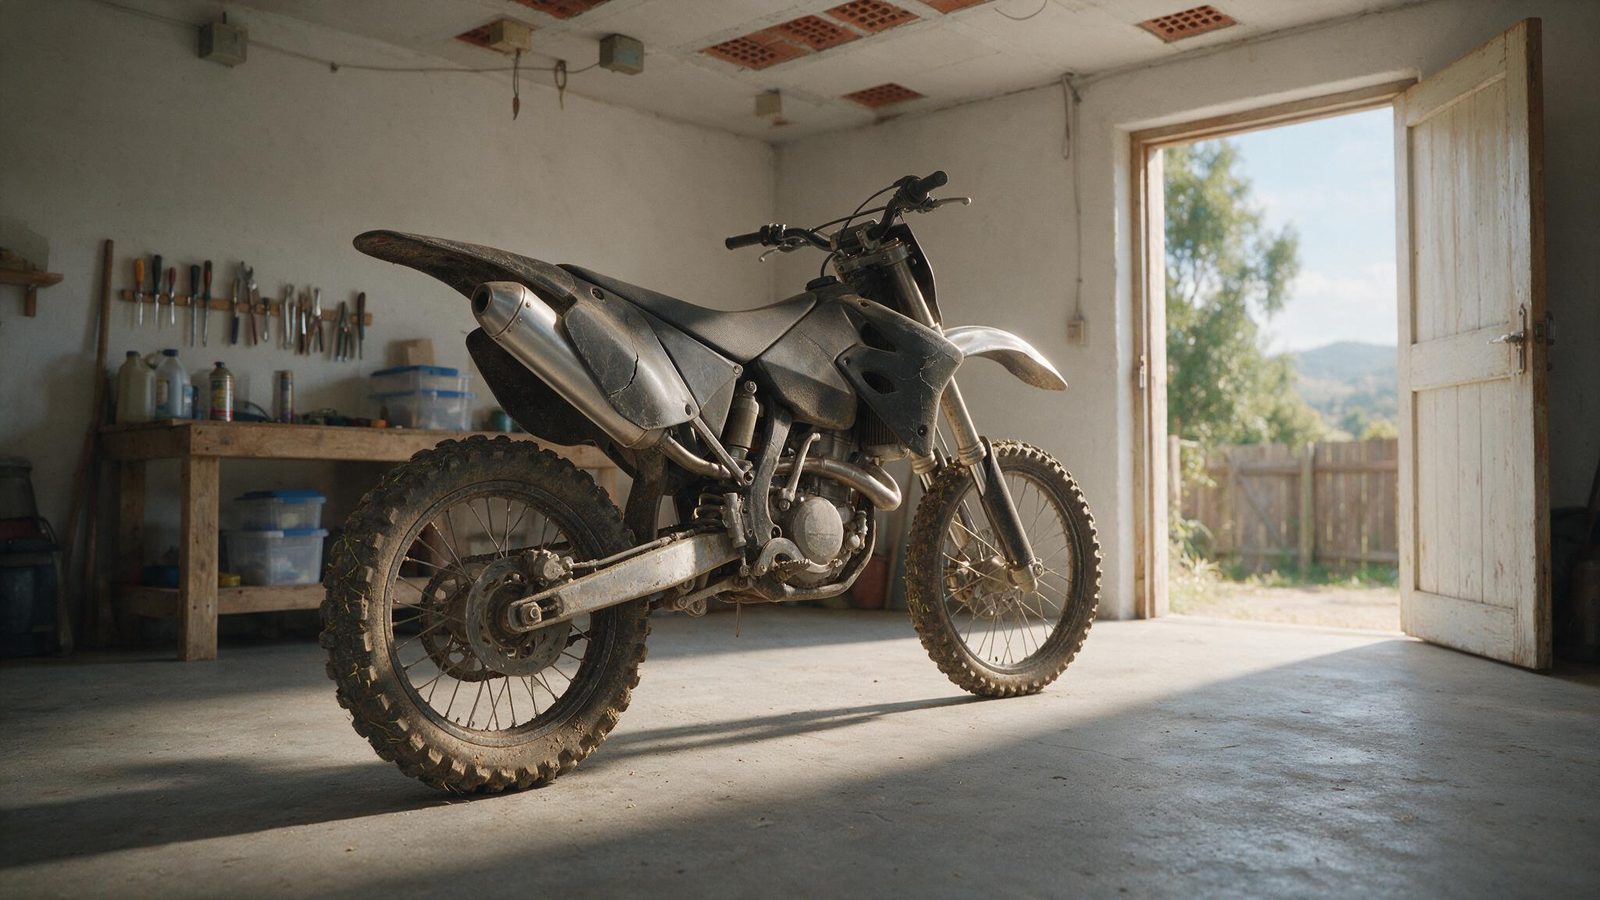
Then look at the back of the panel. Most manufacturers mould a code — PP, PE, ABS — somewhere discreet, usually near a mounting tab. That code matters, because the filler rod has to belong to the same family as the part: PP on PP. A mismatched rod melts fine, bonds badly, and lets go on the first hard landing.
The type of break matters as much as the material
A clean crack that runs from an edge and stops is the easy case. A shattered section whose pieces no longer line up needs backing on the reverse side, otherwise the weld just hides a distorted panel. And a hole with material missing has to be filled with rod, which means more time under the iron and real sanding afterward.
Welding a crack, step by step
- Take the panel off the bike. Welding in place risks melting a wiring loom or marking the tank sitting right next to it.
- Degrease both faces around the break, then brush out the dirt packed into the bottom of the crack. Leave mud in there and the material won’t fuse.
- Bevel the edges into a V with a burr or a blade, without cutting through the panel. That groove is what gives the filler somewhere to go.
- Line the edges up and clamp them with locking pliers or aluminium tape. Plastic moves as it cools, and anything unclamped sets crooked.
- Melt the panel’s own material first, over a short length, until the edge goes glossy and dips slightly. Only then bring in the rod and stir the two together.
- Work in short passes, letting each one cool. One continuous melt down the whole crack overheats the plastic and leaves it brittle.
- Flip the panel and repeat on the reverse face. A weld done from one side only splits the first time you lean on it.
- Let it cool in open air, without blowing on it. Then sand dry and gently, keeping a slight bead rather than chasing a flush finish.
Don’t chase an invisible weld on your first attempt. Most riders run too hot and move too fast: the plastic smokes, darkens, and the area ends up weaker than before. A slightly proud bead that has fused deep beats a tidy surface line that only holds the paint.
Backing up the areas that vibrate
On a rear fender, a number plate or a radiator shroud, the crack almost always restarts in the same spot if you stop at the bead. The reason is simple: the repair is stiffer than the plastic around it, so the stress moves to the edge of the weld.
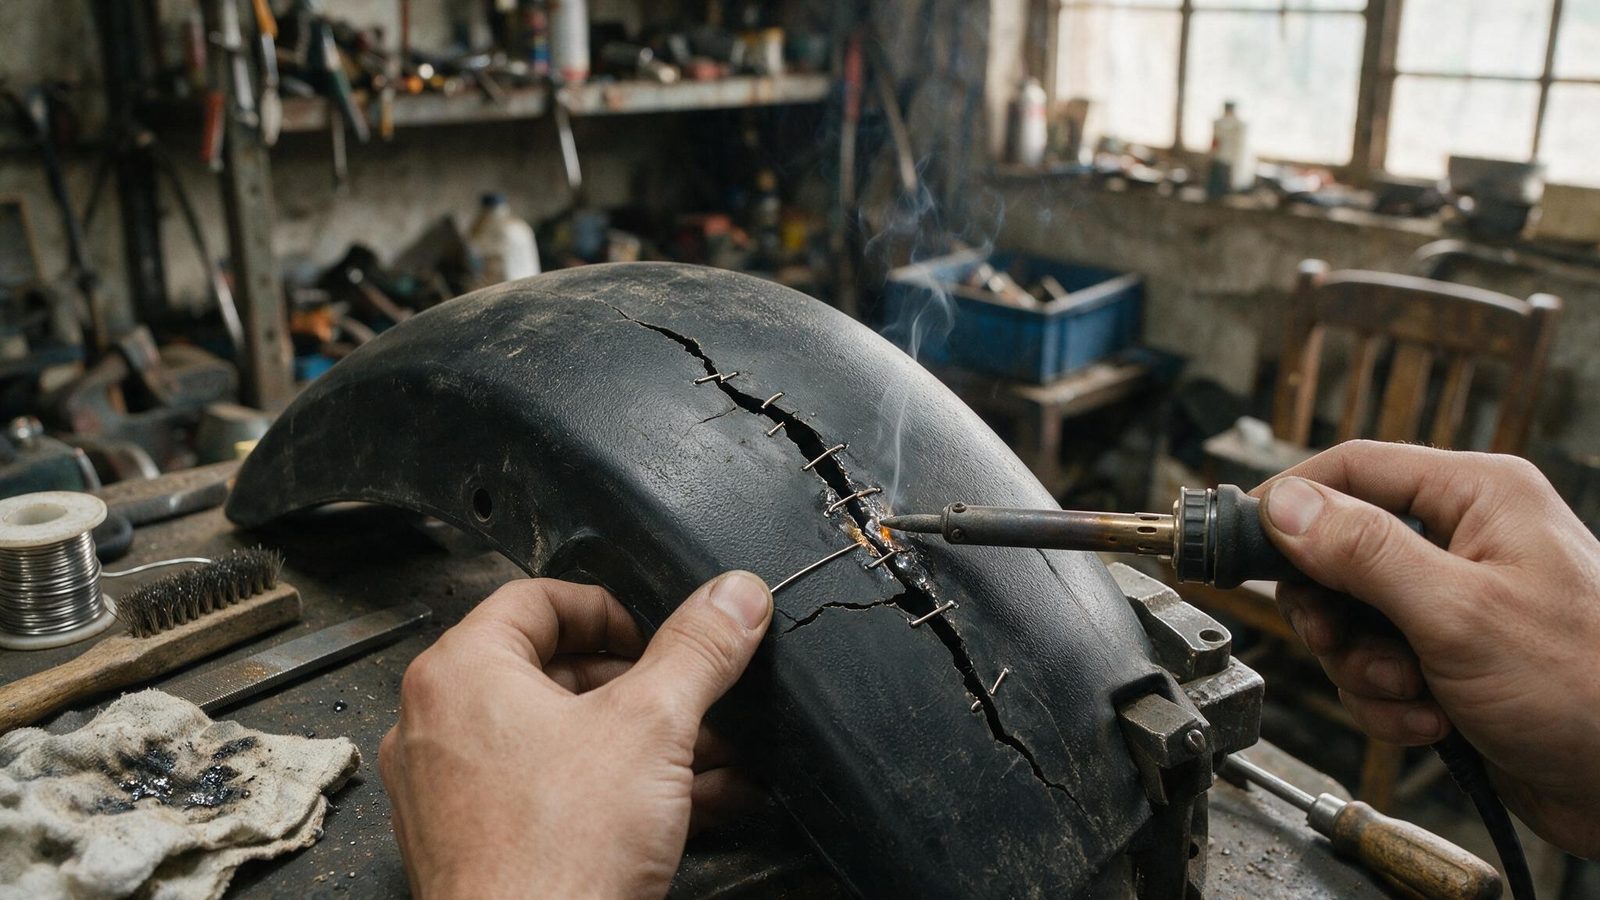
The fix takes two moves. First, hot staples driven across the crack on the hidden side, evenly spaced — they work like sutures and take the pulling load. Then a strip of matching plastic welded flat over the top, spreading the stress across a wider area. Where a mounting point pairs plastic with metal, plastic and aluminium welding gives a far stronger result than any adhesive.
One case stands apart: a cracked fuel tank. Same material, but fuel vapour inside the part. The procedure is nothing alike, and improvising with a hot iron on one is a genuinely bad idea.
Repair or replace: sorting it fast
| Condition of the panel | What welding gives you | Call |
|---|---|---|
| Clean crack, plastic still flexible | Strength close to original | Repair — this is the ideal case |
| Torn mounting tab, material missing | Holds with backing and a wide washer | Repair, but check it after every ride |
| Chalky plastic, brittle when flexed | Bead holds, surrounding material fails | Replace |
| Panel shattered into many fragments | Shape can’t be recovered | Replace |
Chalking is the most reliable signal. Plastic cooked by UV has lost its plasticizers: it no longer bends, it snaps. Weld it as many times as you like and it will simply crack somewhere else. For the less obvious calls, the full reasoning sits in repair or replace a part.
Finishing the panel: shape, paint, graphics
A panel that has been heated usually keeps a distortion. Warm the area gently with the heat gun, press the part against a flat surface or against the chassis, and let it cool held in position. It rarely returns to the original shape, but usually enough for the bolts to line up again.
For paint, polypropylene rejects nearly everything until it’s prepared: sand the whole surface matt, degrease, then lay down an adhesion promoter made for flexible plastics. Skip that primer and the coat crazes quickly over the repair, which stays more flexible than the rest. Graphics don’t sit well on a weld bead either — sand it flat before applying them, or they’ll lift from a corner.
Keep your broken offcuts, by the way. Cut into strips, they make the best backing plates and the best filler rod you’ll find: same material, same colour, and free. A few offcuts tucked into your trailside repair kit will also patch a split number plate at the track.
FAQ
Can I weld plastic with a regular soldering iron?
Yes, as a stopgap. A low-power electronics iron melts polypropylene without trouble, but you get no temperature control and the fine tip struggles to heat through the thickness. The result is patchy. A dedicated plastic iron, or a heat gun with a fine nozzle, gives a more even melt and a bead that actually survives vibration.
Does epoxy hold on motocross bodywork?
Rarely for long. Polypropylene is a low surface energy material, so ordinary adhesives simply don’t key to it. There are dedicated kits with an activator that will get you through a race weekend on a lightly loaded area. On a mounting point or an edge that catches branches, welding stays the only fix that lasts a season.
How do I know if my plastic is still weldable?
Take a corner of the panel well away from the damage and flex it hard. If it springs back without whitening or cracking, the material is healthy and the weld will hold. If it goes white along the bend or breaks away in dry little flakes, the plastic is UV-cooked: the repair will fail beside the bead, often on the very next ride.
More repair guidance in the repairs section.
Editorial content. PiloteMX offers no on-site service, no parts or gear sales, no quotes and no bike repairs. Working on a bike and riding it carry risk: what you do with this guide is your own responsibility.