Cracked Dirt Bike Fuel Tank: Repairing a Fuel Leak
Contents
A cracked dirt bike fuel tank gets repaired according to what it is made of. Plastic — high-density polyethylene on nearly every recent bike — bonds with a fuel-compatible resin or welds with a plastic iron. Metal demands complete purging of residual fumes before any hot work, or the tank goes off in your hands.
Deal with the explosion risk first
A tank that has been drained, tipped out and left open overnight is still dangerous. Liquid gasoline is not what explodes — the air-and-vapor mix sitting in the empty volume is, and that mix forms precisely when almost no fuel is left. A grinder spark, an arc from a welder, a drop light that pops: any of it is enough.
For hot work on a metal tank, neutralizing is not optional. Long rinse with hot soapy water, then fill the tank completely with water during the job so no gas volume remains — or hand it to a shop set up to purge tanks properly. On a plastic tank there is no flame involved, but the principle holds: drain it, rinse it, and let it air out for several hours somewhere ventilated.
Find the crack before you open the resin
A leak rarely shows where it starts. Fuel runs along a rib, tracks around a graphic, and drips a foot lower down. Patch where you saw the drip and you will be doing it again next weekend.
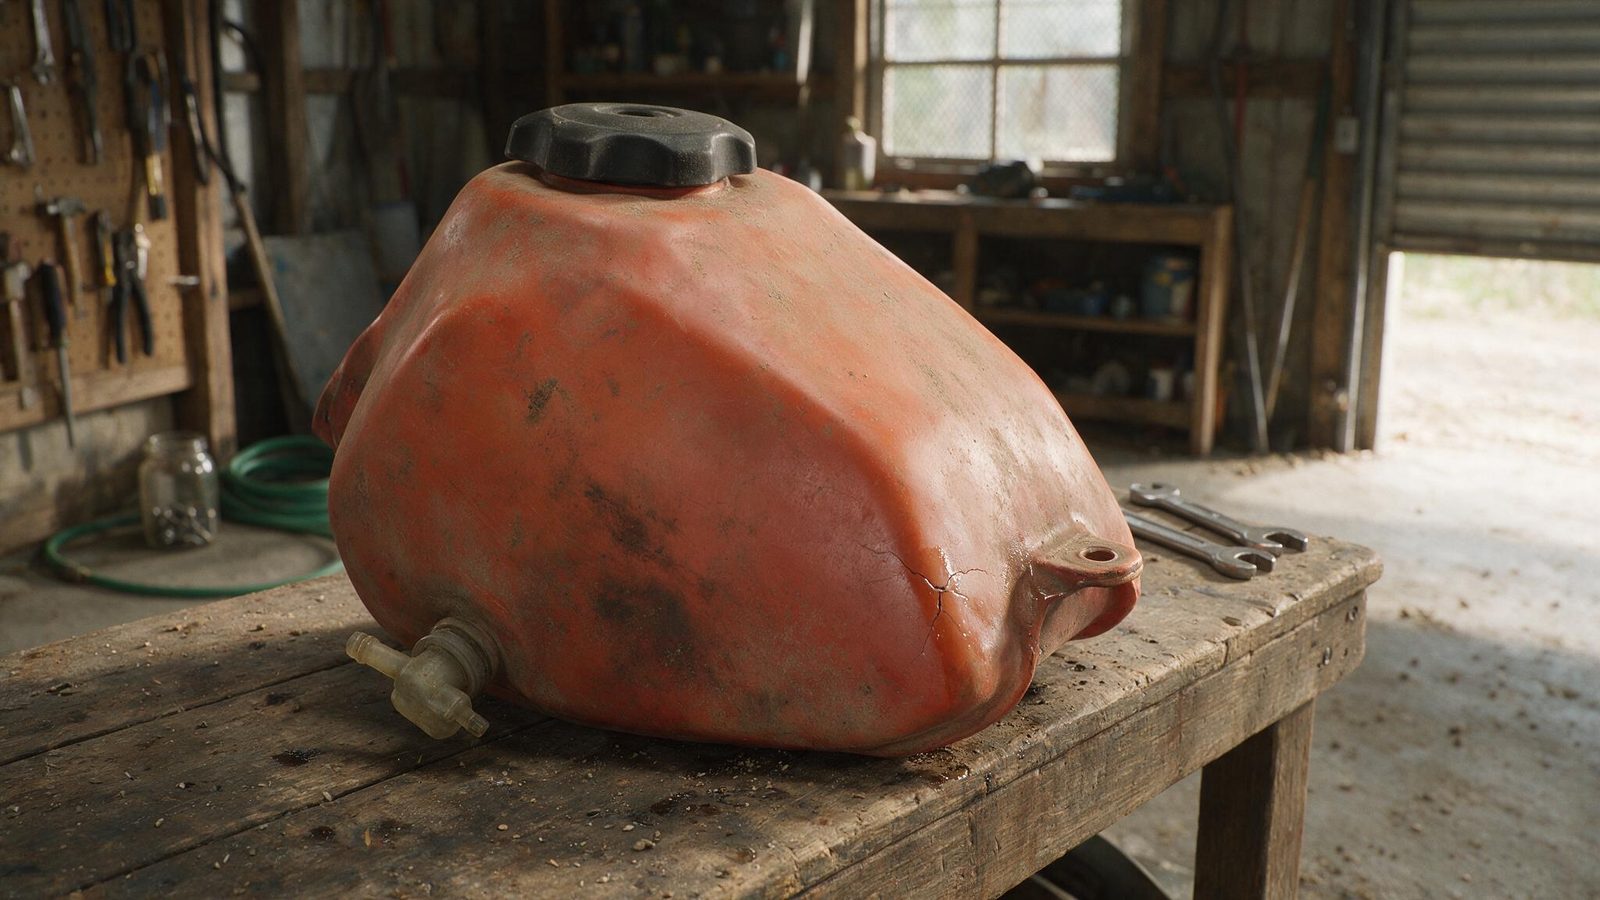
With the tank off and empty, dry the outside completely, blow gently into the filler while blocking the vent, and brush soapy water over the shell. The crack gives itself away with a line of bubbles. On polyethylene, look hard around the mounting inserts too — that is where the stress concentrates.
Plastic or metal: what changes
| Point | Polyethylene tank | Metal tank |
|---|---|---|
| Home garage repair | Yes, cold bond or plastic iron | Two-part putty only |
| Mandatory prep | Degrease, sand, dry | Purge fumes, fill with water |
| What ruins the repair | Greasy surface, resin not fuel-rated | Residual vapor, corrosion under the paint |
| Durability | Good if the area carries no load | Excellent when welded by a pro |
Repairing a polyethylene tank
- Pull the tank, empty it to the last drop, rinse with hot soapy water and leave it to dry in open air, filler down, until it stops smelling of anything.
- Find the crack with soapy water and ring it with a marker, well outside the ends of the split.
- Drill a small clean hole at each end of the crack. That stops it spreading — skip it and the split runs on at the first hard landing, straight around your repair.
- Sand the whole marked area with coarse abrasive, crossing your passes. You want a dull, scratched surface, not a polished one. Resin only grips rough plastic.
- Degrease with a clean rag and alcohol, never a silicone-based cleaner, and keep your fingers off the area afterward. One greasy fingerprint and the job is wasted.
- Apply the resin or epoxy kit rated for polyethylene and for hydrocarbons, in a generous layer that overlaps the crack on every side.
- Reinforce with the glass cloth supplied in the kit when the crack is long or crosses a curved panel, then bury it under a second coat.
- Let it cure for the manufacturer’s full stated time, somewhere dry and temperate. Do not shorten it because the race is Saturday: uncured resin dissolves in gasoline within minutes.
- Refit dry, add a little fuel, and leave the bike parked over light-colored cardboard for a good hour before riding. Cardboard shows the smallest returning weep.
A plastic welding iron also works on polyethylene, using rod of the same material. It outlasts a bonded repair, but it takes a feel for the material: polyethylene goes from firm to liquid without warning. If you want to try, practice on an old jerry can first and read the plastic and aluminum welding guide before you heat anything.
Metal tanks: where the garage stops
Steel or aluminum, a cracked metal tank repairs cleanly by welding. The trouble is that welding a fuel container is exactly the operation that sends people to hospital. Even purged and water-filled, you need to know how to vent the steam while the torch is on it. This one goes to a fabricator or a welder equipped for the job.
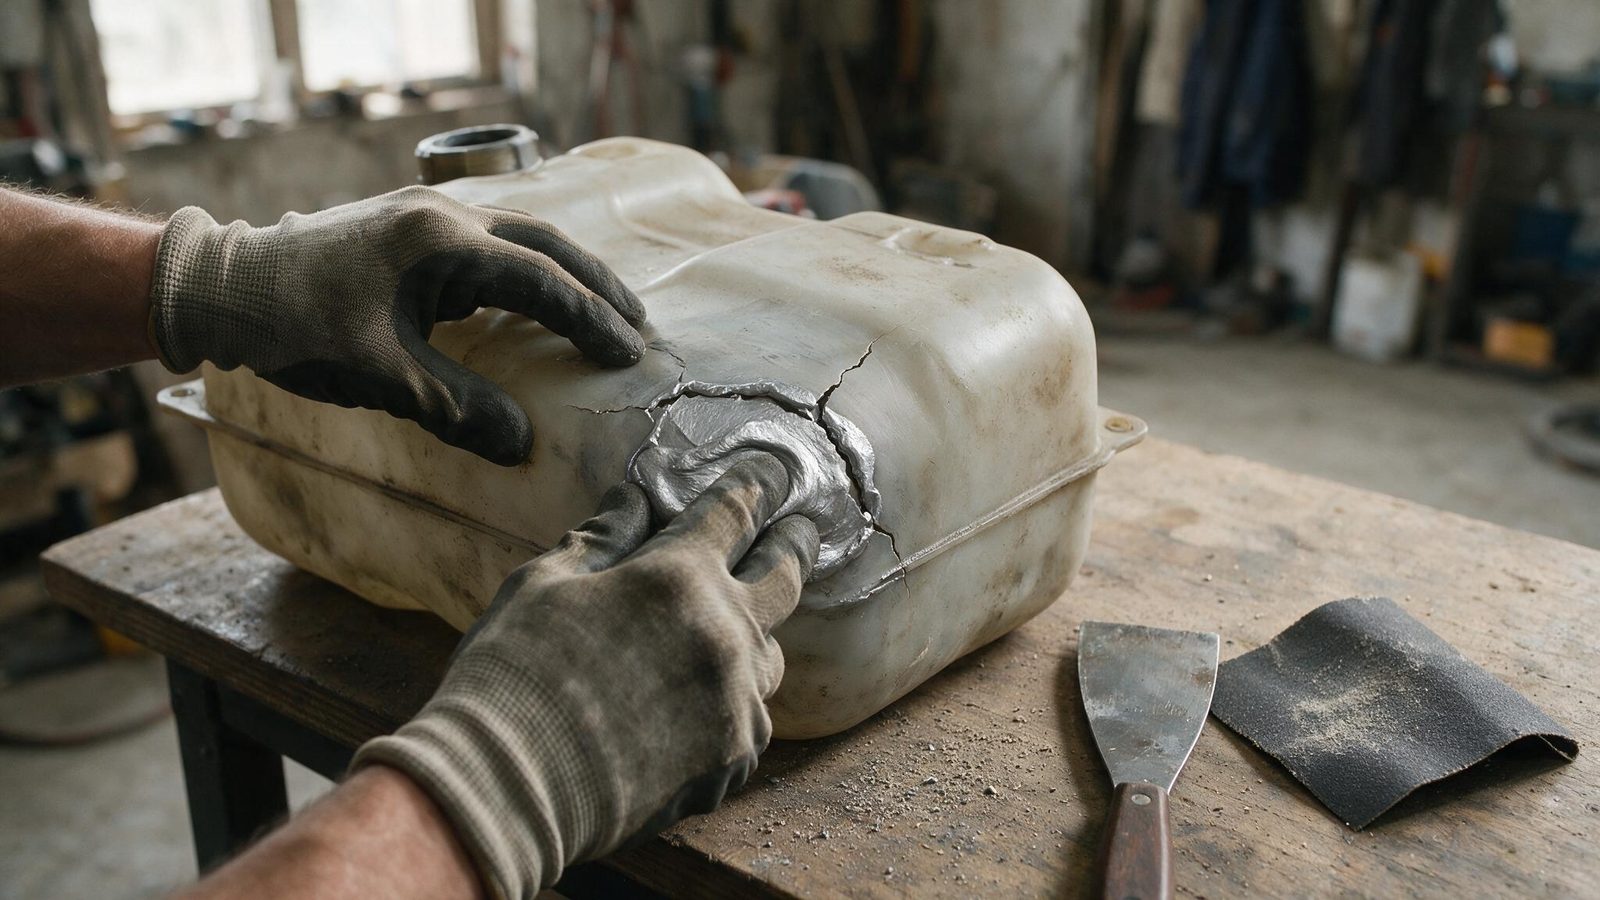
That leaves two-part tank putty, applied cold, no flame. On a small crack outside a loaded area it holds a season, sometimes longer. Prep the surface the same way you would plastic: strip back to bare metal, degrease, and above all check whether corrosion is creeping under the paint around the split. If the metal crumbles under a scraper, putty only hides the problem.
Stopping the crack from coming back
Tanks almost never split for no reason. Find the cause before you refit: a crushed or missing mounting rubber, a bolt run down until it deformed the insert, a fuel line pulling on its fitting, a frame that shifted in a crash. Vibration does the rest, always at the same point.
Refit with sound mounting rubbers and run the fasteners to firm contact plus a touch, no more. A tank needs to move slightly on its mounts. And if the crack starts at a torn-out insert, ask yourself whether the tank is worth saving — the repair or replace guide gives the criteria, and a clean used tank often costs less than a repair that fails mid-moto.
FAQ
Can I get one more ride out of a tank that is barely seeping?
No. Seeping fuel runs down onto the engine and exhaust, and it does not take much to start a fire, especially right after you shut a hot engine down. Vibration makes it worse too: the crack lengthens ride after ride. Pull the tank and deal with it before the next session, however trivial the leak looks.
How long does repair resin need before I can add fuel?
Follow the time printed on the packaging, generally 24 to 48 hours, and do not cut it short. Full cure is what makes the resin indifferent to hydrocarbons. Resin still soft goes gummy the moment gasoline touches it and the leak returns in minutes, usually wider than before. Cold slows curing, so keep the tank somewhere temperate.
How do I know my tank is polyethylene?
Check the manufacturer documentation or the symbol molded underneath the tank. Failing that, polyethylene flexes under thumb pressure, feels slightly waxy, and refuses to bond with anything lying around the garage. That is exactly why you need a product stated for this plastic — general-purpose glue will peel straight off.
Does a tank repair actually last?
Away from a loaded area, yes, several seasons. On a mounting edge or a rib that flexes on every landing, no: the patch eventually lifts at one edge and the leak comes back. Watch the area after every ride for the first month, and keep light cardboard under the bike in the garage so you catch it early.
More repair guidance in the repairs section, and see how to deal with broken plastics when the crash did more than crack the tank.
Editorial content. PiloteMX offers no on-site service, no parts or gear sales, no quotes and no bike repairs. Working on a bike and riding it carry risk: what you do with this guide is your own responsibility.