Warped Rim or Broken Spoke on a Dirt Bike: Repairing the Wheel
Contents
A broken spoke gets replaced on its own, then the wheel is retensioned on a truing stand. A warped rim can be pulled back with spoke tension as long as the deviation is gradual and free of any crease. Once the aluminium shows a sharp crease, or a crack running from a spoke hole, the rim is finished.
Diagnose it before you touch a single nipple
Put the wheel on a truing stand. Failing that, the bike on a stand plus a fixed reference near the rim — a screwdriver wedged in place, a square, a finger braced on the fork leg — does the job. Spin it slowly and watch two things: lateral deviation, where the rim swings sideways, and radial deviation, where it rises and falls.
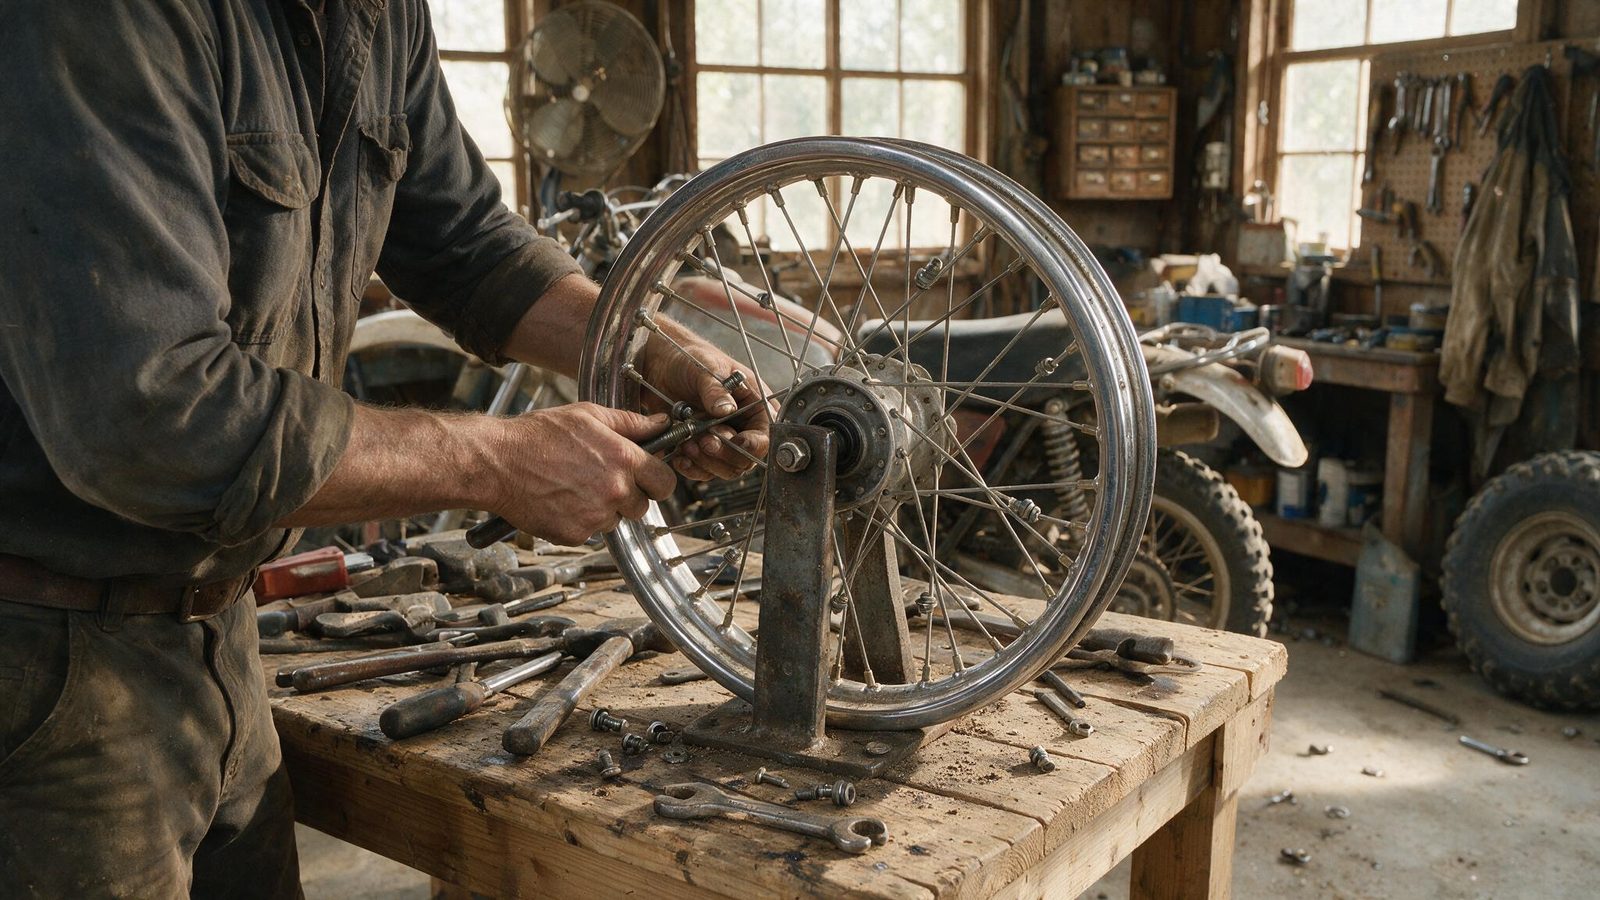
A gradual warp that spreads over a good stretch of the circumference and eases back can be tensioned out. A sharp local crease, usually visible to the naked eye after a rock strike or a bad landing, cannot: the aluminium yielded at that point and it will not return. The other verdict with no appeal is a crack running from a spoke hole. That doesn’t get repaired, and a cracked rim that lets go mid-landing gives no warning.
The spoke check, before any disassembly
Pinch each spoke between thumb and finger all the way round the wheel, or ping them with a screwdriver handle. Healthy spokes all ring at roughly the same pitch. One that answers with a dull thud, or moves under your fingers, has gone slack. One clearly sharper than its neighbours is overtensioned and doing double duty. That’s usually the one that snaps first.
Replacing a broken spoke, step by step
- Pull the wheel, then the tyre and tube, so you can reach the rim band and the nipple head.
- Find the neighbouring spoke that runs the same way. That’s your template: the new spoke has to cross over and under exactly as it does.
- Unscrew the broken spoke’s nipple and remove both fragments. If a nipple is seized in the rim, soak it in penetrating fluid and wait rather than forcing it and tearing out the hole.
- Offer up the new spoke, identical in length and elbow angle to the one you removed. Too long and it protrudes and punctures the tube; too short and it barely catches a thread.
- Seat the head in the hub, route the spoke through its crossing, then thread the new nipple by hand until you feel tension arrive.
- Bring that tension up to match the neighbouring spokes, going by sound rather than by wrist strength.
- Move to the stand for fine adjustment, then check that nothing protrudes inside the rim before refitting the rim band and tube.
One broken spoke on its own is normal wear. Several broken in the same sector is a different story: inspect the hub and the spoke holes before replacing anything, because the cause usually sits upstream.
Pulling a warp out with spoke tension
The principle fits in one sentence: tighten on the side opposite the warp, ease off slightly on the warp side, in small quarter-turn increments, checking after every move. The hard part isn’t technical, it’s mental. Most riders want to fix everything in one go, lean on one side too hard, and end up with a wheel tensioned all over the place.
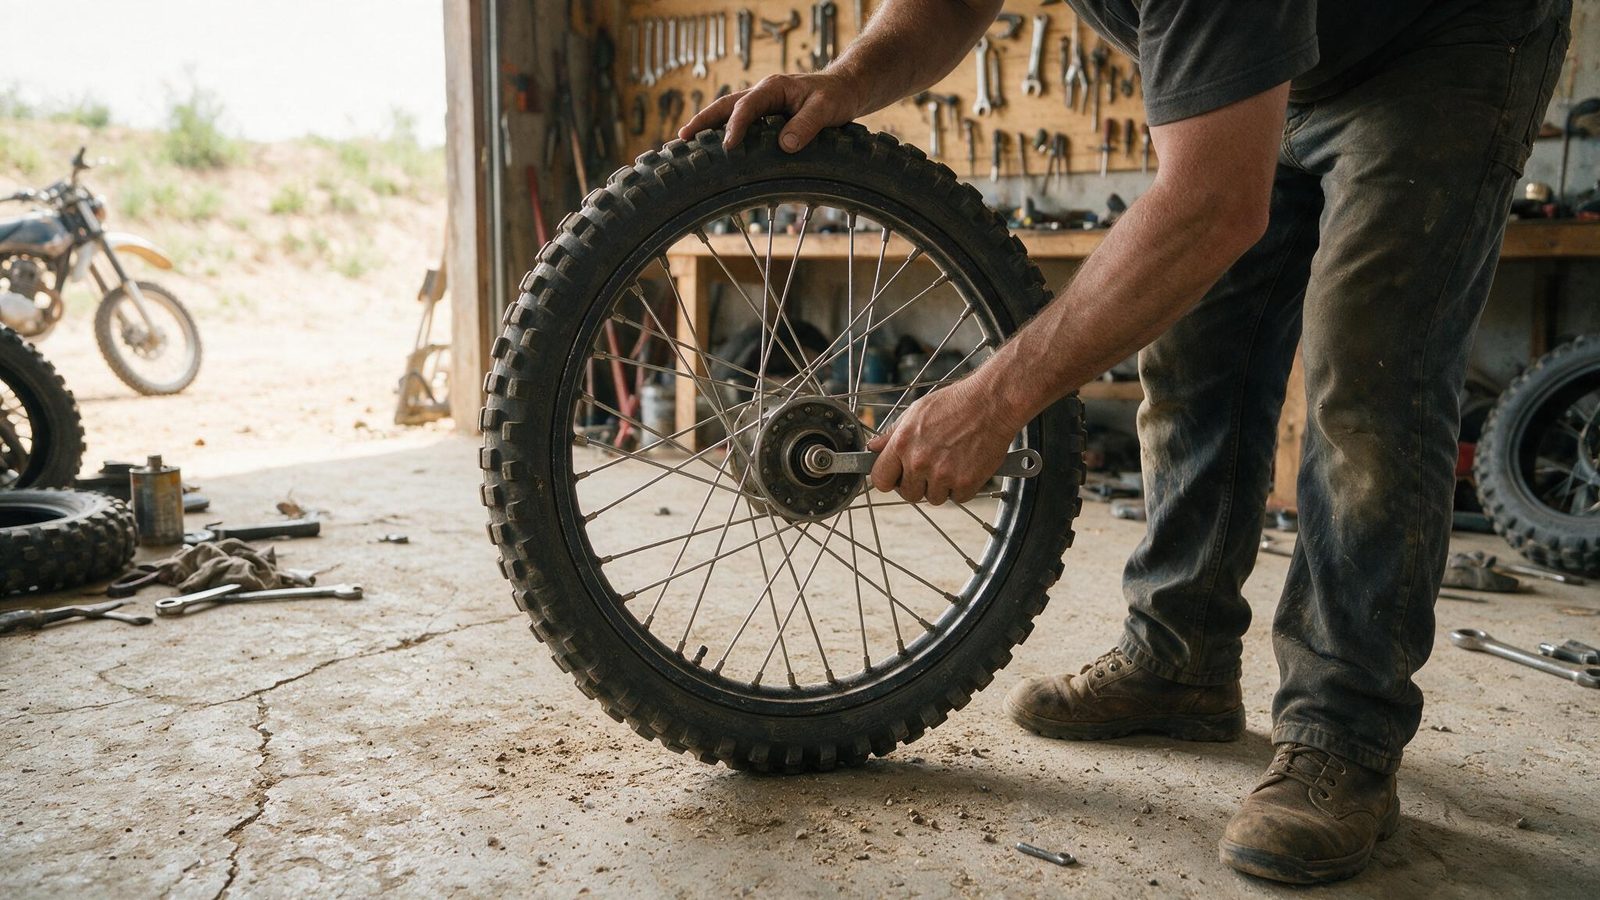
Work in opposing sections rather than spoke by spoke, so the correction spreads across the whole circumference. A lateral warp comes out through a tension imbalance between the two flanges of the rim. A radial warp needs even adjustment on both sides across the affected zone: where the rim bulges, tighten; where it dips, ease off. And when you lose track of where you are, mark the high spot with a marker and start again from there.
Key points
- Check
- pinch the spokes before every ride, listen to the pitch
- Tool
- a spoke wrench that fits the nipples exactly, or you’ll round the flats
- Support
- truing stand, or bike on a stand with a fixed reference
- Correction step
- one quarter turn at a time, then recheck
- Stop signal
- a crack at a spoke hole, or a warp that returns after several passes
- Tension figures
- see your bike’s workshop manual
When the rim is past saving
Three situations end the discussion. The sharp crease first, which resists tensioning and reappears on the very next ride. Then the crack at the edge of a spoke hole: the material has started, and it will tear. Finally the ovalled holes, the price of a rim retensioned too many times, where nipples no longer find a solid seat and slacken on their own.
Past that point you can keep the spokes and hub if they’re sound and have the wheel rebuilt onto a new rim. It’s long, repetitive work that plenty of riders hand to a properly equipped shop, for a wheel that comes back centred first time. The cost-versus-benefit call is worth making calmly, the way repair or replace a part lays it out.
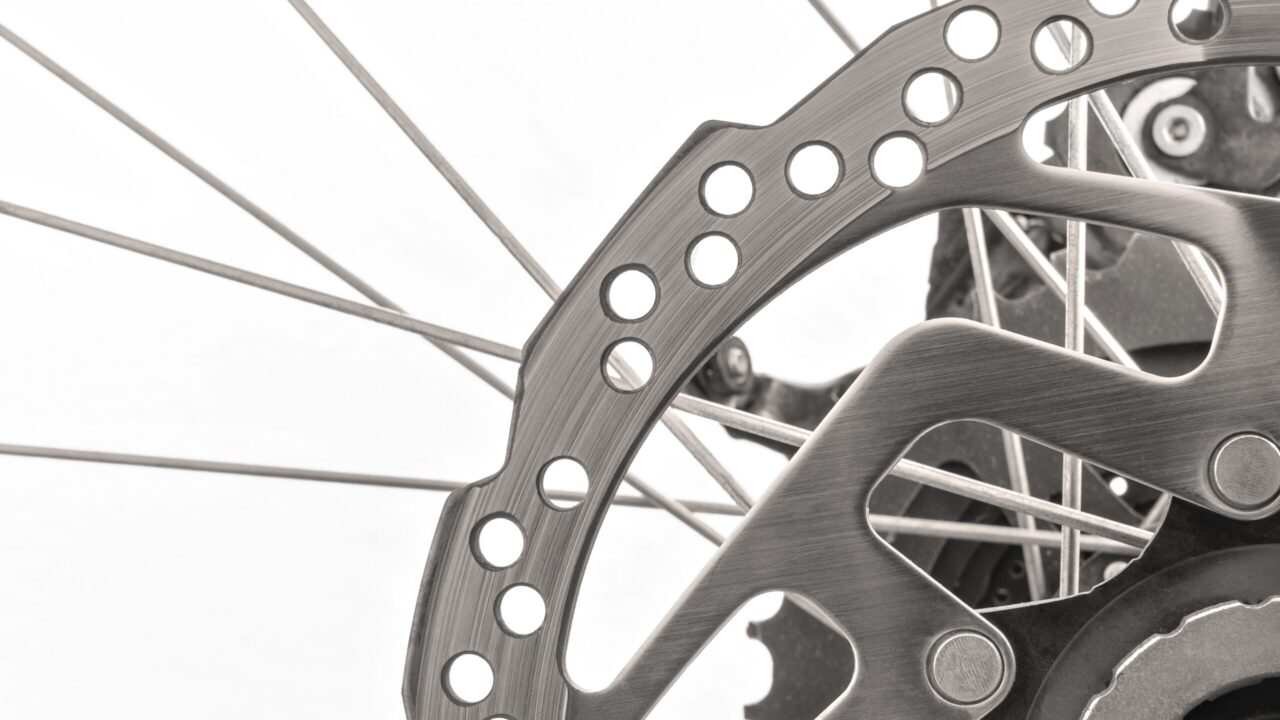
While the wheel is out, check what lives next to it: wheel bearing play, disc condition. A warped wheel and a warped brake disc feel much the same from the seat, and it would be a shame to retension a healthy wheel over a braking problem.
FAQ
How many broken spokes before rebuilding the whole wheel?
One or two isolated spokes replace easily without disturbing the rest of the wheel. When several break in the same spot, stop replacing and go looking for the cause: tired spoke holes, a marked hub, or overall tension that has been too low for months. Fixing one spoke at a time on a sick wheel is bailing without plugging the hole.
Do I need a truing stand to retension a wheel?
No, but it transforms the accuracy. The improvised setup — bike on a stand, screwdriver braced against the fork as a pointer — is enough to pull a moderate warp back at the track. For clean work, a proper stand gives you a stable measuring point both laterally and radially, and you see the effect of every quarter turn immediately.
Does an uncorrected warp damage anything else?
It does. The wheel thumps once per revolution and that pulse goes straight into the bearings, which pick up play faster. The tyre wears in waves, the bike gets vague on the edge of the tyre, and braking loses its progression. Add that spokes slacken in a chain around the warped zone, and an easy correction becomes a wheel rebuild.
Can I finish the ride with a broken spoke?
Not sensibly. The neighbouring spokes take up the load and snap in turn, often within the next lap. If you’re a long way from the van, remove the broken spoke so it can’t flail into anything — side cutters in your trailside kit exist for exactly this — then ride slowly, skip the jumps and go easy on the brakes. But treat the ride as over.
More repair guidance in the repairs section.
Editorial content. PiloteMX offers no on-site service, no parts or gear sales, no quotes and no bike repairs. Working on a bike and riding it carry risk: what you do with this guide is your own responsibility.