Warped Dirt Bike Brake Disc: Diagnosis and Replacement
Contents
A warped brake disc gets replaced, not straightened. The thin hardened steel of a dirt bike rotor tolerates no reliable correction: bending it back by hand seeds microcracks nobody ever sees. On a safety part, a new disc always costs less than a brake that pulses, or one that lets go on the way into a corner.
Recognizing a warped disc
The symptom is rhythmic, and that is what gives it away. Anything that repeats once per wheel revolution comes from the wheel itself.
At the lever
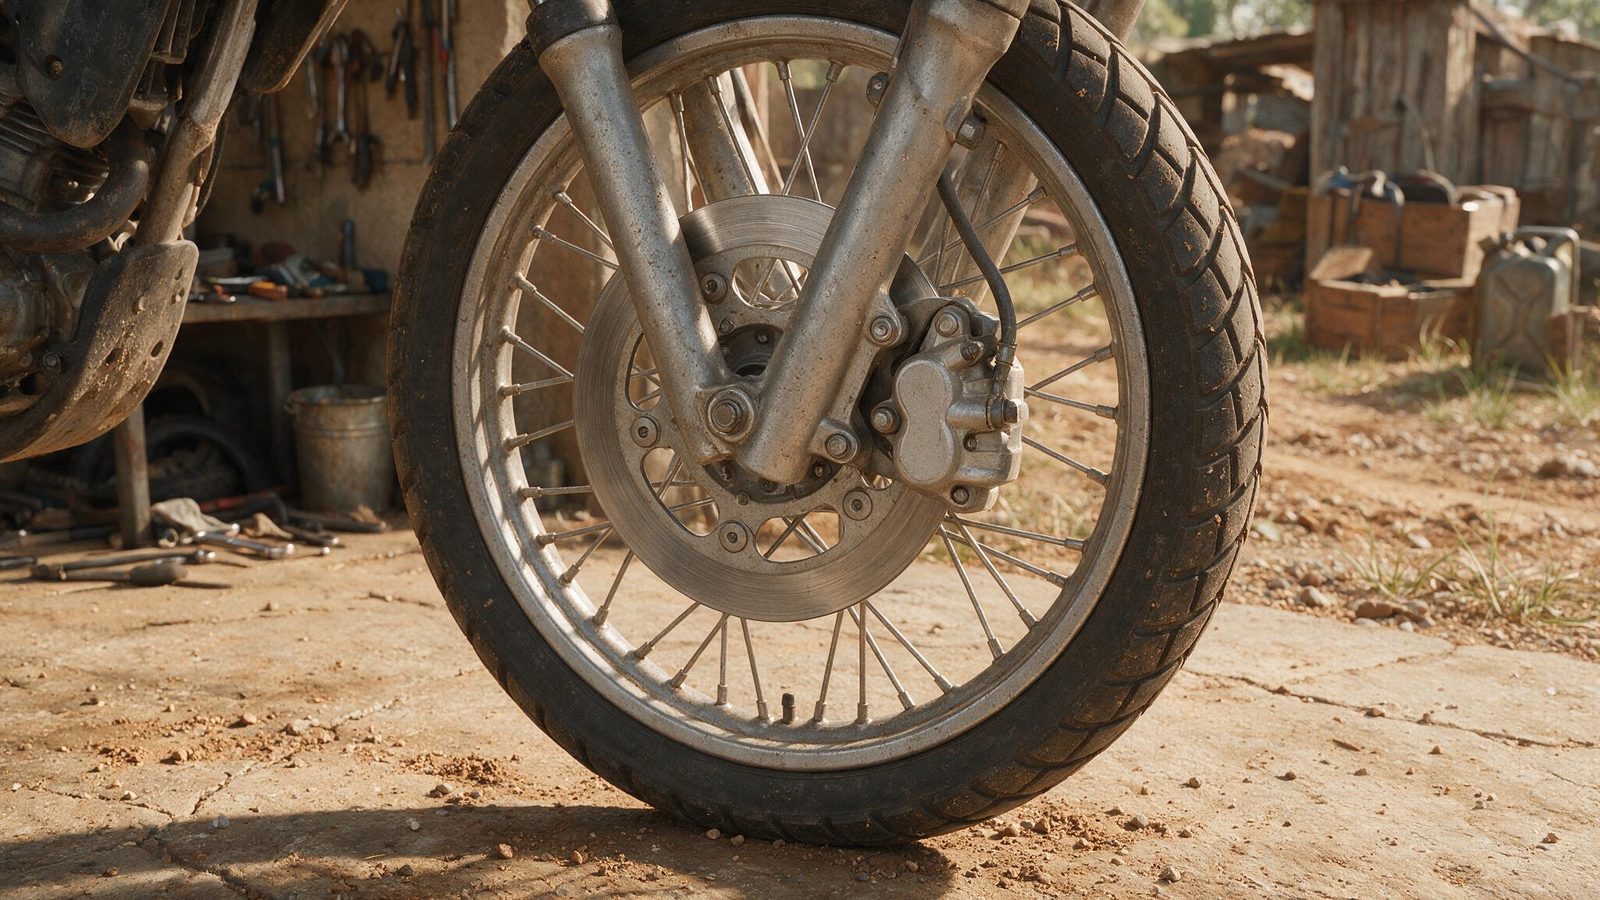
Brake gently while rolling straight. A steady pulse under your fingers, beating in time with the wheel, points to a warped disc far more often than to a caliper fault. The pulse grows sharper as speed climbs. Another clue: intermittent rubbing against the pads with the lever released, coming and going once every turn.
By eye
Wheel in the air, bring a fixed reference close to the disc without touching it — a scribe, a screwdriver braced on the caliper, the edge of the mount. Turn the wheel slowly. On a pronounced warp the gap opens and closes in front of you. Look at the friction band too: wear that does not go all the way around, shiny on one side and dull on the other, tells the same story.
Ruling out the wrong suspects
Before you order a part, confirm the disc is actually at fault. Several faults feel similar, and it would be a shame to fit a new rotor and find the same pulse waiting for you.
| What you feel | Most likely cause | How to settle it |
|---|---|---|
| Steady pulse, once per revolution | Warped disc | Visual check against a fixed reference, wheel in the air |
| Spongy lever, long travel | Air in the system or a tired master cylinder | The lever firms up after a few pumps |
| Brake dragging all the time | Seized caliper, piston no longer retracting | The wheel still drags with the lever released, the rim heats up |
| Vibration that changes with speed | Warped rim or a worn wheel bearing | Noticeable play when you shake the wheel sideways |
Torn between the disc and the wheel? The guide on a warped rim or broken spoke covers checking rim runout. And if lever travel is the real issue, look at the master cylinder instead.
Why dirt bike discs warp so readily
Heat and cold, mostly. Hard braking at the end of a straight, followed by a puddle or a faceful of cold mud, hands the metal a brutal temperature swing. Repeat that all season and the disc eventually locks stress into itself.
The rest is impact. A rock taken square on, a crash onto the disc side, a boot planted on it while picking the bike up. A wheel axle torqued crooked or a hub crusted with dirt under the disc mounting face does the same damage quietly: the disc runs slightly off true, heats unevenly, and warps.
Why straightening is off the table
An aluminum rim can be corrected; it is meant to flex a little. A disc is not. It is thin hardened steel whose entire job is staying rigid under pad pressure. Hammering it, twisting it with pliers or pressing it flat plants crack starters you cannot see. They do not show up during assembly. They show up the day the disc fails under a heavy stop.
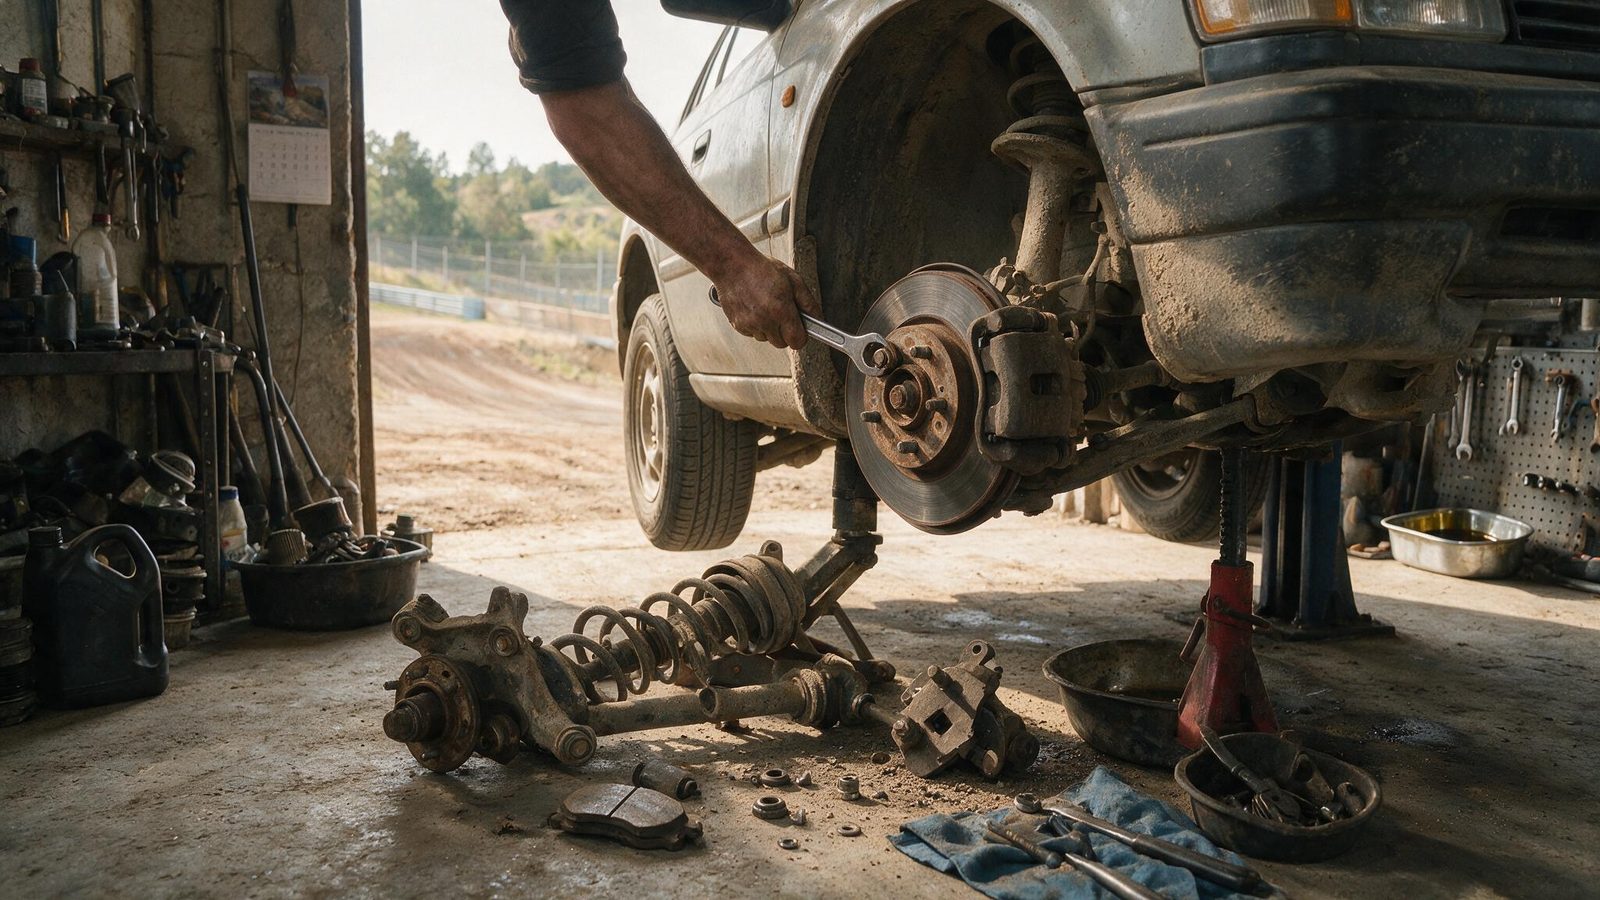
The math is quick, and it follows the general logic in the guide on repairing versus replacing a part: on a safety component, you replace.
Replacing the disc
- Put the bike on a solid stand and pull the wheel. With the wheel in your hands, take a second to check the bearing for play.
- Loosen the disc bolts on the hub in a star pattern, without wrenching hard all at once. They are often thread-locked, and a stripped head turns the morning into a project.
- Take the old disc off and clean the hub mounting face down to bare metal. One grain of sand trapped under a new disc is enough to build a fresh warp.
- Confirm the new disc is the right one for your model and the right side, and respect the direction of rotation when it is marked.
- Fit it, start every bolt by hand before tightening any of them, then torque in a star pattern over several progressive passes, to the service manual figure.
- Refit the wheel, align it properly and torque the axle to spec. An axle pulled up crooked will warp a brand-new disc within a few rides.
- Check the pads and caliper while everything is apart: the hit that marked the disc usually got the caliper too.
- Pump the lever or pedal until you have a firm bite point before moving the bike, and confirm the wheel spins freely.
Bedding the pads and avoiding the next warp
A new disc and pads bedded to the old one do not get along right away. Run a series of progressive stops on open ground, never locking up, until the bite feels even. The pads conform to the fresh surface, and you avoid laying down the patchy deposit that would give you exactly the pulse you just cured.
Then build two habits. After a water crossing, drag the brake lightly while rolling to dry the discs instead of grabbing a fistful on hot metal that has just been quenched on the surface. And check axle torque regularly, especially after a quick wheel change out on the trail.
One last look at every wash: check the remaining thickness. The minimum is often stamped on the disc itself, and otherwise it lives in the bike’s manual. A disc at the end of its life runs hotter, distorts sooner, and is waiting for one thermal shock to go out of true.
FAQ
Can I finish the day on a warped disc?
On a light warp, yes, riding calmly and braking early. What degrades meanwhile is the pad: it wears at an angle and the bite turns uneven. On a bad warp with constant rubbing, stop. Heat builds without you touching the lever, the brake fluid cooks, and the pad disappears fast.
How long does the replacement take?
Count 30 minutes to an hour depending on accessibility and the condition of the mounting hardware. The hardware decides everything: thread-locked, corroded or already chewed bolts can double the job. Allow yourself room and lay out the tools before you start rather than hunting for a socket mid-job.
Should the pads be replaced at the same time?
Not automatically, but look at them closely. Pads worn at an angle, glazed, or scored by the warped disc will never bite properly on a fresh surface. If any doubt remains, replace the pair: it is cheap next to the time you would spend pulling the wheel a second time.
More repair guidance in the repairs section.
Editorial content. PiloteMX offers no on-site service, no parts or gear sales, no quotes and no bike repairs. Working on a bike and riding it carry risk: what you do with this guide is your own responsibility.