Repairing a Damaged Dirt Bike Wiring Harness
Contents
A damaged wiring harness gets repaired one wire at a time: cut the ruined section out clean, strip both ends, solder them back with tin, and stagger each joint along the harness so you never build a stiff spot. Every wire gets its own heat-shrink sleeve, then the bundle gets fresh outer protection and its factory routing back.
Find what chewed through the sheathing first
A harness almost never fails on its own. It rubs. Against a mount where the rubber grommet went missing, against a bare frame edge, against a moving chassis part that licks the sheathing on every stroke of the suspension. A few rides later the outer sheath splits open, and the insulation on the wires inside follows.
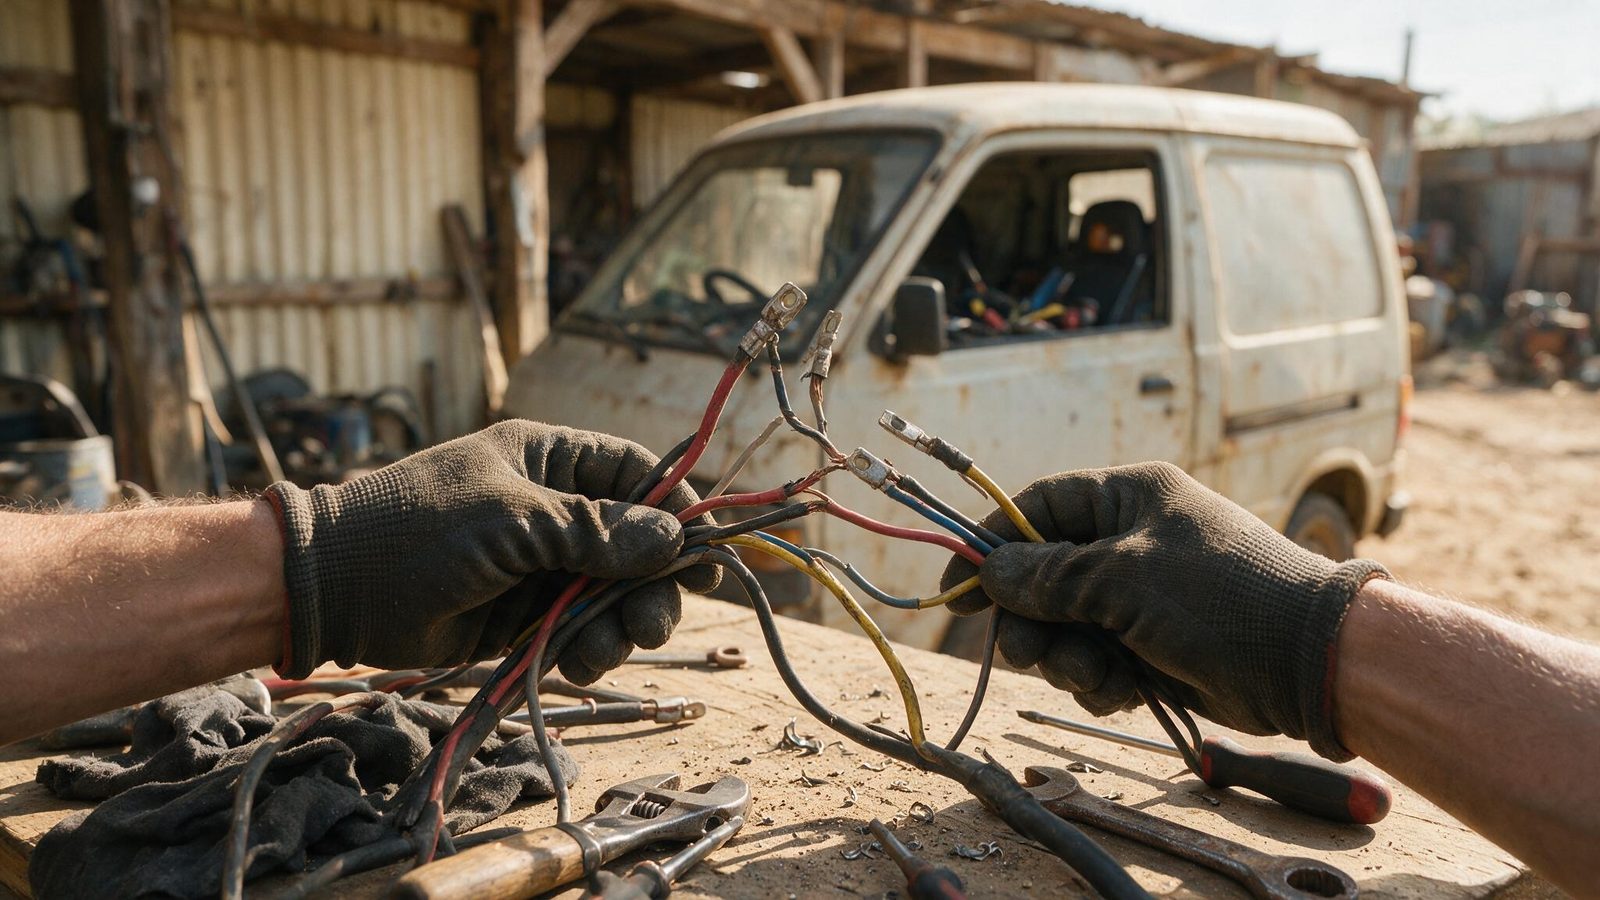
Run the harness through your fingers, from the ignition side out to each consumer, hunting for shiny or flattened patches. A crash rewrites the map: one torn plastic panel leaves the harness hanging where it was never meant to sit. If your bike just took a hard hit, check the chassis before you decide anything, because a bent frame after a crash moves every routing point at once.
Confirm the guilty wire with a multimeter
Harnesses lie to your eyes. A wire can be snapped clean under perfectly intact insulation, broken by vibration right where it enters a connector. A multimeter set to continuity settles it in thirty seconds: unplug both ends of the circuit, put a probe on each side, listen for the beep.
No beep means a break. A beep with resistance clearly higher than a neighboring wire of similar length means the connection is on its way out — the nastiest case, the one that gives you a bike that fires up cold and dies halfway up a hill. Wiggle the harness while you measure: if the beep cuts out, you have found your dead spot. If the whole circuit reads clean and the bike still won’t run, look further upstream at the stator or CDI.
Repairing a cut wire, step by step
- Disconnect the battery, or the main ignition connector on a bike that runs without one.
- Cut clean on both sides of the damaged zone. Keeping a questionable piece only postpones the failure.
- Slide the heat-shrink onto one of the two ends before you solder. Everyone forgets this once.
- Strip about a centimeter on each side without nicking any copper strands.
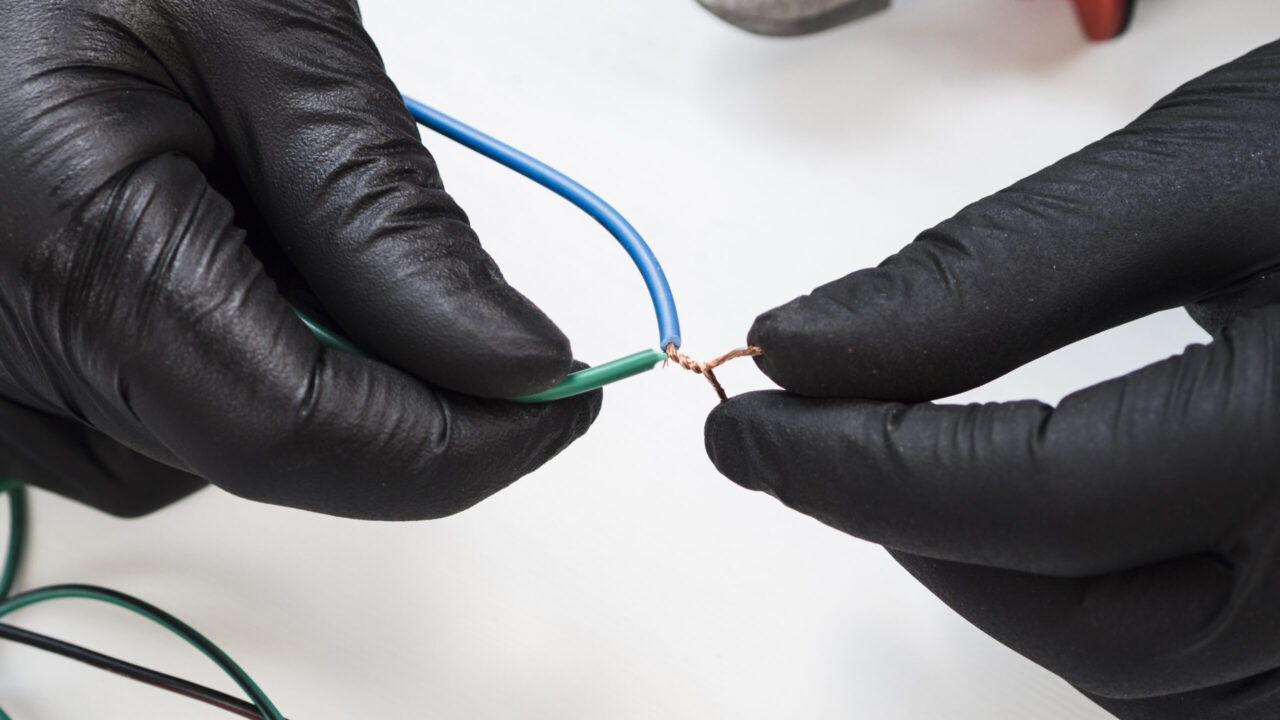
- Twist the two ends into each other, interleaving the strands rather than butting them end to end.
- Add a little flux, heat the copper with the tip, then feed the solder onto the wire, not onto the iron. It should wick into the twist and leave it shiny, not sit on top as a dull grey blob.
- Let it cool without moving it, then pull hard on both wires. A joint that fails on the bench would have failed on the track.
- Center the sleeve over the joint and heat it with the gun, turning as you go, until the adhesive beads out at both ends.
Several wires damaged in the same spot
This is the classic rub-through: three or four conductors opened up across the same stretch. The temptation is to solder them all at the same level and wrap it up. Bad move. Four joints lined up side by side make a hard block in the middle of a flexible harness, and that block becomes the new breaking point as soon as the vibration starts again.
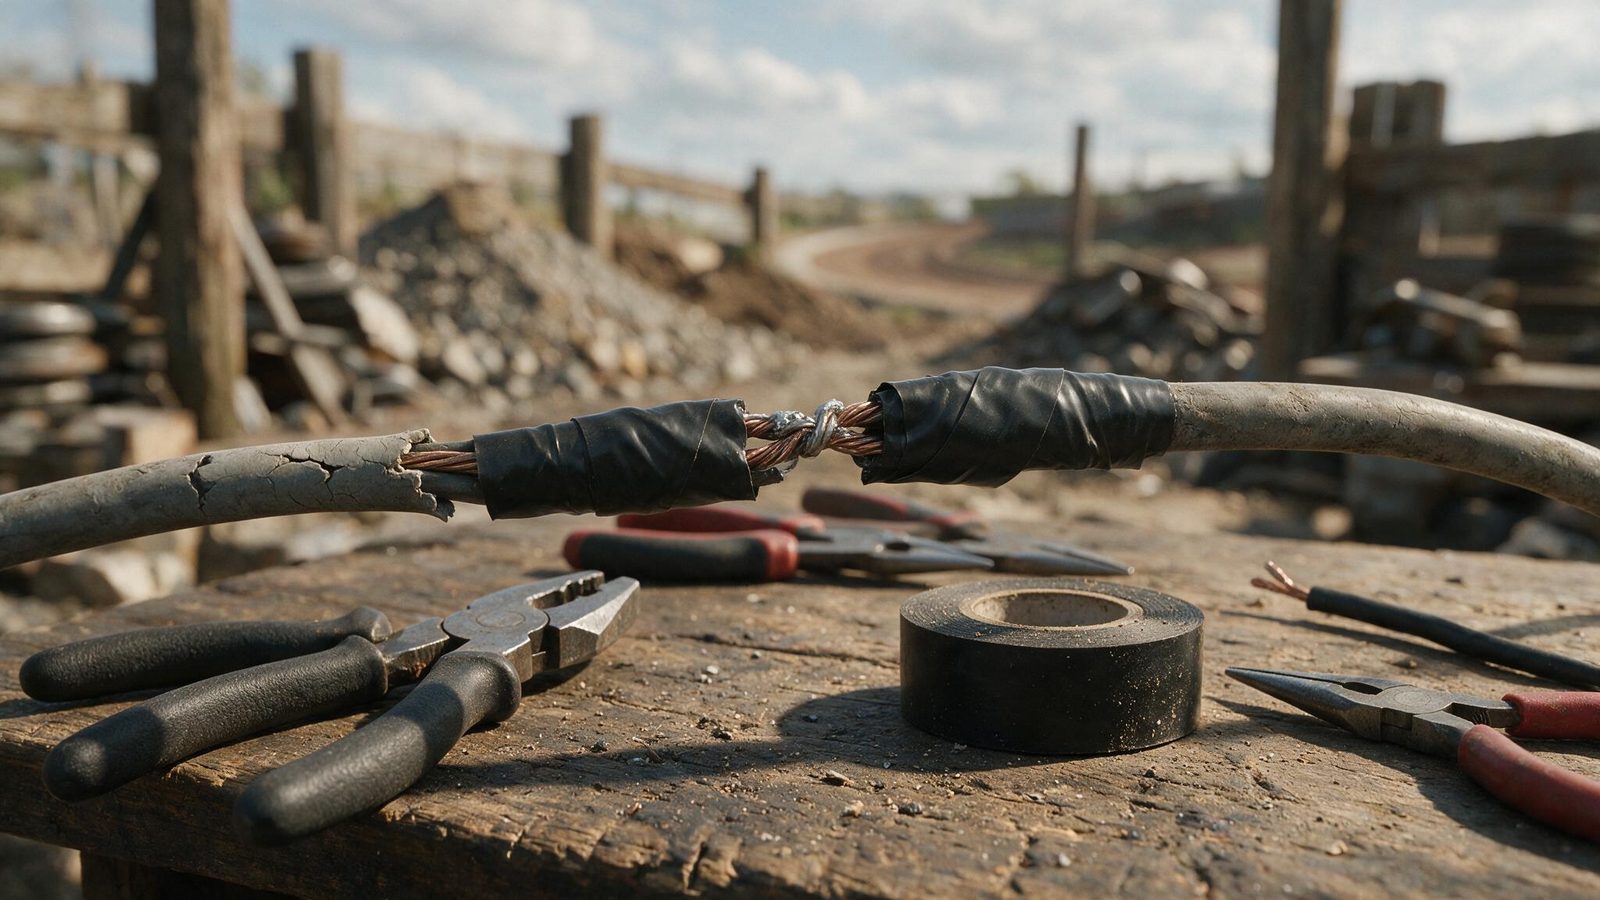
Offset each joint by a finger’s width from the last one. The harness stays supple, the sleeves don’t overlap, and you kill the risk of two neighboring repairs touching. Mark the colors before you cut: under a black sheath, two similar shades look identical once they are lying loose on the bench.
Which joint actually survives
| Method | Vibration resistance | Sealing | When to use it |
|---|---|---|---|
| Twist and tape | Poor | None | Getting back to the van, nothing more |
| Sealed wire nut | Fair | Decent if tightened hard | Trackside fix |
| Crimp terminal + adhesive shrink | Good with a real crimper | Good | No iron available |
| Soldered joint + adhesive shrink | Very good | Very good | The permanent shop repair |
The flat hardware-store crimper is the trap here: it squashes the terminal without folding it around the copper, and the joint works loose within a couple of rides. If you go the crimp route, you need a proper jawed crimper. Keep enough to limp home in your trailside repair kit and save the soldering for the bench.
Close the harness back up, then fix the cause
Bundle the wires back in their original order without pulling them tight, then rebuild the outer protection with braided sleeving or quality electrical tape — not the cheap roll that unwinds by itself the moment it gets warm. Follow the factory routing: every original clamp exists to hold the harness away from a rub point the manufacturer already found the hard way.
Then deal with what caused it. Put the missing grommet back, add a length of split loom where the first one wore through, retighten the clamps. Skip that and your careful repair will wear out at exactly the same millimeter.
When the harness is open in several separate places, or when a section has melted near the exhaust, the question changes: count the joints you would have to make and weigh that against a complete replacement harness. The reasoning is the same as for any other part, and it is laid out in the repair or replace guide.
FAQ
Can I repair a harness without a soldering iron?
Yes, with crimp terminals installed using a proper crimper, or sealed wire nuts as a temporary fix. Both work, but neither ages as well as solder on a bike that vibrates this much. If the repair touches the ignition or the kill switch circuit, redo it properly with solder as soon as you have an iron.
My bike only cuts out over the rough stuff, is that the harness?
Most likely an intermittent break, either a wire snapped under its insulation or a terminal backing out of a connector. Put the meter on continuity across the suspect circuit and shake the harness by hand while you measure. The beep dropping out tells you where to look. Check the connectors too, since green corrosion on a pin gives the same symptom.
Do I need a whole new harness after a crash?
Not automatically. After a crash the harness usually suffers at torn-off connectors and displaced routing points, and both of those are repairable. Full replacement earns its price when the insulation is open in several places far apart, when a section has melted, or when you can no longer work out the original routing.
More repair guidance in the repairs section.
Editorial content. PiloteMX offers no on-site service, no parts or gear sales, no quotes and no bike repairs. Working on a bike and riding it carry risk: what you do with this guide is your own responsibility.