Dirt Bike Brake Maintenance: What to Check Before Every Ride
Contents
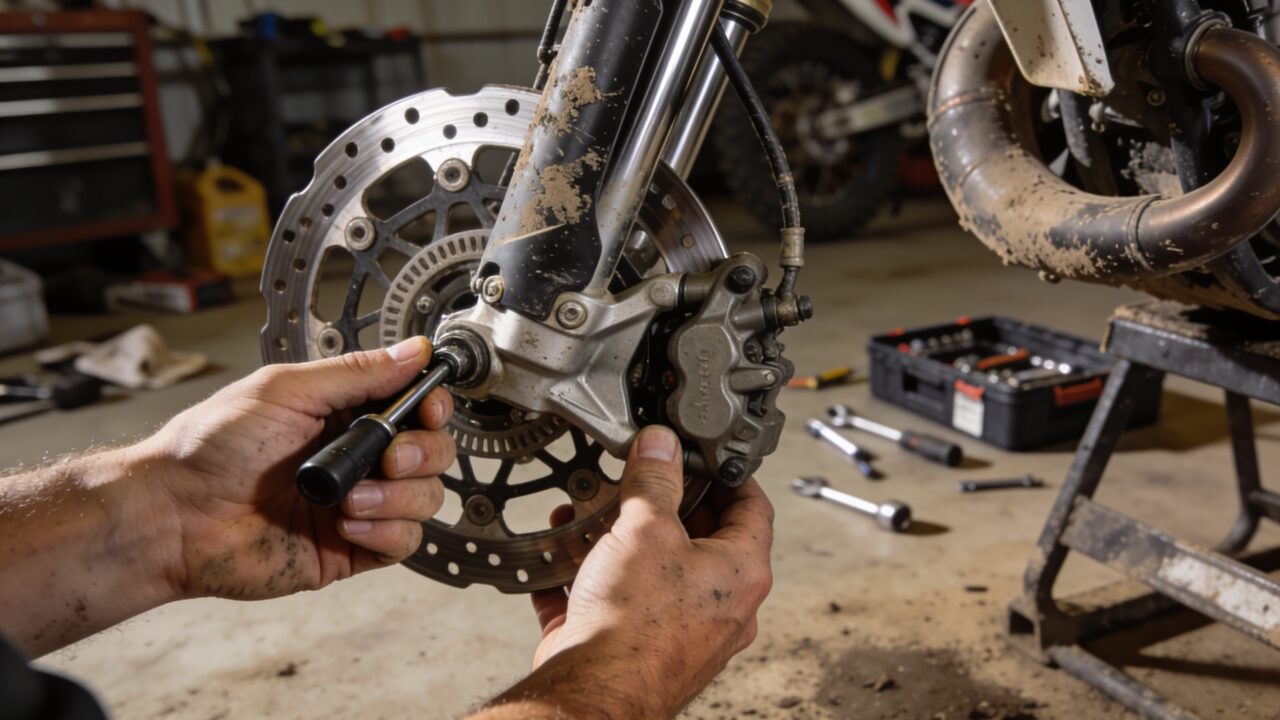
Check dirt bike brake pads and fluid before every ride. Thin friction material or degraded fluid takes stopping power away exactly where you are counting on it: at speed, on the way into a corner, with someone right behind you. The whole check takes two minutes and needs nothing more than a flashlight.
Why dirt bike brakes wear differently
Mud, sand and dust do not stay outside. They work their way between the rotor and the pads and turn every stop into a grinding session. Ride for ride, a dirt bike eats pads far faster than a street bike does, and sand is by some distance the worst of the three.
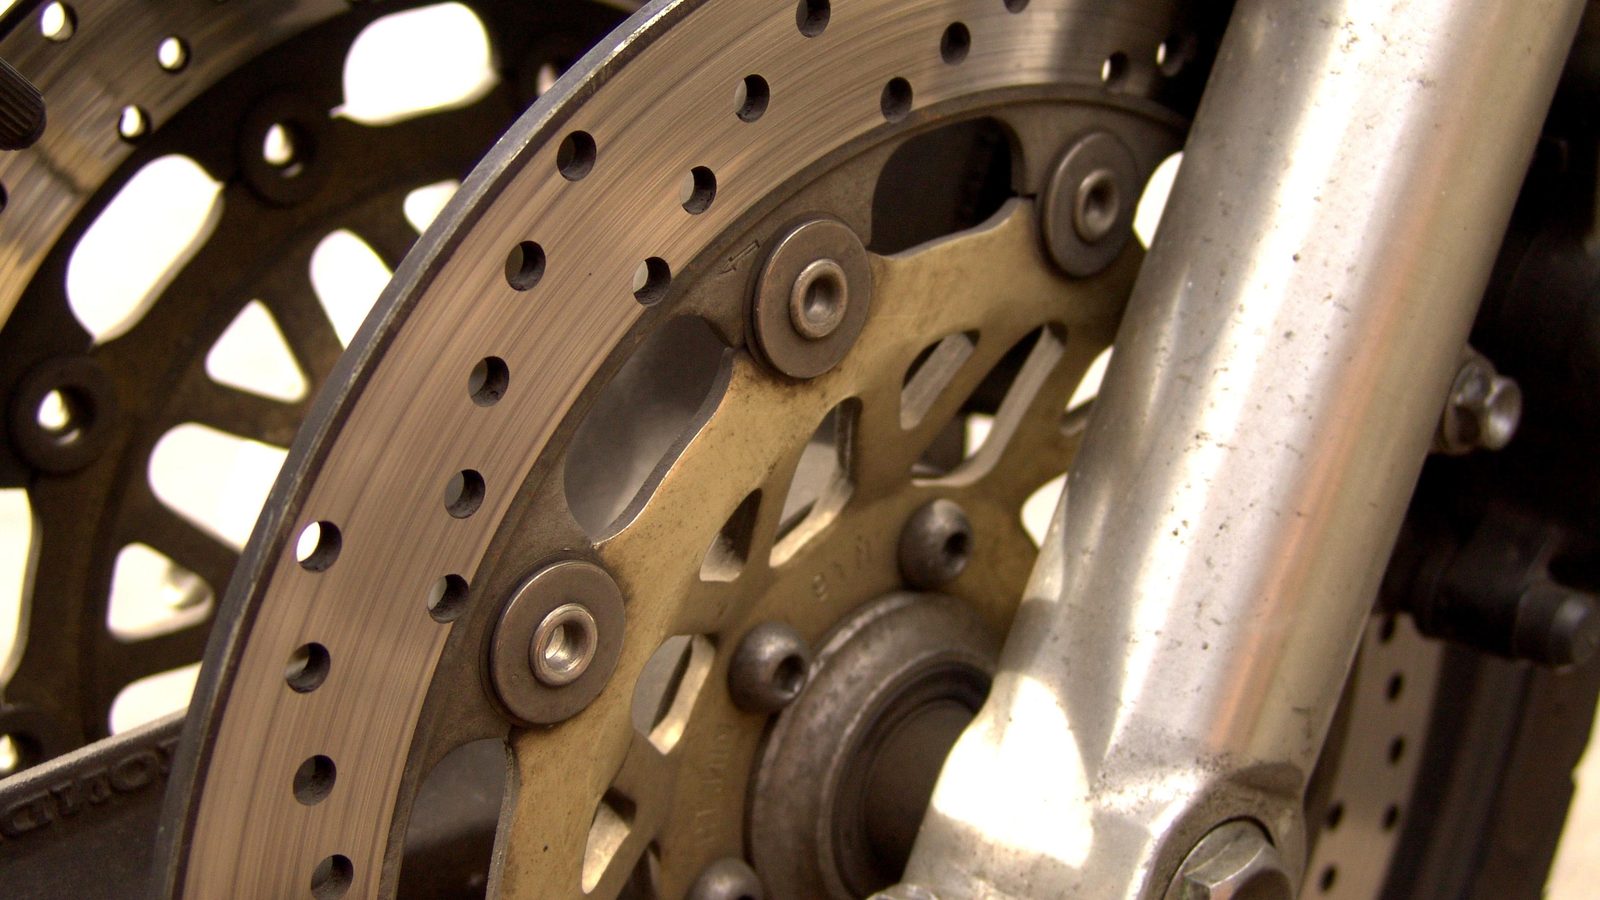
Rotors are smaller and lighter here than on the road. Effective, but easier to damage: one hard fall on that side is enough to put a wobble in one. That is why the visual check matters as much as the thickness check.
The rear brake follows its own rules. Loaded hard on descents, used to settle the bike mid-corner, it works under different conditions from the front and does not wear at the same rate. Plenty of riders only ever look at the front, then find the rear pads down to the backing plate.
The pre-ride check, in order
Bike on the stand, flashlight in hand. The order matters: start with what you can see, finish with what you can feel.
- Pull the front lever and press the rear pedal with the engine off. Resistance should build firmly, at the same point in the travel every time.
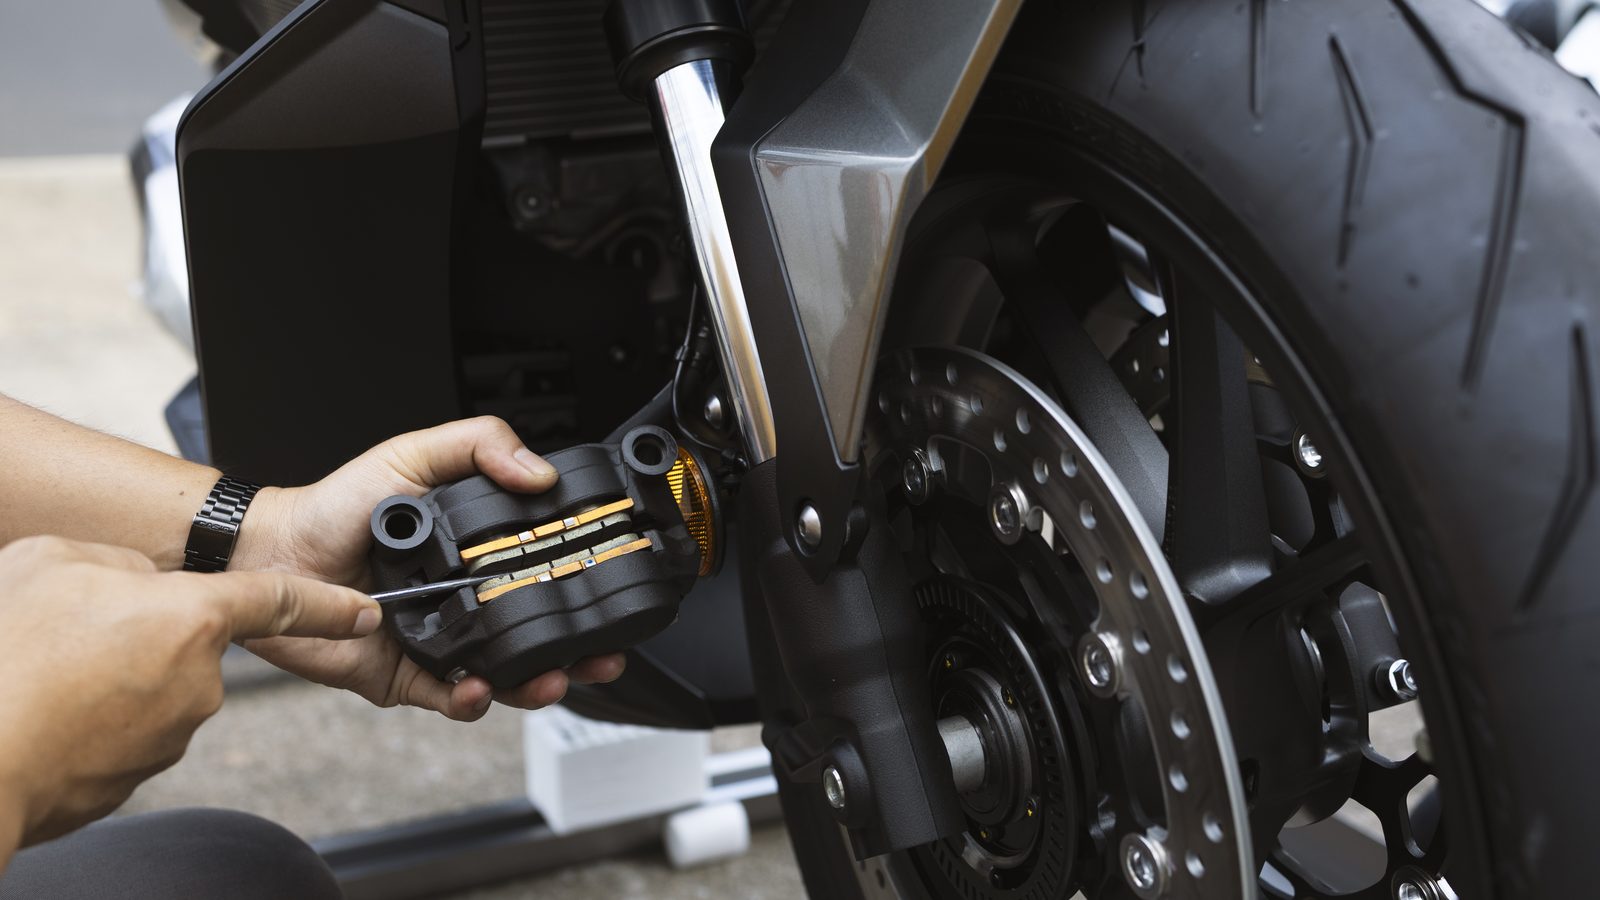
- Look through both calipers at the pads, front and rear, and compare the two pads inside the same caliper.
- Check the level in both reservoirs with the bike upright, and note the colour of the fluid while you are there.
- Spin the wheel slowly and track the rotor with your eyes: wobble, deep scoring, blue patches from heat.
- Follow each brake line from master cylinder to caliper, looking for cracks, swelling or a spot rubbing on the fork or swingarm.
- Confirm nothing is dragging. The wheel should spin freely, with no tight spot and no constant rub.
- Finish with a walking-pace brake test before you pick up speed, especially after any work or a crash.
These steps belong inside your pre-ride checklist rather than standing as a separate job you remember every other weekend.
Reading pad wear
The visible friction material has to stay above the manufacturer’s minimum, generally somewhere around one to two millimetres depending on the model. Most pads carry a wear groove or a line stamped into the backing plate, which gives you the reference without measuring anything.
Replace them as they approach that limit, not once they reach it. Braking on pads that are too thin cuts into the rotor, and a rotor costs several times what a set of pads does. It is the easiest piece of arithmetic in the whole maintenance section.
Check whether both pads in a caliper are wearing evenly. A clear difference between the two sides points to a sticking piston or a caliper full of grit. Fitting new pads changes nothing there: the caliper needs cleaning and the pistons need to retract freely again.
Brake fluid, the part everyone forgets
The level should sit inside the marked band on the reservoir. A slow drop tracks normal pad wear as the pistons creep out. A fast drop means a leak, and that gets found before the bike moves.
Colour tells you the rest. Clear or lightly amber is fine. Cloudy or genuinely dark means the fluid is done. It pulls moisture out of the air year after year, even on a bike sitting in the garage, and that water starts to boil once you string hard stops together. That is the moment the lever goes spongy and the power quietly disappears.
Quick reference
- Pads and fluid check
- before every ride
- Fluid replacement
- every year or two, symptoms or not
- Fluid type
- whatever the manufacturer specifies, never a mix
- Tools
- flashlight for the caliper, torque wrench on reassembly
- After a crash
- full brake check, even with no visible damage
Rotors, lines and calipers
Track the rotor surface as the wheel turns slowly. Fine scoring is normal and a dirt bike rotor never stays polished for long. What should stop you is a groove deep enough to catch a fingernail, or a blued patch from overheating, because the useful contact area has shrunk. A warped rotor announces itself differently, as a steady pulse through the lever at moderate speed.
Check the lines by hand as much as by eye. Rubber or braided, look for cracks, swelling and any point where the line rubs against the fork or swingarm.
Clean the calipers regularly, above all after sand. A piston that no longer retracts fully leaves the pad resting on the rotor: it heats, it wears at an angle, and eventually it cooks the fluid. Fold this into your wash routine, and never aim a pressure washer straight into a caliper.
Mistakes that cost money
Riding down to the metal. Within a few sessions the backing plate scores the rotor from edge to edge and turns a cheap wear item into a real bill.
Getting used to a soft lever. “It has always been like that” almost always hides air in the line or fluid saturated with moisture. You lose braking power without noticing, because the decline moves at the same pace as your habit.
Mixing fluid types. Swapping between specifications without knowing what it means attacks the seals in the system and produces a slow loss of braking that is hard to diagnose, precisely because it never looks like a clean failure.
Only ever checking the front. The rear does the real work on soft ground and steep descents, where the front lets go early. A neglected rear brake costs you traction on the landing and sends the bike sideways where you meant to slow it. A glance at both calipers during your post-ride routine catches it early.
FAQ
How often do brake pads need replacing?
No hour interval holds up here. Check before every ride and replace as soon as the material approaches the manufacturer’s minimum. The terrain decides everything: a season in sand goes through pads far faster than a winter on tacky ground, and two riders on the same bike will not get the same mileage out of a set.
Why has my lever gone spongy?
Usually air has found its way into the line, or the fluid has taken on enough moisture to boil under heat. A bleed with fresh fluid fixes most cases. If the soft feel returns quickly afterwards, have the master cylinder inspected rather than bleeding the system a second time and hoping.
Can I ride with a lightly scored rotor?
Light surface marks are fine. What should stop you is a groove deep enough to catch a fingernail, a blued patch from overheating, or a pulse through the lever. Any of those three means the rotor is finished, and fresh pads on a damaged rotor wear out fast without restoring the braking you lost.
Should I flush the fluid with no symptoms?
Yes. Brake fluid degrades on the calendar, not the hour meter, absorbing moisture from the air even on a bike that never moves. Every year or two remains the rule, and it lands naturally alongside the spring rebuild, when the bike is apart and you are going through everything anyway.
Find the rest of the maintenance guides on the dirt bike maintenance page.
Editorial content. PiloteMX offers no on-site service, no parts or gear sales, no quotes and no bike repairs. Working on a bike and riding it carry risk: what you do with this guide is your own responsibility.