Pre-Ride Checklist: Five Minutes That Prevent Breakdowns
Contents
Five minutes before you ride is enough to catch what actually strands people: tire pressure and tread condition, chain tension, oil and coolant levels, the fasteners that vibration works loose, and firm brakes. Most trailside failures were already visible in the garage. Somebody just had to look before putting the helmet on.
Why the five minutes pay for themselves
A dirt bike lives in vibration, dust and impact. Nothing snaps out of nowhere. Things back off, stretch, and drop. A rider who checks before every session catches that while it is still free to fix. A rider who never checks finds out at the end of the straight, a long push from the truck and the toolbox.
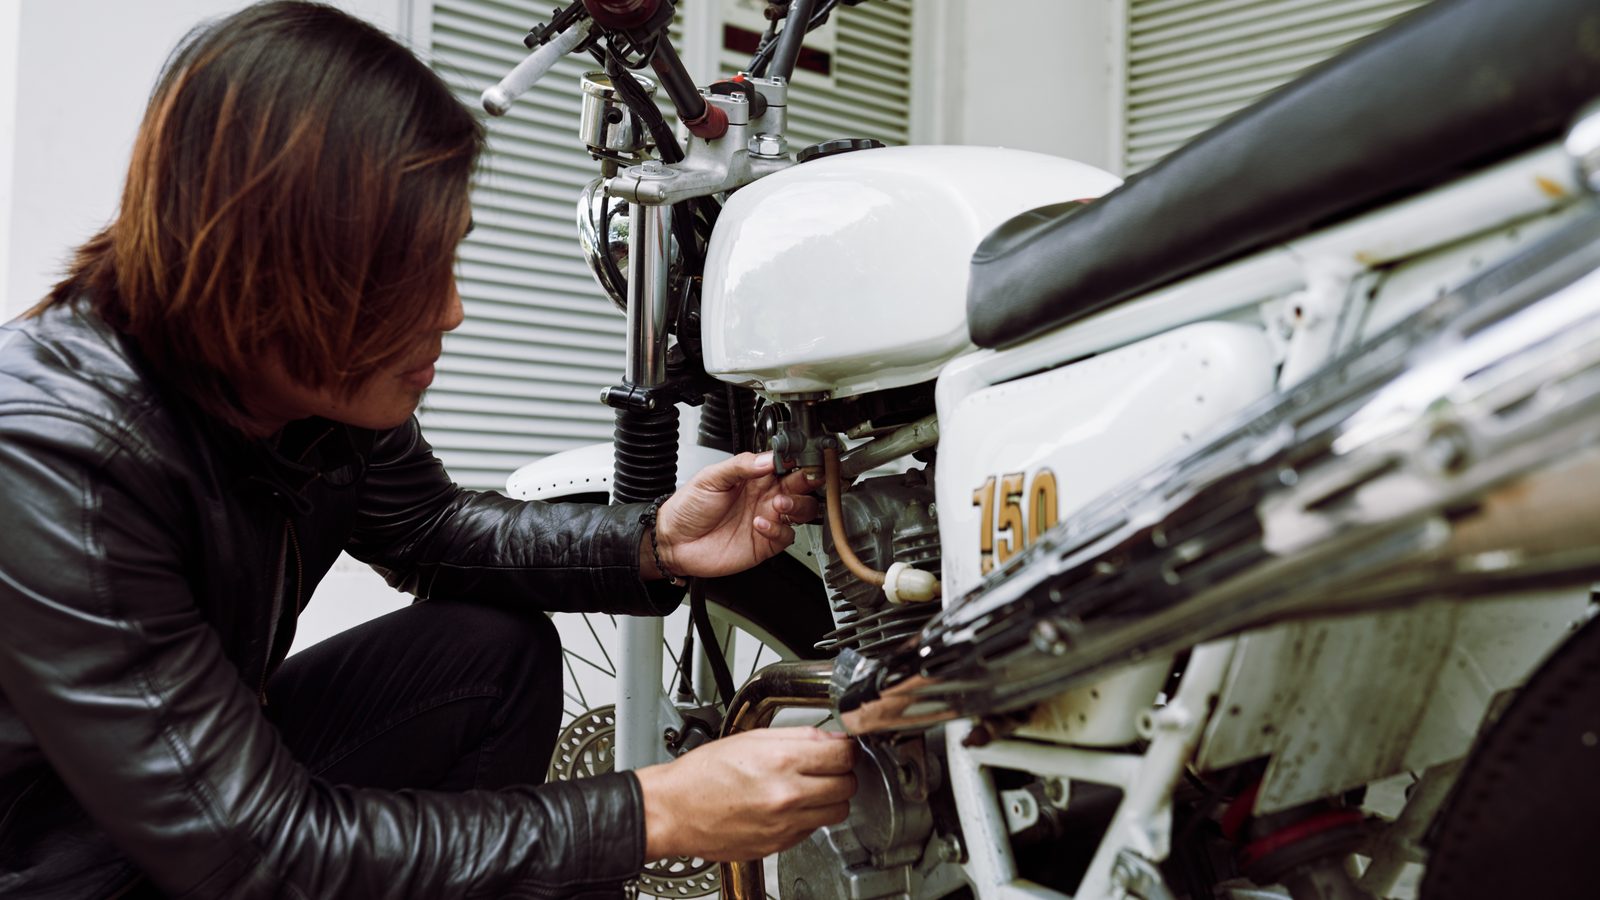
There is a side benefit nobody advertises. Handling the bike before every ride teaches you what normal feels like on your machine. A chain with more slack than last weekend, a lever that travels a little further than it used to, a fork leg that looks damp near the seal: you notice those when the movement is already in your hands. That feel beats any printed list taped to the toolbox lid.
The checklist in order
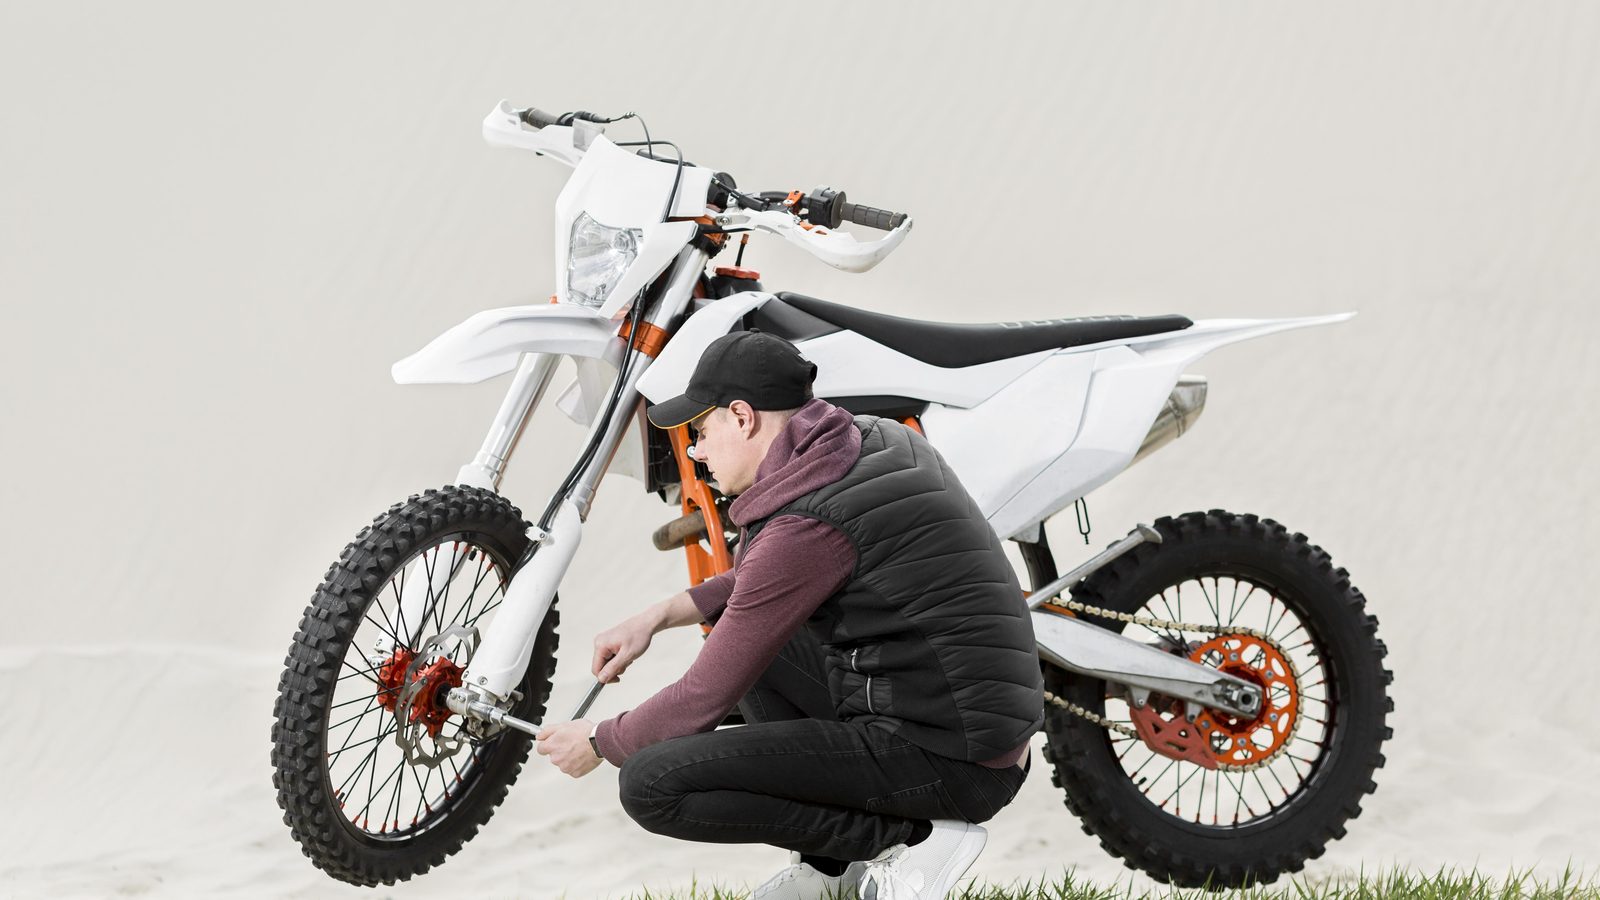
Same order every time, same direction around the bike. The order matters more than the speed, because it is what saves you on the days the rest of the group is already on the track. A gauge and the right wrench sizes cover you at the truck; the rest of the tool kit can stay home.
- Walk around the cold bike and look at the ground underneath it. One fresh drip tells you more than a long inspection.
- Check tire pressure on both wheels with a gauge, then run a hand over the knobs for tears, cuts and rounded edges.
- Grab the chain in the middle of the lower run, move it up and down, and roll the wheel to find the spot where it sits tightest.
- Read the engine oil level the way the manual tells you to read it, then the coolant level if the bike is liquid cooled.
- Work through the exposed fasteners: axle nuts, bar clamps, footpeg bolts, rear sprocket nuts. Hand pressure first, a wrench only if something moves.
- Pull the front lever and press the rear pedal with the engine off, then push the bike a few metres and listen for wheels turning free.
Torque figures and slack specs change from model to model. Take them from your own workshop manual, never from a generic chart somebody posted on a forum.
The three points riders get wrong
Chain
Everyone looks at it; few riders actually check it. A glance from two metres away tells you nothing. You have to move it, and you have to measure it where the swingarm pulls it tightest. Too loose and it can jump the front sprocket under power. Too tight and it eats bearings and the countershaft seal. The full adjustment is covered in the guide on chain tension, and lubrication comes up again after every sandy session.
Brakes
A lever that pulls back to the grip with no resistance, or a pedal that sinks softly, is not something you sort out at the track. Look at the friction material still visible through the caliper opening, and check the lines for chafe, especially after a crash on the lever side. The detailed inspection lives in the guide on brake maintenance.
Fasteners
Vibration backs hardware off slowly, quietly, without warning. An axle nut that has picked up play gives no signal until it becomes dangerous. When you do reset a fastener, use a torque wrench and the figure printed in your manual. Overtightened breaks things just as reliably as loose.
Adjusting the list to the day
The core stays fixed. What changes is what you add in front of it, depending on where you are riding and what the bike went through last time out.
| Situation | What you add | Why |
|---|---|---|
| Sand or deep mud | Condition of the air filter and clear radiator fins | Sand loads a filter in a single session and dried mud blocks airflow |
| Race day or a long ride | Fork and shock seals, steering head play, spoke tension | These are the faults that grow with time and repeated impact |
| After a crash | The whole list, plus bar, lever and front wheel alignment | An impact often twists something without visibly breaking it |
| Between motos | Chain, fluid levels, hot tire pressure | Those are the only points that really move in an hour of riding |
What turns the routine into theatre
First mistake: checking with your eyes. Looking at a chain does not tell you its tension. Looking at a brake does not tell you whether it is firm. Until you have touched something, you have not checked it.
Second: skipping the list once because the group is already out, then again the next day because it was fine yesterday. Consistency protects more than completeness. A short check done every single time beats a thorough inspection done three times a year.
Third, and the expensive one: seeing the problem and riding anyway. “It should hold” is the sentence that comes right before a long evening with the bike in pieces. A marginal part in the garage becomes a broken part at the track, where you have fewer tools and less patience.
The quiet one: doing everything with a hot engine, right after unloading. Fluid levels read differently depending on temperature, and the manual always states the conditions for taking the reading. Do it cold, before the bike goes in the van.
FAQ
How long does a pre-ride check actually take?
Five minutes once the routine is set, because you stop wondering what to look at and in what order. The first few times, budget double: you will hesitate over chain slack and over how to read the oil level properly. That time shrinks on its own after a handful of sessions, and it grows again before a race or after a crash.
Do I repeat the whole thing between motos?
No. Only three things really move in an hour of riding: the chain, the fluid levels, and tire pressure, which climbs with heat. The rest does not change unless you hit something. Run the full list at the start of the day, on a cold bike, before you unload. After a crash it becomes mandatory again from top to bottom.
What if I find a problem once I am already at the track?
Fix it before you ride, or do not ride. A loose fastener or a chain that needs taking up is a parking-lot job. A soft brake, a leaking fork or play in the steering head is not; those go back to the workshop. And a proper post-ride routine is still the best way to avoid finding them at the gate next time.
Find the rest of the maintenance guides on the dirt bike maintenance page.
Editorial content. PiloteMX offers no on-site service, no parts or gear sales, no quotes and no bike repairs. Working on a bike and riding it carry risk: what you do with this guide is your own responsibility.