Repairing a Dirt Bike Brake Master Cylinder
Contents
A spongy brake master cylinder, or one that bleeds off pressure between rides, almost always comes back with a rebuild kit — piston, cups, spring — followed by a full circuit bleed. A cracked body after a crash, a corrosion-pitted bore or a split reservoir is a different story: that part gets replaced whole, not repaired.
Spotting a worn master cylinder
The lever creeps toward the grip and the braking never really arrives. You bleed it, the lever feels right for one moto, and next weekend the bite point has drifted back toward the bar. That is a worn master cylinder, not a bubble you missed. Air does not sneak back into a sealed system on its own.
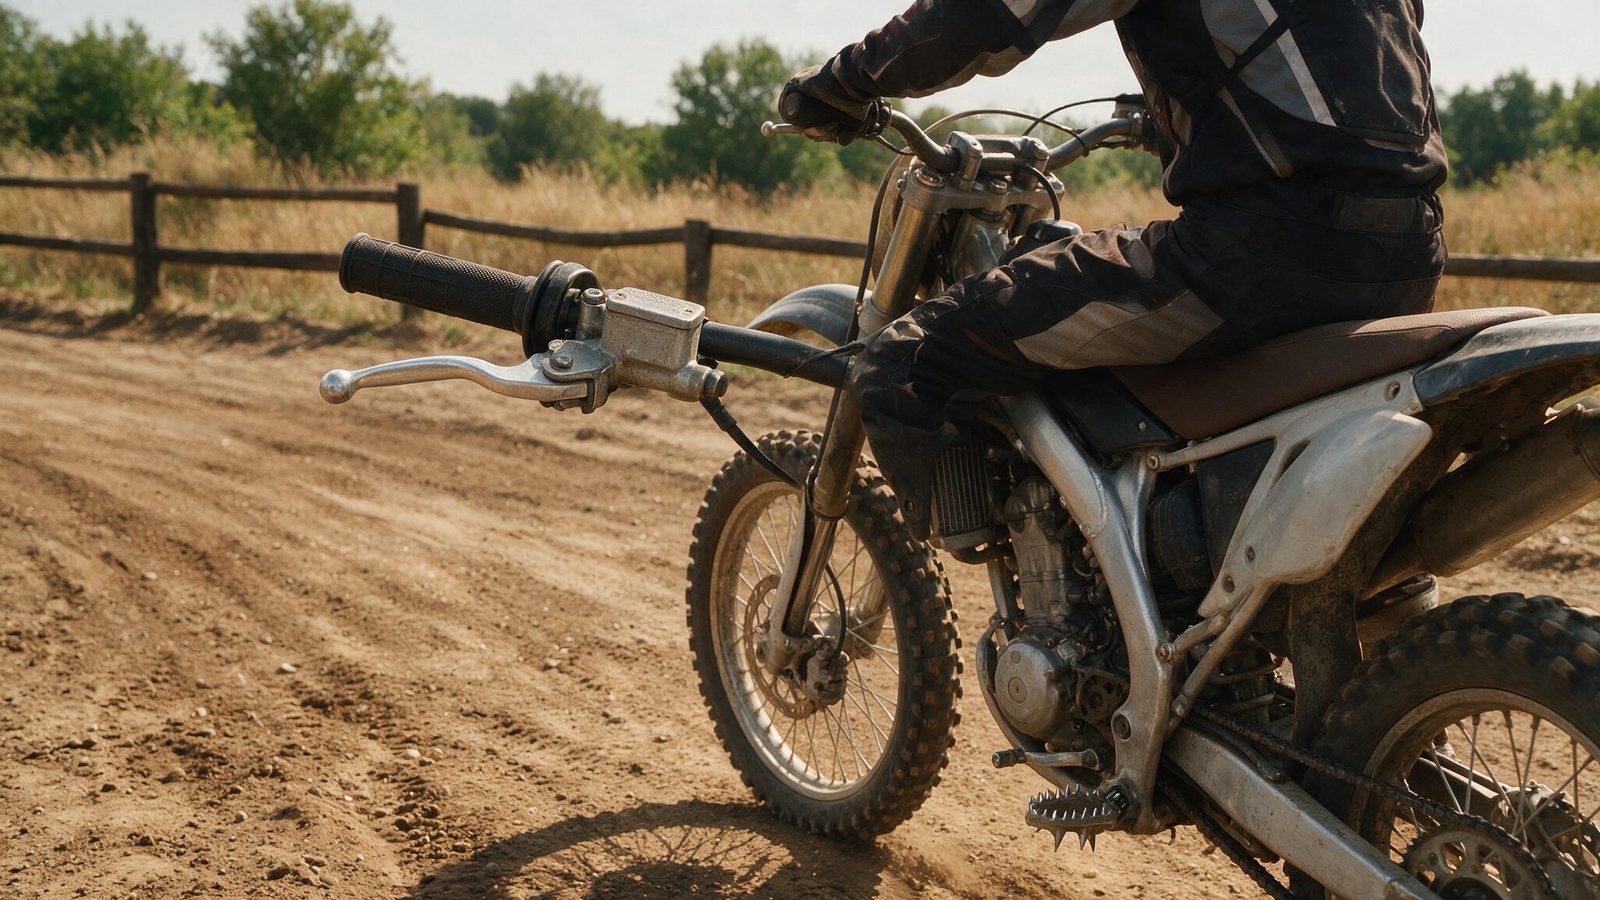
The second clue reads louder: an oily weep around the body, under the rubber boot, or a damp patch on the bar just below it. Most riders write that off as overspray from a cleaner. Look closer. Brake fluid is thicker, it never quite dries, and it strips paint wherever it lands.
Third sign, usually ignored: a wheel that drags after a run of hard stops. The piston is no longer returning fully to rest, the compensation port stays covered, and pressure has nowhere to go. On a long descent that turns into a wheel locking itself.
Master cylinder, caliper, or air?
All three give you a soft lever, and that is exactly where rebuilds go wrong — people rebuild the wrong part. Place the fault before you reach for a wrench.
| What you see | Most likely cause | What to do |
|---|---|---|
| Soft on the first pull, firm after a few pumps | Air in the system | Full bleed, reservoir never allowed to run dry |
| Bite point drifting ride to ride despite bleeding | Master cylinder internal cups | Rebuild kit, then bleed |
| One pad far more worn than the other, caliper hot at a standstill | Seized caliper piston | See freeing a stuck brake caliper |
| Firm lever but weak braking, pulsing through the lever | Disc or pads | See warped brake disc |
What actually wears inside
A master cylinder is a pump. A piston slides in a bore, pushed by the lever, returned by a spring. Two rubber cups seal it: the primary pushes fluid down the line, the secondary keeps fluid from escaping back out the lever end.
Those cups age. They take the heat that travels up from the caliper through the fluid, and they sit in brake fluid that pulls moisture out of the air month after month. A tired cup stops sealing: instead of pushing all the fluid forward, it lets some slip past behind it. That is the softness no amount of bleeding fixes — you do not have air, you have an internal leak.
The bore can pit too. Waterlogged fluid, a couple of winters parked, and the wall picks up micro-craters. A new cup never saves that. It tears itself apart on the rough spots within a few rides.
Fitting the rebuild kit
- Stand the bike upright and protect the plastics: lay a damp rag under the master cylinder and keep clean water within reach. Brake fluid eats paint in minutes.
- Open the reservoir, draw off the remaining fluid with a syringe, then crack the caliper bleed screw and pump the system empty at the lever.
- Disconnect the line, plug it straight away with a clean cap or a taped plastic bag, and unbolt the body from the bar.
- Pull the rubber boot, then the circlip that retains the piston. Wear glasses for this one — that clip is under load and it travels.
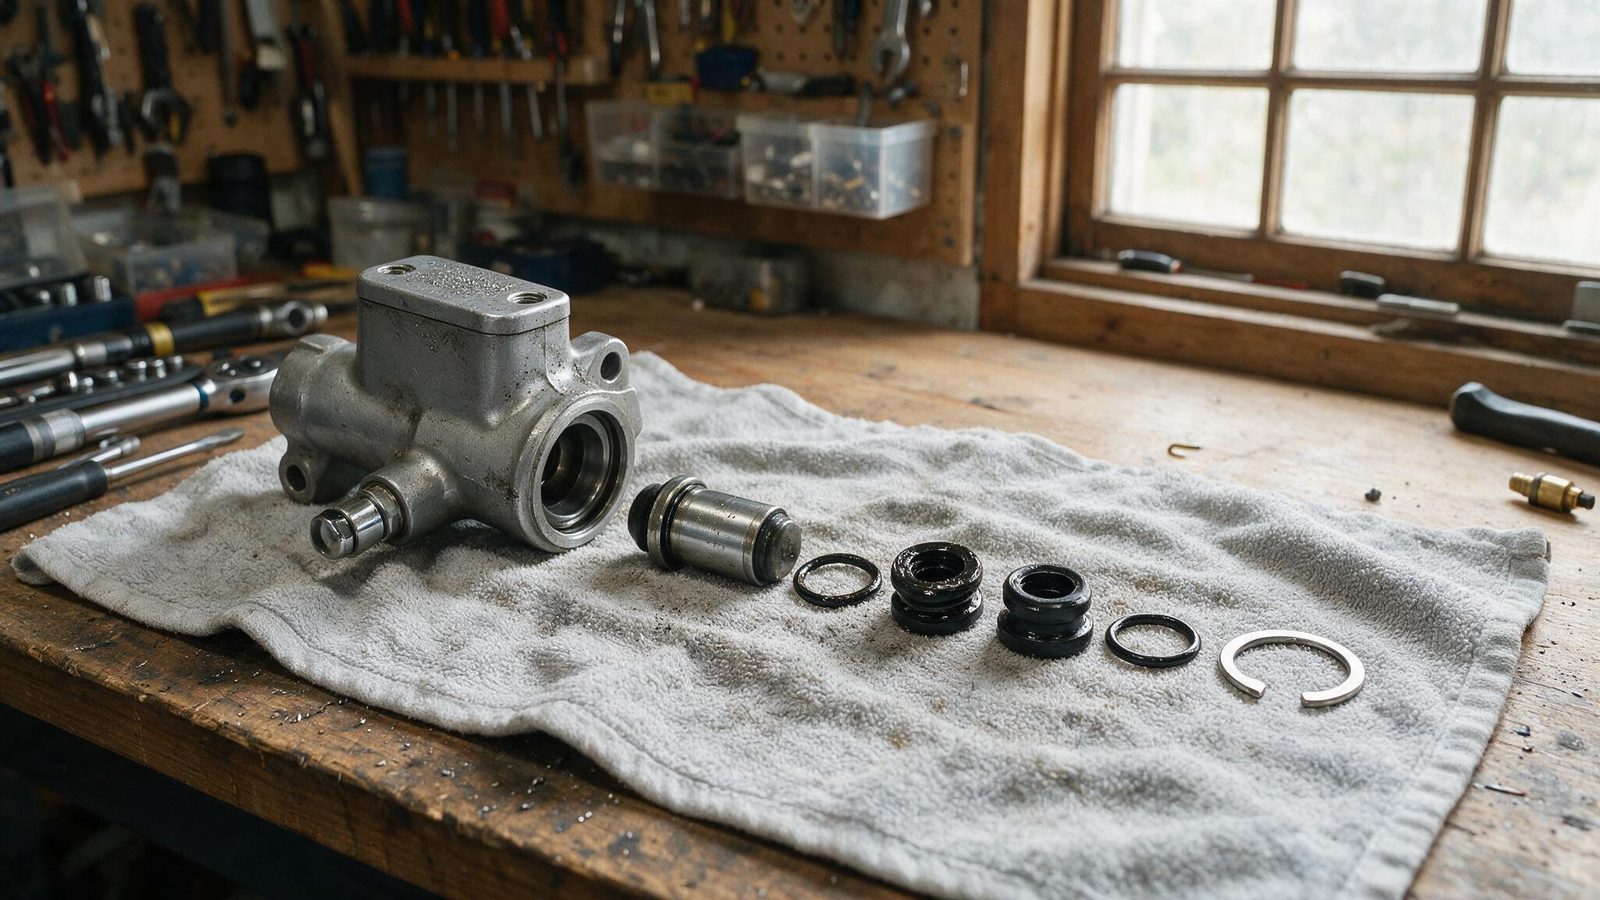
- Slide out the piston with its spring and cups. Lay every part on a clean rag in the exact order it came out, and photograph the row before you touch anything.
- Clean the bore with fresh brake fluid and nothing else. No brake cleaner, no mineral spirits: anything petroleum-based swells the new seals and you will be doing this again in two rides.
- Run a fingertip down the bore. Smooth and bright, carry on. Rough, pitted, or ringed at the end of the stroke, the body is finished — replace the whole master cylinder.
- Fit the new kit in the order you recorded, every part wet with fresh fluid. Push the piston in dead straight, without twisting it, until you feel the spring bottom out.
- Seat the circlip until you hear it snap into its groove, check the full circumference with a fingernail, then refit the boot.
- Remount on the bar, reconnect the line with new copper washers, fill with fresh fluid of the type stamped on the cap, and bleed until the lever comes up firm.
The bleed is half the job
A perfectly built kit behind a sloppy bleed feels exactly like a worn master cylinder. Take your time. Turn the bar so the reservoir sits as the high point of the system, tap along the line to shake bubbles loose from the bends, and never let the reservoir run dry — one bubble drawn in and you start over.
The lever should come up firm and repeat identically every pull. If it stays spongy after two clean bleeds, look elsewhere: caliper, or a tired line ballooning under pressure.
When you do not repair it
A body cracked in a crash gets replaced, even when the crack looks like a hair. Same for a split reservoir, a stripped line thread, a pitted bore. Pressure in this circuit climbs hard, and a crack that sits quietly in the garage opens up under a heavy stop.
If you are torn between rebuilding and buying new, the decision grid in repair or replace a part settles it fast, and on anything brake-related it leans toward replacement every time.
One last thing: the rear master cylinder eats far more mud and water than the front one. It seizes for external reasons as much as internal ones — a linkage bent by a rock, a torn boot, water finding its way in from above. Check those before you order a kit.
FAQ
My lever goes soft again after a few days even though I bled it three times
That is the classic tired internal cup. Bleeding clears air, but it does nothing about an internal leak: fluid slips back past the cup instead of being pushed toward the caliper. Check for a damp film under the boot as well. If the lever holds briefly then sinks while you keep steady pressure on it, the rebuild kit is the answer.
Can I reuse the brake fluid I just drained?
No. Brake fluid pulls moisture from the air continuously, and what you just drained is loaded with it. Poured back into a freshly rebuilt master cylinder, it attacks the new cups and lowers the boiling point — precisely what you cannot afford in a long braking zone. Always refill from a sealed bottle, of the type marked on the cap.
Is the fault in the master cylinder or the caliper?
Clamp the line near the caliper with soft-jaw pliers and pull the lever. If it goes hard right away, the master cylinder is pushing fine and the problem sits downstream at the caliper or pads. If it still feels soft with the circuit isolated, the master cylinder is at fault. When unsure, start with the caliper: quicker to strip, and guilty more often.
More repair guidance in the repairs section, and it is worth keeping a sealed bottle of fresh fluid in your trailside repair kit.
Editorial content. PiloteMX offers no on-site service, no parts or gear sales, no quotes and no bike repairs. Working on a bike and riding it carry risk: what you do with this guide is your own responsibility.