Coolant Level: Avoiding Overheating on a Dirt Bike
Contents
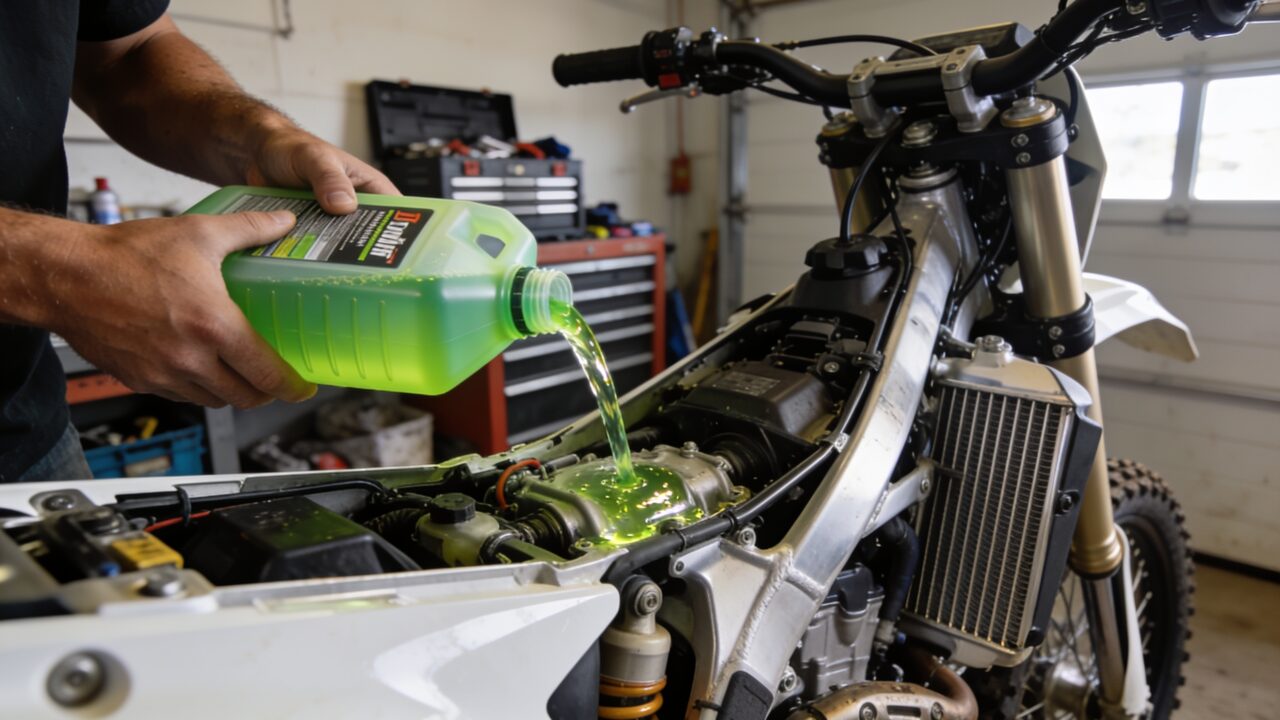
On a liquid-cooled dirt bike, check the coolant level before every ride with the engine cold, and replace the coolant completely every one to two years depending on how hard the bike works. A low level or tired coolant leads straight to overheating, and overheating is one of the most expensive failures you can hand yourself on this kind of engine.
Why cooling works harder on a dirt bike
A street bike holds a steady speed with air flowing across the radiator the whole time. A dirt bike does the opposite: pinned, hard on the brakes, drive out, crawl through a rutted turn, sit on the start gate. Every time speed drops, airflow drops with it — while the engine keeps making the same heat.
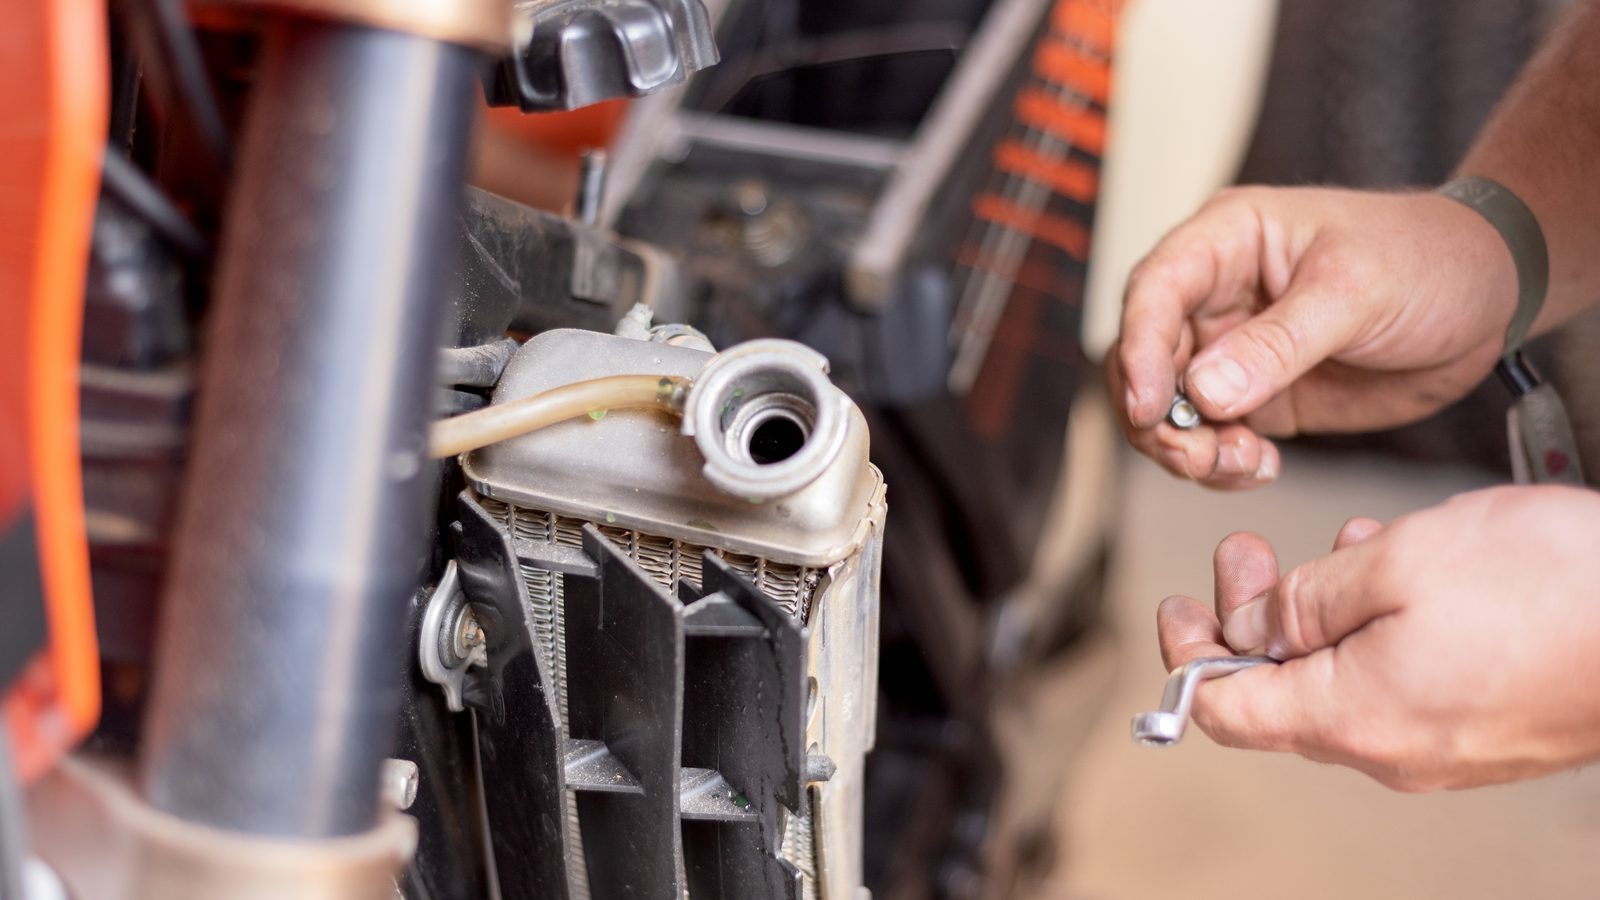
That’s exactly what happens on a steep climb: high revs, low ground speed, badly fed radiators. A cooling system that’s slightly marginal will behave perfectly on a fast, open track and let go within minutes in that kind of section.
Coolant also ages on its own, even when the level never moves. The anti-corrosion additives wear out, deposits build up inside the passages, and heat transfer quietly gets worse with no warning light to tell you. Old coolant at the right level is still coolant that needs changing.
Key points
- Level check
- before every ride
- Full replacement
- every one to two years depending on use
- Engine state
- cold, never straight after a ride
- Where to look
- overflow reservoir or sight glass if the bike has one, otherwise the radiator
- Mix
- the type and ratio your manufacturer specifies, often around 50/50
- Watch closely
- hoses, water pump, bottom of the radiators
Checking level and condition
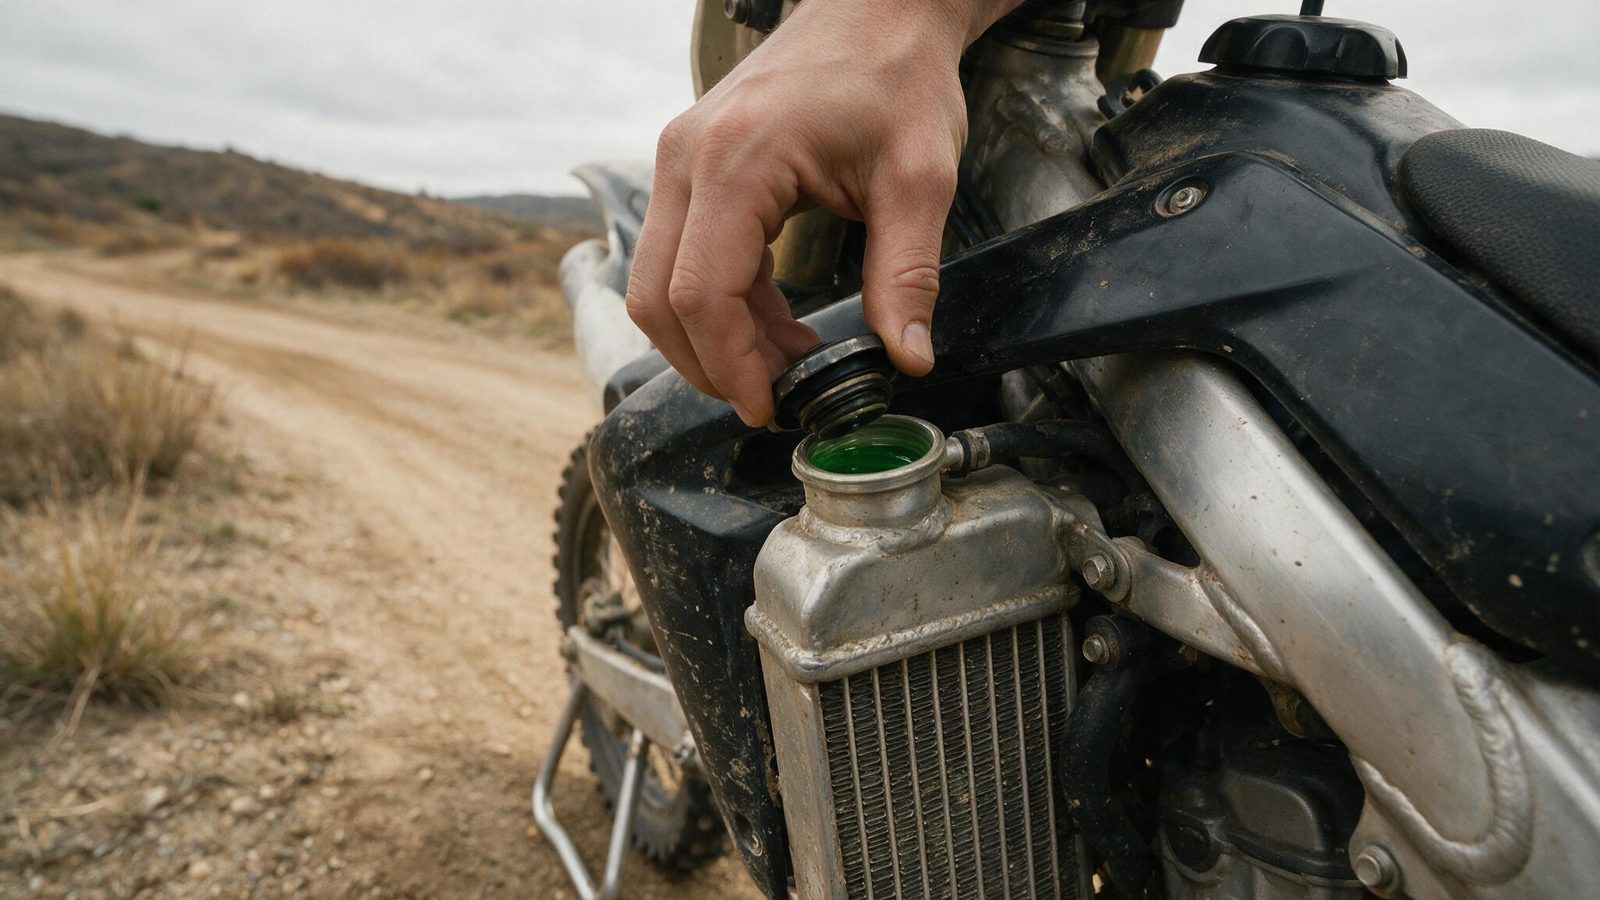
Cold means cold, not lukewarm. On a warm engine the system is pressurised, the reading is misleading and opening the cap is dangerous. The right moment is in the morning before loading, as part of the pre-ride checklist — not that evening on the way in.
Then look at the colour. Healthy coolant keeps a clear, definite shade. Cloudy, brown, rusty, with particles drifting in it or a greasy film on top: that isn’t a top-up, that’s a flush. Foam or an exhaust smell in the reservoir is a different story altogether — that points at an internal problem, not a maintenance item.
Finish with leaks. Run a finger under the hoses, around the clamps, along the water pump housing and the bottom of each radiator. A slow leak usually shows as a trace rather than a drip: a dried run, a coloured crust, dirt sticking oddly in one spot. The best time to spot it is on clean, dry parts after washing the bike.
Doing a full coolant change
- Let the engine cool completely, hours after the last run.
- Set the bike level and stable, and slide a pan under the low point of the system.
- Open the drain your manufacturer provides — a bolt or plug on the cases, or a low hose depending on the bike — and let it empty out.
- Collect all the old coolant in a sealed container. It doesn’t go on the ground or down a drain: it’s toxic, and sweet, which makes it dangerous to animals.
- Flush with clean water if what came out looked dirty or carried deposits. On a healthy system that step is optional.
- Close it back up, replacing the drain washer if the bike uses one.
- Refill slowly with the coolant type and mix ratio your manufacturer specifies, often around 50/50.
- Bleed the air out using the procedure in the service manual — usually running the engine briefly with the cap off, topping up as bubbles work their way out, then closing it.
- Warm it up, let it cool, check the level again. It will almost always have dropped once the air is gone.
Drain bolt torque figures and exact system capacity live in the service manual for your machine. Don’t take them from anywhere else — they change from model to model.
When to watch it more closely
Heat and race days
Before a hot day or a race, check level and general condition the night before, cold, especially if the bike has been sitting for weeks. Check the radiator fins too: flattened sections and packed dirt cost you airflow exactly when you need it.
After a crash
A radiator can crack or lose its seal without any dramatic bend. After a front-end hit, check the level within a few hours, then check it again before the next ride — that’s how slow leaks get caught. It belongs in your post-ride routine.
Storage
The antifreeze side of the coolant is what protects the system through months of standing, particularly in an unheated garage. It’s one of the points covered in the guide on winterizing a dirt bike. A system filled with plain water freezes and splits things open.
The habits that end in an overheat
The riskiest one is heading out anyway, telling yourself it’ll hold for one session. A cooked head or head gasket costs far more than a bottle of coolant, and the damage doesn’t take long.
Next comes topping up with water, ride after ride. Each top-up dilutes the additives a little further, until the system barely protects against corrosion and boils sooner than it should.
Then there’s treating a falling level as normal. If you add coolant every weekend, that isn’t maintenance, it’s covering a leak. Find it, or have it found.
Finally, judging cooling in isolation. An engine running hot with a healthy system is usually telling you about something else: a loaded filter, fuelling, or oil past its life — which is why the oil change interval is part of the same conversation.
FAQ
How often does coolant actually need replacing?
Every one to two years depending on how hard the bike is used, and immediately if the fluid looks cloudy, rusty or full of particles. The level check is a separate thing and belongs before every ride. Your service manual gives the exact interval the manufacturer intends for your model, and that figure wins over any general rule.
Can I run plain water?
To limp home, maybe. As a routine, no. Water gives you no freeze protection and no corrosion protection, and it boils sooner, so your margin before an overheat shrinks. If you had to fill with water at the track, drain it and refill properly once the bike is back in the garage.
The level keeps dropping with no visible leak. What now?
That needs a diagnosis. An internal leak — head gasket, water pump seal — makes coolant disappear without leaving anything on the floor. Clues are foam or oil traces in the reservoir, persistent white smoke from the exhaust, or coolant that turns milky. Get a shop to look at it instead of topping it up every week.
Why does it run hotter climbing than on the straight?
Because the engine is working hard while the bike is barely moving. Heat output stays high, but the air passing through the radiators becomes scarce. Add a hot day and radiators packed with dirt, and the margin disappears fast. Climbs are where a neglected cooling system shows itself first.
Find the rest of the maintenance guides on the dirt bike maintenance page.
Editorial content. PiloteMX offers no on-site service, no parts or gear sales, no quotes and no bike repairs. Working on a bike and riding it carry risk: what you do with this guide is your own responsibility.