Repairing a Dented Dirt Bike Silencer
Contents
A dented silencer gets straightened from the inside, never by hammering on the outside. On aluminum you slide a dolly into the body and work the metal back with a mallet; on steel you push the dent out with internal water pressure. Either way, the step that matters comes after: checking the impact zone for cracks.
What a dent actually changes
A scuff on the side of the can is something you can live with. Trouble starts when the wall pushes in far enough to shrink the gas path. Back-pressure climbs, the engine goes soft up top, and on a two-stroke the whole powerband shifts without any obvious cause.
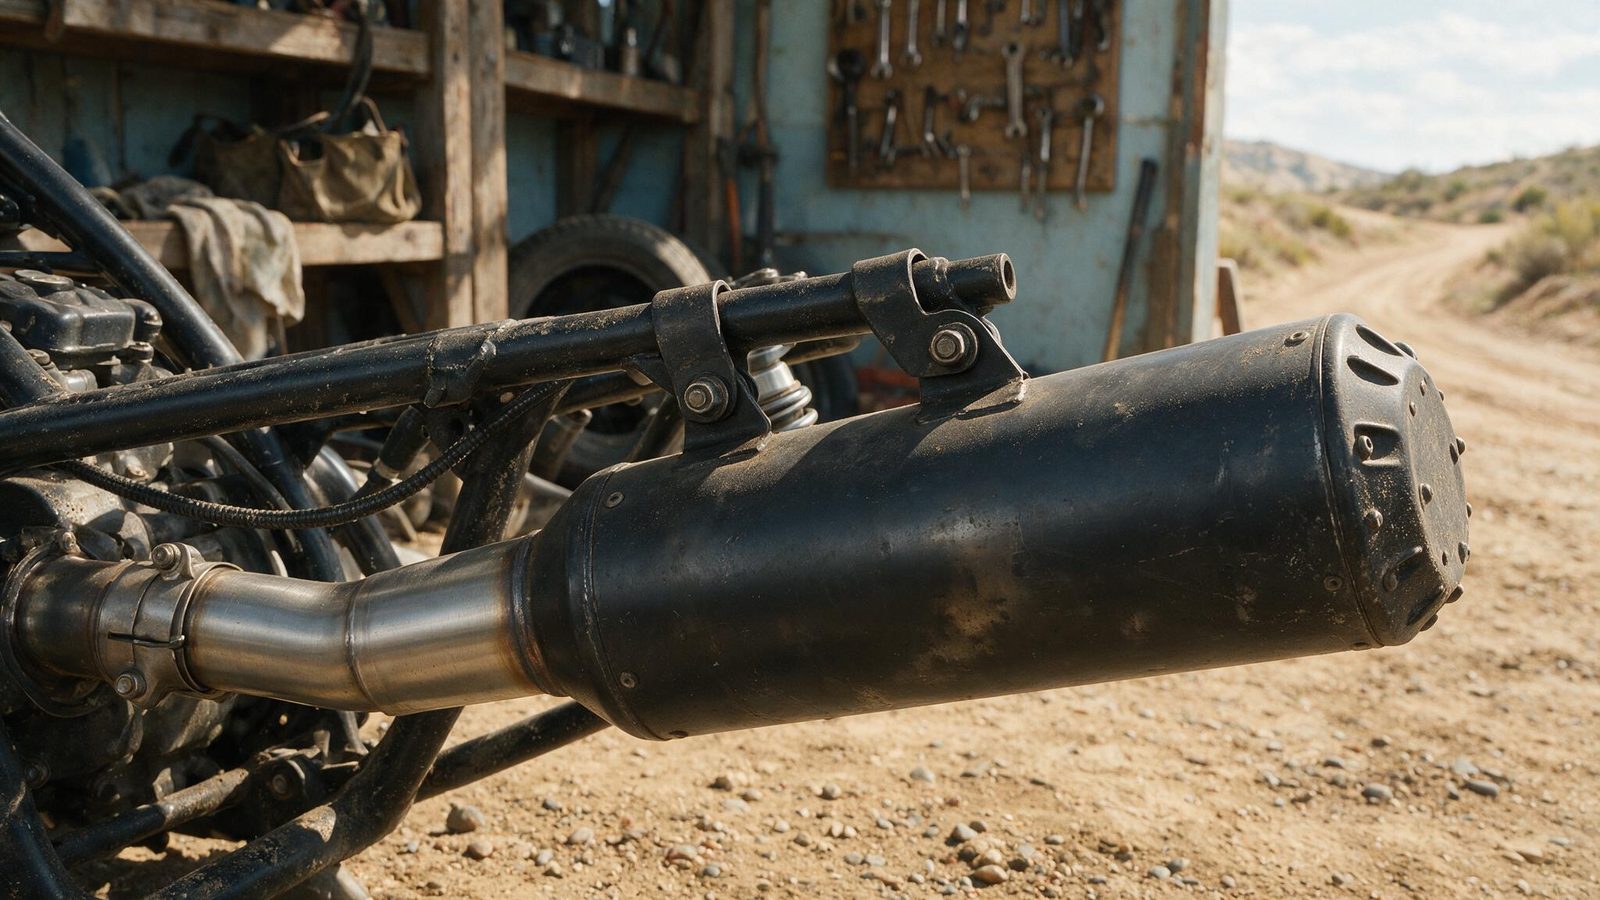
Then there’s the internal cartridge. On plenty of silencers the dent crushes the perforated core or packs the wool tight against it, and cosmetic straightening fixes nothing — the flow stays disturbed. How the system is supposed to work is covered in the guide on exhaust and silencer.
One more thing, harder to see: folded sheet metal has been stretched. It’s thinner right there, and it flexes on every heat cycle. That’s where cracks show up, usually two or three rides after the impact rather than on the day itself.
Assess the damage before reaching for the mallet
Pull the silencer off and look at it under raking light. A lamp held flat against the wall throws shadows into creases your eye misses head-on.
Sort three things: depth, shape of the fold, location. A wide, soft dish on the cylindrical section almost always comes back. A sharp crease with a defined edge has already broken the grain of the metal. And a dent sitting two fingers from a weld or a rivet line is the worst case of all — the weld doesn’t flex like the rest, so every bit of movement concentrates right beside it.
Then wipe the area with a light-colored rag and follow up with degreaser. A black weep that comes back after the engine runs means a hairline crack you’ll never spot by eye. Find one and stop there: straightening will open it wide.
Straightening an aluminum silencer with a mallet
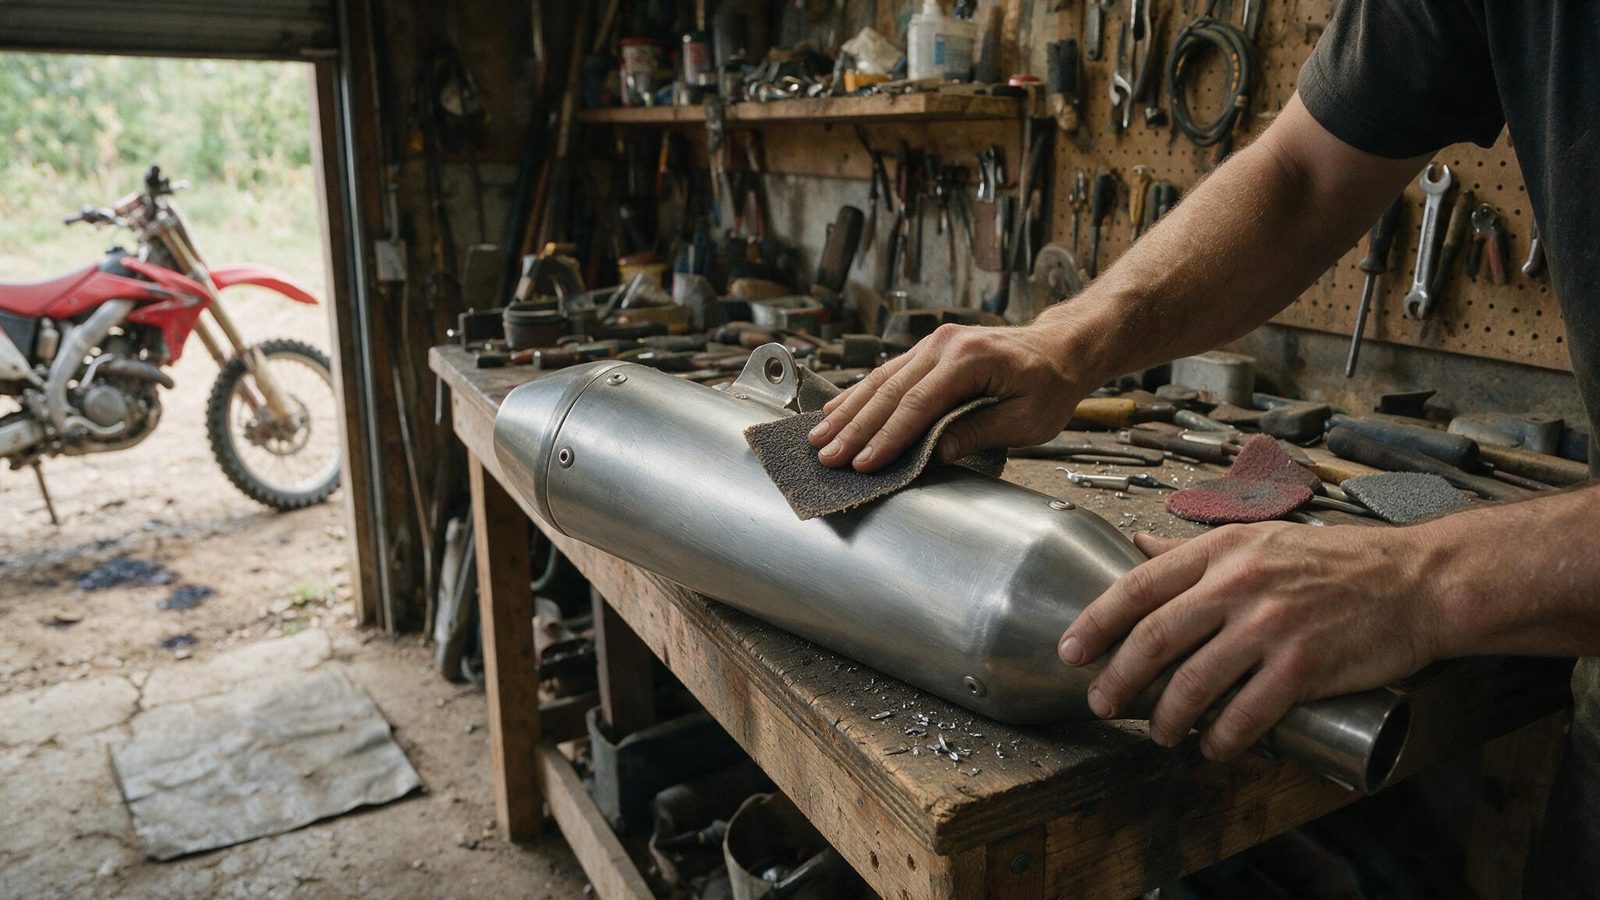
This is the classic method — the one that asks for the most patience and the least equipment. Aluminum works warm: cold it splits, too hot it slumps and takes the print of the dolly.
- Remove the silencer and let it drain, outlet down, until nothing more comes out.
- Drill out the rivets or back out the end-cap screws if the dolly has to go in that way, marking the orientation of every part before it comes off.
- Slide a rounded dolly inside and wedge it firmly against the hollow of the dent.
- Heat the area with a heat gun, sweeping wide, until the wall turns just uncomfortable against the back of your hand.
- Tap with a rubber or nylon mallet, starting at the rim of the dent, never at its center.
- Work around the hollow in a tightening spiral with light, even blows, adding heat again as soon as the metal pushes back.
- Check the profile with a steel rule laid along the body, then reassemble and run the engine while watching the repaired area.
The center lifts on its own once the rim is relaxed. Start in the middle and you stretch the sheet instead, raising a bulge that will never go back down.
Pushing a dent out of a steel silencer
Steel takes cold deformation far better than aluminum, which opens a second route: internal pressure. Cap one end, fill with water, raise the pressure with a hand pump or a small jack, and the dent lifts on its own without you touching the wall.
It works, but not on everything. A broad dish gives way slowly and comes back nearly flush. A tight crease won’t move at all — the pressure goes into the sound sections before it ever reaches the edge, and you end up distorting the can somewhere else. Build pressure gradually, let the metal settle between pushes, and stop the moment you hear it bang. That bang is the wall releasing all at once.
On a double-wall silencer, forget it: you’re only pressurizing the inner tube and nothing outside will move.
| Point | Aluminum | Steel |
|---|---|---|
| Method that works | Mallet on a dolly, metal warm | Internal water pressure, cold |
| Second attempt | Limited, work-hardens fast | Fine, several passes possible |
| Main risk | Crack at the bottom of the fold | Distorting the sound sections |
| If it cracks | TIG welding, specialist shop | Conventional welding, easier to source |
Once a crack is confirmed the job stops being bodywork and becomes welding: the basics are in the guide on plastic and aluminum welding.
When repair stops making sense
A crack in the impact zone
A gas leak in the body throws off how the engine runs and pushes noise levels up, sometimes past what a club sound check will pass. A weld on thin sheet that the impact already stretched rarely lasts a season. At that point the question isn’t how to fix it, it’s repair or replace.
A dent that reached the mount or the header
If the hit moved the mounting tab or ovalled the header slip joint, no new gasket buys back the seal. The silencer hangs off-axis, pulls on its supports and eventually cracks somewhere else. That’s a replacement, not a straightening job.
Same logic for a wall eaten by corrosion around the dent: what’s left no longer has the thickness to take mallet blows.
FAQ
Does a dent on the silencer cost me power?
A surface mark on the outer wall changes nothing you can measure. Once the deformation shrinks the internal diameter or crushes the cartridge, back-pressure shifts and the engine loses top-end pull. The honest test is the track: compare how it feels before and after straightening, same loop, engine hot.
Can I repaint a repaired silencer?
Yes, with high-temperature paint made for exhausts. Sand lightly to kill the gloss, degrease thoroughly, spray thin coats and follow the curing cycle the manufacturer prints on the can. Ordinary paint burns on the first heat cycle and peels off in sheets by the next ride.
How long does a mallet dent repair take?
Count 30 minutes to an hour for a simple dent, longer if the metal needs progressive heating to avoid weakening it. Removal, draining and cleaning often eat more time than the straightening itself, especially on a riveted can.
Carry what you need to improvise trailside with the trailside repair kit, and find every article in the repairs section.
Editorial content. PiloteMX offers no on-site service, no parts or gear sales, no quotes and no bike repairs. Working on a bike and riding it carry risk: what you do with this guide is your own responsibility.