Broken Dirt Bike Kickstart Spring: Diagnosis and Replacement
Contents
A broken kickstart spring gives itself away immediately: the pedal no longer returns on its own after a kick, or comes back limply with none of its usual firmness. Replacing it means opening the clutch cover or a dedicated side cover, depending on the model, to reach the whole return mechanism. The part is cheap; the access is what costs you time.
Recognising a broken spring
Three symptoms come up, and they don’t tell the same story.
The pedal stays down
You kick, the engine fires, and the lever hangs off its shaft. Nothing pulls it back. That’s the clearest case: the spring has snapped outright. The kickstarter also becomes a hazard, because it sits near your foot and can catch your boot as you set off.
The pedal comes back soft
It returns, but slowly, and it stops short of its top stop. Here the spring may be cracked, or one end has jumped off its anchor point. The end result is the same when you ride, but you still have a little time.
A sharp noise on the kick
A metallic clack that doesn’t sound like the mechanism’s usual ratcheting often means a broken piece of spring is loose in the case, rubbing against everything else. Stop kicking. A free chunk of steel inside a clutch does far more damage than a new spring costs.
One more case gets confused with this. If the lever drops through with no resistance at all and the engine stays silent, it isn’t the return spring but the drive pawl no longer catching. And if the kickstarter works normally while the engine simply refuses to fire, look elsewhere — usually at the ignition, covered in failed stator or CDI.
Why this spring eventually goes
It works in torsion on every kick: winds up, unwinds, repeats. After thousands of cycles the steel fatigues, and the break almost always starts at one end, where the spring is bent to form its hook.
How you kick matters. A pedal released abruptly at the end of its stroke dumps all that energy straight back into the spring. Guide the lever back up instead of letting it snap, and the spring lasts noticeably longer. Cold doesn’t help either: thick oil takes several determined kicks, which is why springs so often break on the first start of the day.
Then there’s corrosion, on bikes that sit damp. A pitted spring carries crack starters all over its surface, and it lets go well before it would have fatigued normally.
Where the mechanism lives
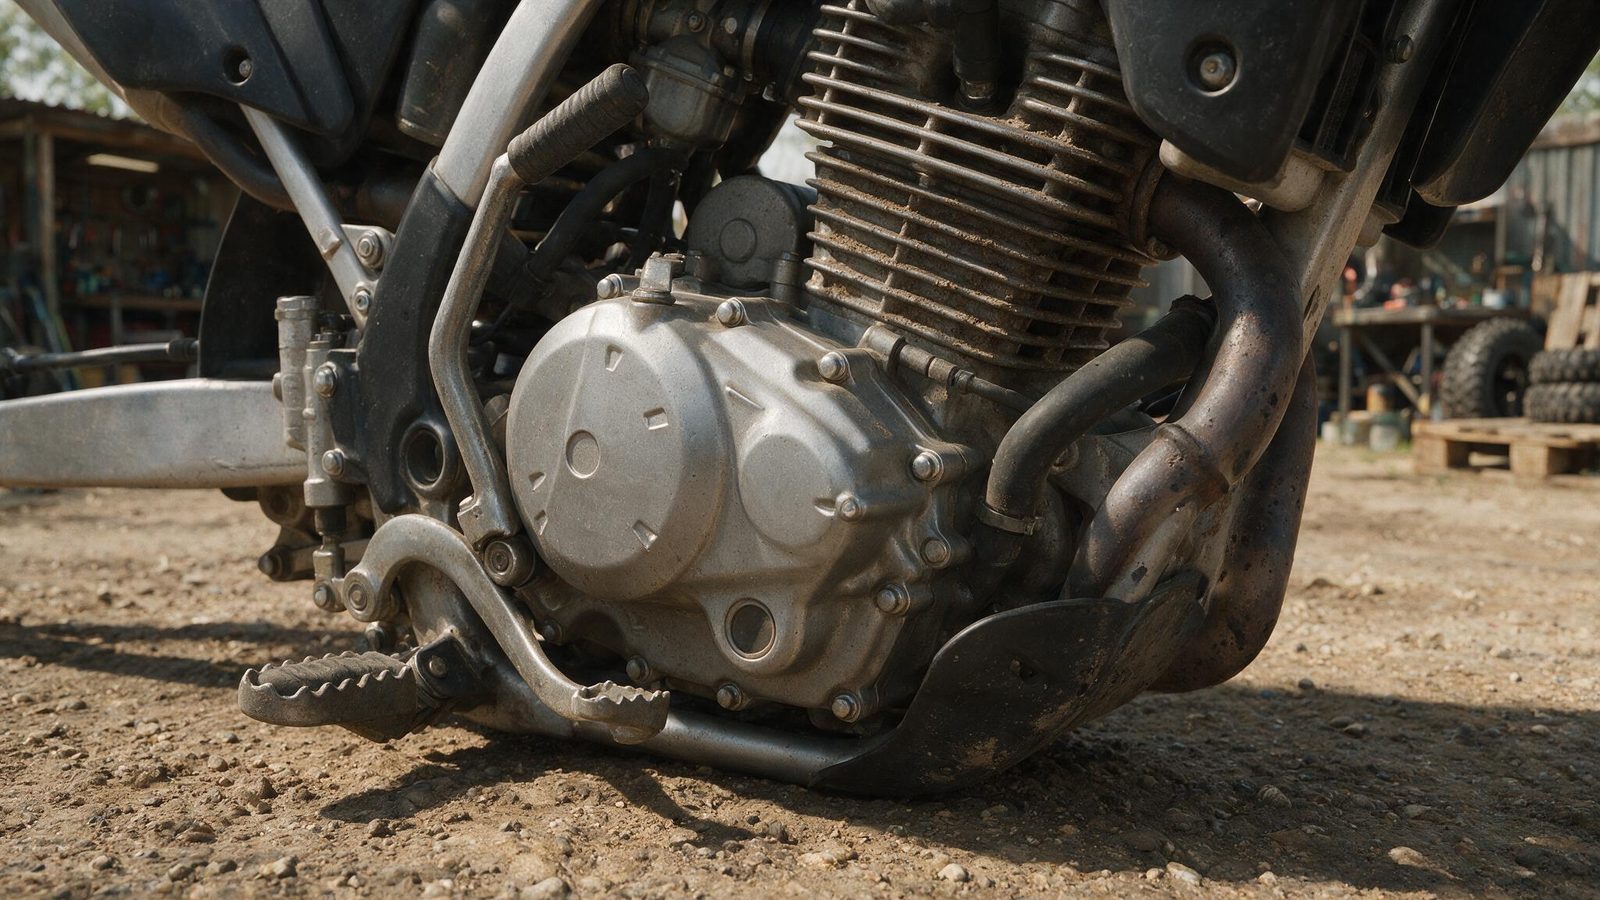
On most bikes the kickstart shaft and its spring sit inside the clutch cover, in the oil. On others they live in a dry, dedicated side cover, which makes the job far simpler. Your bike’s service manual settles it in one page, and it’s also where the disassembly order and torque figures come from — values that change from model to model.
Key points
- Location
- Clutch cover in most cases, dedicated side cover on some models
- Get in before you open up
- New cover gasket, the correct engine oil, a drain pan
- Note before you strip it
- The fixed anchor point and the old spring’s preload turns
- Where the numbers come from
- Your bike’s service manual, never a generic guide
Replacing the spring, step by step
- Cold engine, bike stable and properly supported. Drain the oil if the mechanism sits in a wet case.
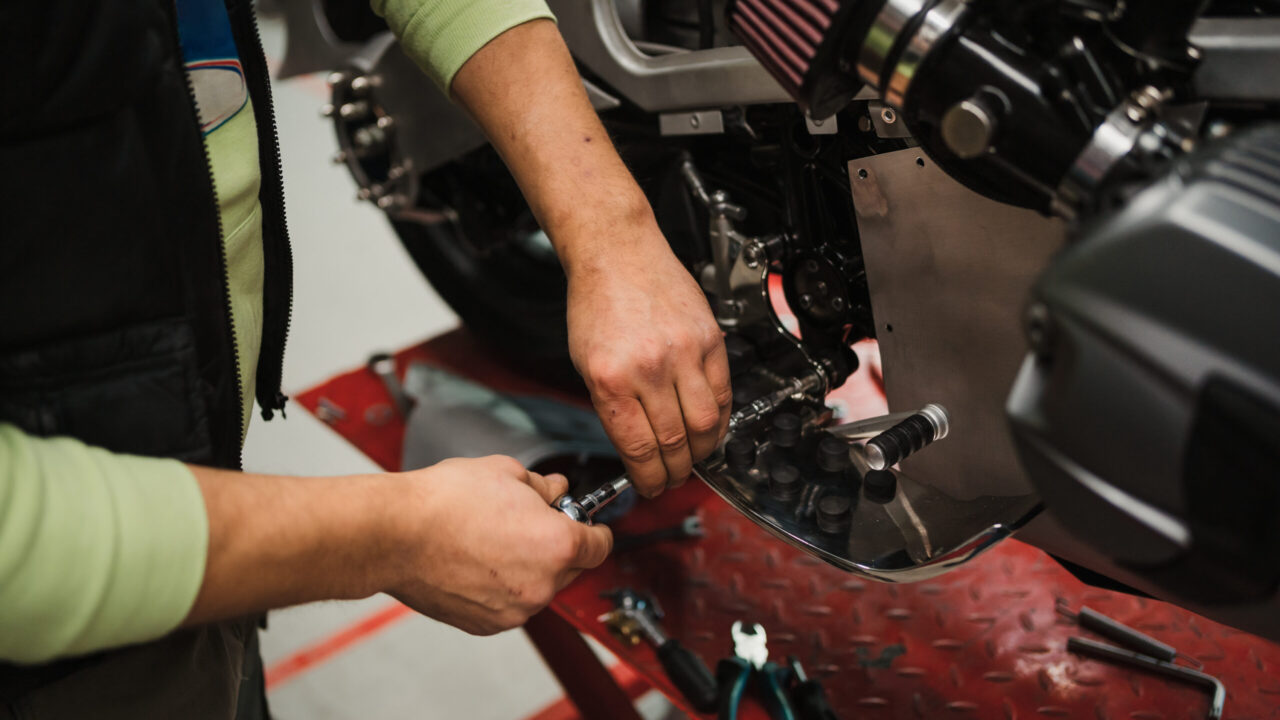
- Take the kickstart lever off its shaft, then anything blocking access to the cover: shift lever, clutch cable, guards.
- Loosen the cover bolts in a cross pattern and gradually, noting where each one came from — they’re often not all the same length.
- Break the cover free by hand or with a plastic mallet on a casting rib. Never a screwdriver in the gasket face: one nick there and the cover leaks forever.
- Photograph the mechanism in place. Find the spring’s fixed end, its anchor point on the case, and count the preload turns.
- Glasses on, release the old spring. Even broken, it can still be wound up and let go suddenly.
- Clean the housing and account for every fragment. Sweep a magnet through the bottom of the case before you close it.
- Fit the new spring using exactly the same anchor point and the same number of turns as the old one.
- Check the return by hand, on the shaft alone, before closing up: it should snap back to its stop with no tight spot.
- Refit the cover with a new gasket, torque the bolts in a cross pattern to the manual’s figures, top the oil back up, then work the lever a few times with the engine off to confirm the return.
Preload is the fiddly part. Too little and the pedal comes back soft, leaving you with the symptom you started with. Too much and the spring fatigues fast while the lever gets hard to push down. The old spring’s turn count is your best reference, and the manual confirms it.
What to check while it’s open
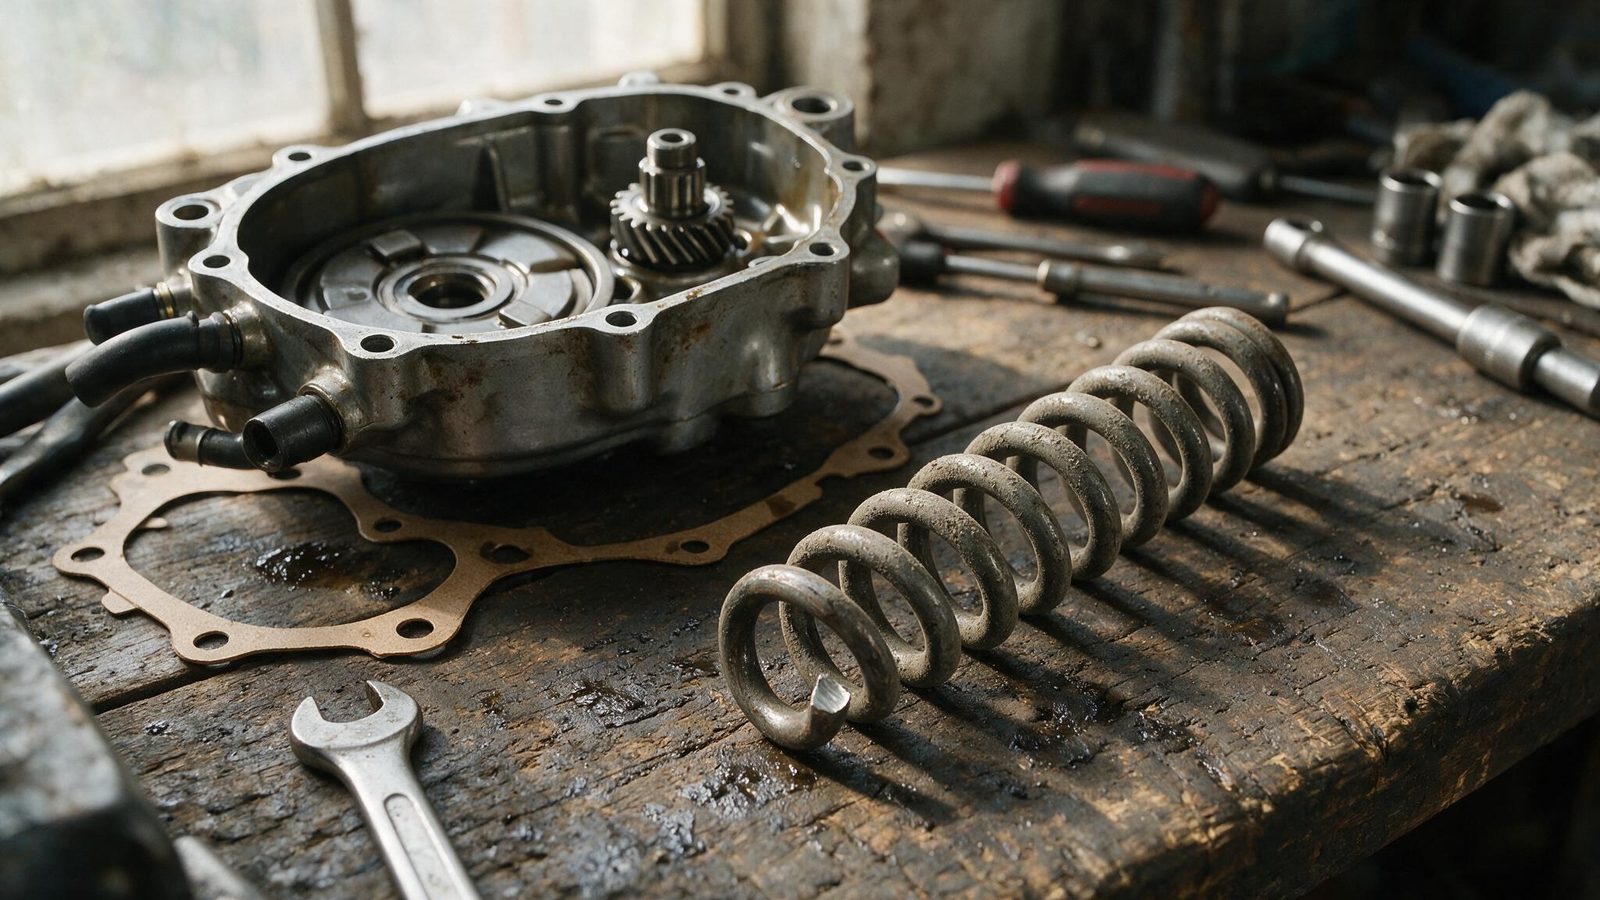
You’ve paid for the access, so use it. The drive pawl and its ratchet segment wear too, and rounded teeth explain a kickstarter that slips now and then. The kickstart shaft should turn with no side play in its bush. If the shaft seal is weeping, change it now rather than at the next opening.
If the mechanism sits in the clutch cover, look at the plates while you’re in there: their condition reads at a glance, and replacing clutch plates at the same time saves you a second full teardown. To weigh changing a part against running it one more season, the general reasoning is in repair or replace a part.
When to hand it over
On a dry side cover, this stays within reach of a careful home mechanic. On a clutch cover you’re opening an engine: gasket face, oil, tightening order, absolute cleanliness. If you can’t keep a clean bench, or if the spring left fragments you can’t all account for, a workshop will do it faster and without risking the bottom end. One forgotten piece of steel in the cases costs far more than the labour hour you saved.
FAQ
Can I ride with a broken kickstart spring if the bike has electric start?
Technically yes, as long as the starter works. But you’re riding with no backup, and a weak battery late in the day leaves you walking. There’s a mechanical risk too: if the spring broke into pieces, those fragments are circulating in the case. Fix it before it turns into a bottom-end job.
How do I know how many preload turns the new spring needs?
The old spring is your reference. Count its turns and photograph its anchor point before you release it — that’s the step people forget. If you’ve already stripped it without noting anything, the manufacturer’s service manual gives the exact figure for your model. Don’t guess: approximate preload buys you either a soft lever or a spring that breaks again.
Does anything else in the mechanism wear out?
Yes. The drive pawl, its own little return spring, and the ratchet segment all take wear. Rounded teeth make the kickstarter slip, and a shaft with play chews its bush and lets dirt in. Check the lot while the cover is off: everything can be replaced in one go for the same access work.
The rest of the fix-it guides are gathered in the repairs section.
Editorial content. PiloteMX offers no on-site service, no parts or gear sales, no quotes and no bike repairs. Working on a bike and riding it carry risk: what you do with this guide is your own responsibility.