Replacing Worn or Stuck Dirt Bike Clutch Plates
Contents
A clutch that slips under power despite correct lever free play has friction plates at the end of their life, and they get replaced as a complete set — friction plates and steels together — so pressure stays even across the whole pack. A clutch that stays stuck after weeks of sitting usually needs no teardown at all. Work out which one you have first.
Slipping and sticking are opposite faults
Slipping shows up under load. You crack the throttle on a corner exit, revs climb, the bike stays put. That’s friction material that no longer bites. It starts on the tall gears, where the most torque goes through, then works its way down the box over the next few rides.
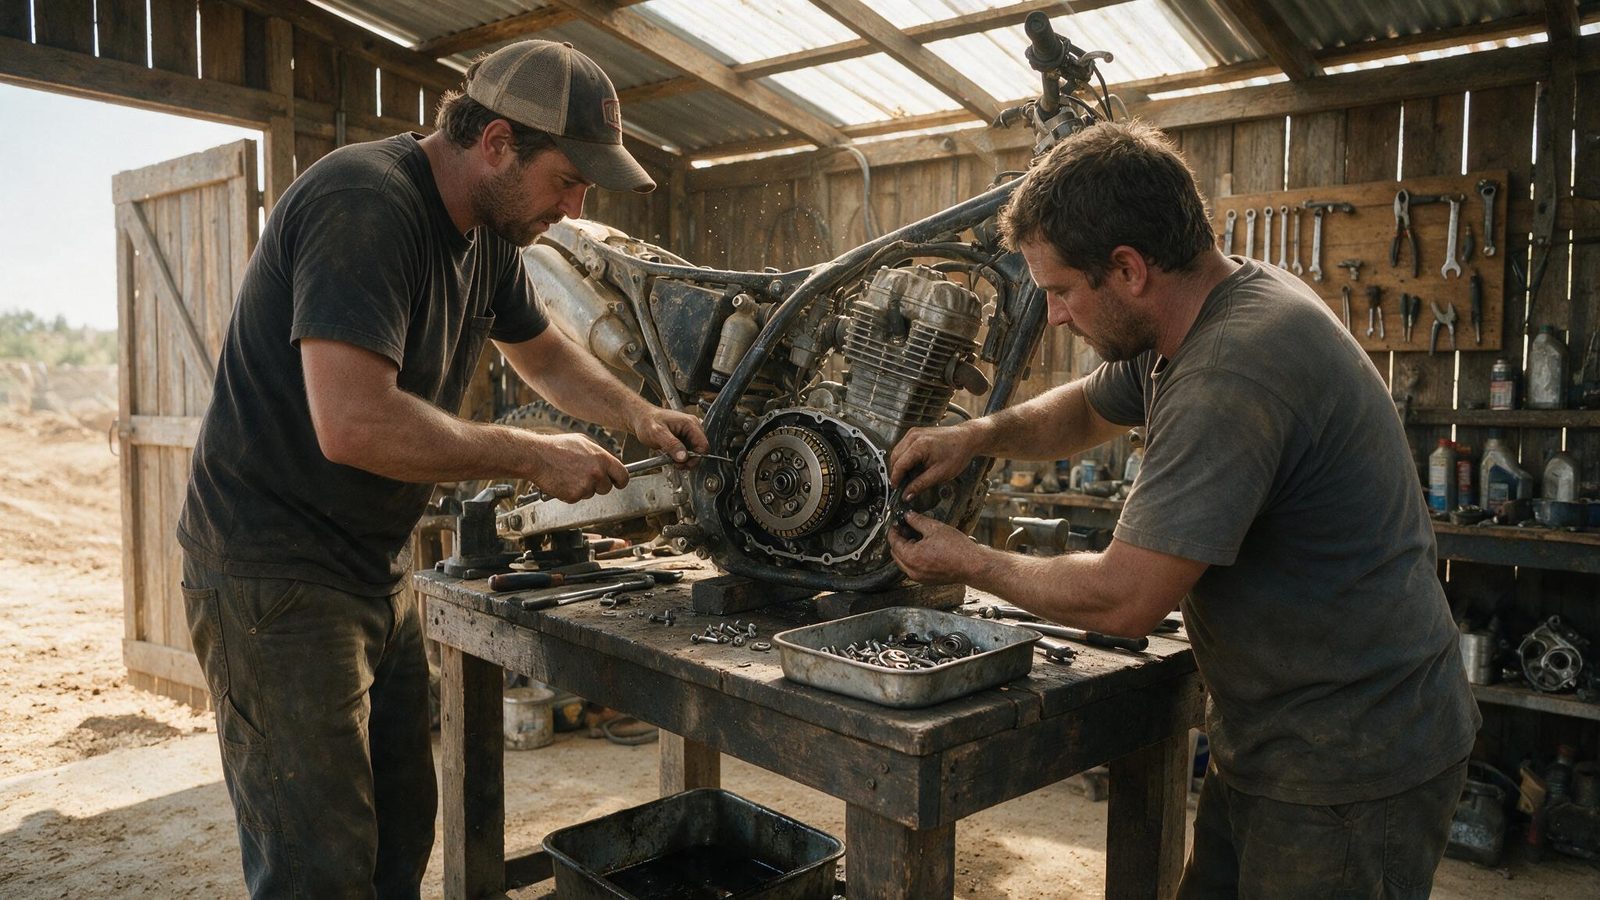
Sticking is the reverse: the plates won’t separate. The bike creeps forward with the lever pulled in and stalls when you drop it into first at a standstill. It happens after a winter in the shed, never in the middle of a ride.
| What the bike does | Likely cause | What it needs |
|---|---|---|
| Revs climb, speed doesn’t follow, worst in the tall gears | Worn or glazed friction material | Full set of plates |
| Creeps with the lever in, stalls in first after a long layup | Steels stuck together by oil | Free them at the lever, nothing to buy |
| Clutch judders, grabs in steps, stiff lever | Notched basket, warped plate, badly routed cable | Inspect the basket and the cable run |
| Burnt smell after a moto, oil black almost straight after a change | Repeated long slipping | New plates, and a change of habit |
Check the easy stuff before you open the cover
Lever free play comes first. Too little play and the pressure plate never seats fully: the clutch slips constantly, gently, without you touching the lever. A badly routed cable does the same thing as soon as you go to full lock, and plenty of riders only notice it in tight turns.
Oil next. On nearly every dirt bike the clutch runs in the same oil as the engine. Modern automotive oil carries friction modifiers that do exactly what the name says: they let the plates slide. Look for JASO MA on the bottle. Tired oil slips too, and a regular oil change sorts out a fair share of the cases reported as worn plates.
Freeing a clutch that has seized up
The no-teardown method
Let the engine come up to temperature first so hot oil can work its way between the plates. Then, bike braced, front brake on, engine idling, pull the lever all the way in and drop it into first. Repeat. Most of the time the plates let go with a sharp crack you feel through the lever. If they hold on, keep the lever in and push the bike forward in gear with firm shoves. Don’t hammer the kickstart on a stuck clutch — you’ll hurt the gearbox before you free the plates.
If they still won’t separate
Pull the clutch cover and separate the plates by hand, one at a time, prying at the edge. Clean them, check for warping or blueing, stack them back in the same order. Nothing to buy here beyond a cover gasket.
Pulling the pack and reading it
Once slipping is confirmed and free play and oil are ruled out, the pack comes out. Work with the engine warm and the bike upright and stable.
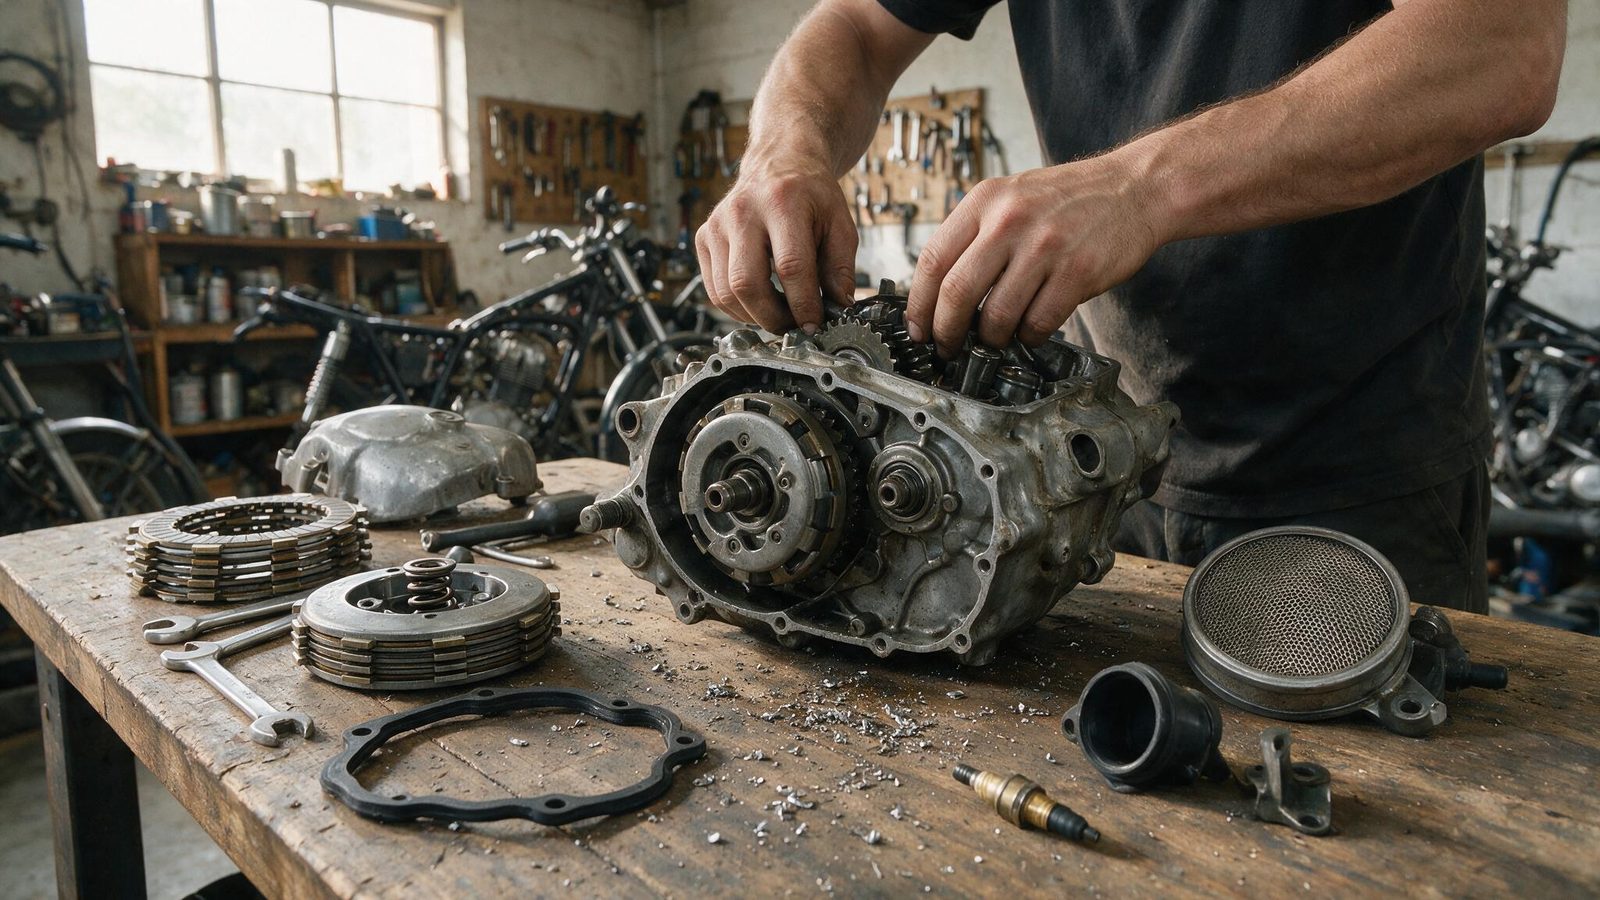
- Drain the engine oil. Don’t try to save it — it’s loaded with friction material.
- Remove the clutch cover. The bolts are rarely all the same length, so lay them out in order on a punched piece of cardboard.
- Back the pressure spring bolts off in a cross pattern, a little at a time, until they’re fully released. Undoing one side then the other warps the pressure plate.
- Lift the pack out in one piece and set it on the bench the same way round. The stack isn’t always symmetrical.
- Look at the friction plates: shiny glazed material, crumbling under a fingernail, tabs hammered into steps, blue heat marks. Any one of those condemns the whole pack.
- Measure friction plate thickness with a caliper and compare it to the minimum in your bike’s service manual. It varies model to model, so don’t borrow a figure off a forum.
- Lay the steels flat on a surface plate or a thick piece of glass and look for daylight underneath. A warped or blued steel goes out with the rest.
- Finish with the basket and the inner hub. Run a fingernail down the slots: steps cut by the plate tabs make the plates hang up and will ruin a new set in a handful of rides.
If the basket is deeply notched, the repair or replace question is a real one. You can dress a basket once, maybe twice, not forever.
Reassembly without warping the pressure plate
Soak the new friction plates in the specified oil before they go in. A plate fitted dry slips on the first start and loses material before it has done any work.
Stack in the original order. Some models want a particular friction plate first, or a wave washer in the bottom of the basket — the kind of detail only the manual gives you. Refit the springs in a cross pattern, in stages, and finish with a torque wrench at the manufacturer’s figure. New cover gasket, fresh oil, then reset lever free play before you start it.
Making the new pack last
The first enemy is deliberate slipping. In slow technical sections plenty of riders hold the bike on the lever instead of holding it on the throttle. The material heats, the oil cooks, and a new set ages in a few rides. Take the taller gear and work the throttle instead.
The second is oil left in too long. A wet clutch grinds off friction material constantly, even in good health, and those particles stay in suspension. Shorten the interval as soon as you ride soft ground, where the engine works under load without a break.
If slipping comes back fast on new plates and compression feels down as well, look at the top end: a top-end rebuild and a tired clutch often show up together on a high-hours bike. And if shifts hang up alongside the slipping, the gearbox deserves a look before you close everything up.
FAQ
Can I replace only the friction plates?
Yes, if the steels are flat, unwarped and free of blue heat marks. Plenty of mechanics do it and it holds. But a slightly distorted steel puts uneven pressure on the new frictions, and slipping comes back sooner than it should. Given what steels cost against the time it takes to get in there, the full set is the quiet choice.
How do I know my oil suits a wet clutch?
Read the standard printed on the bottle: JASO MA or MA2 means no anti-friction additives. A modern automotive oil, even a good brand at the right viscosity, carries friction modifiers that let the plates slide. It’s one of the most common reasons a bike starts slipping right after an oil change.
The clutch still slips with new plates — why?
Work through it in order: free play too tight, so the pressure plate never seats; the wrong oil; tired pressure springs that weren’t replaced with the pack. Check too that no washer got left on the bench and that the stacking order is right — both are common misses on reassembly.
More repair guidance in the repairs section.
Editorial content. PiloteMX offers no on-site service, no parts or gear sales, no quotes and no bike repairs. Working on a bike and riding it carry risk: what you do with this guide is your own responsibility.