Stuck Dirt Bike Brake Caliper: Freeing It and Repairing It
Contents
A stuck caliper is nearly always a piston that no longer retracts into its bore: water and mud tire out the square-section seal, corrosion builds up behind it, and the piston stays out. Pulling the caliper, removing the piston, cleaning the bore and fitting new seals fixes most cases. You only replace the whole caliper when its body is pitted.
Spotting a caliper that drags
The first clue comes through the wheel: it keeps rubbing long after you let go of the lever. Engine off, bike on a stand, spin the wheel by hand. It should carry on for several turns and slow down on its own. If it stops dead after half a turn, something is not coming back.
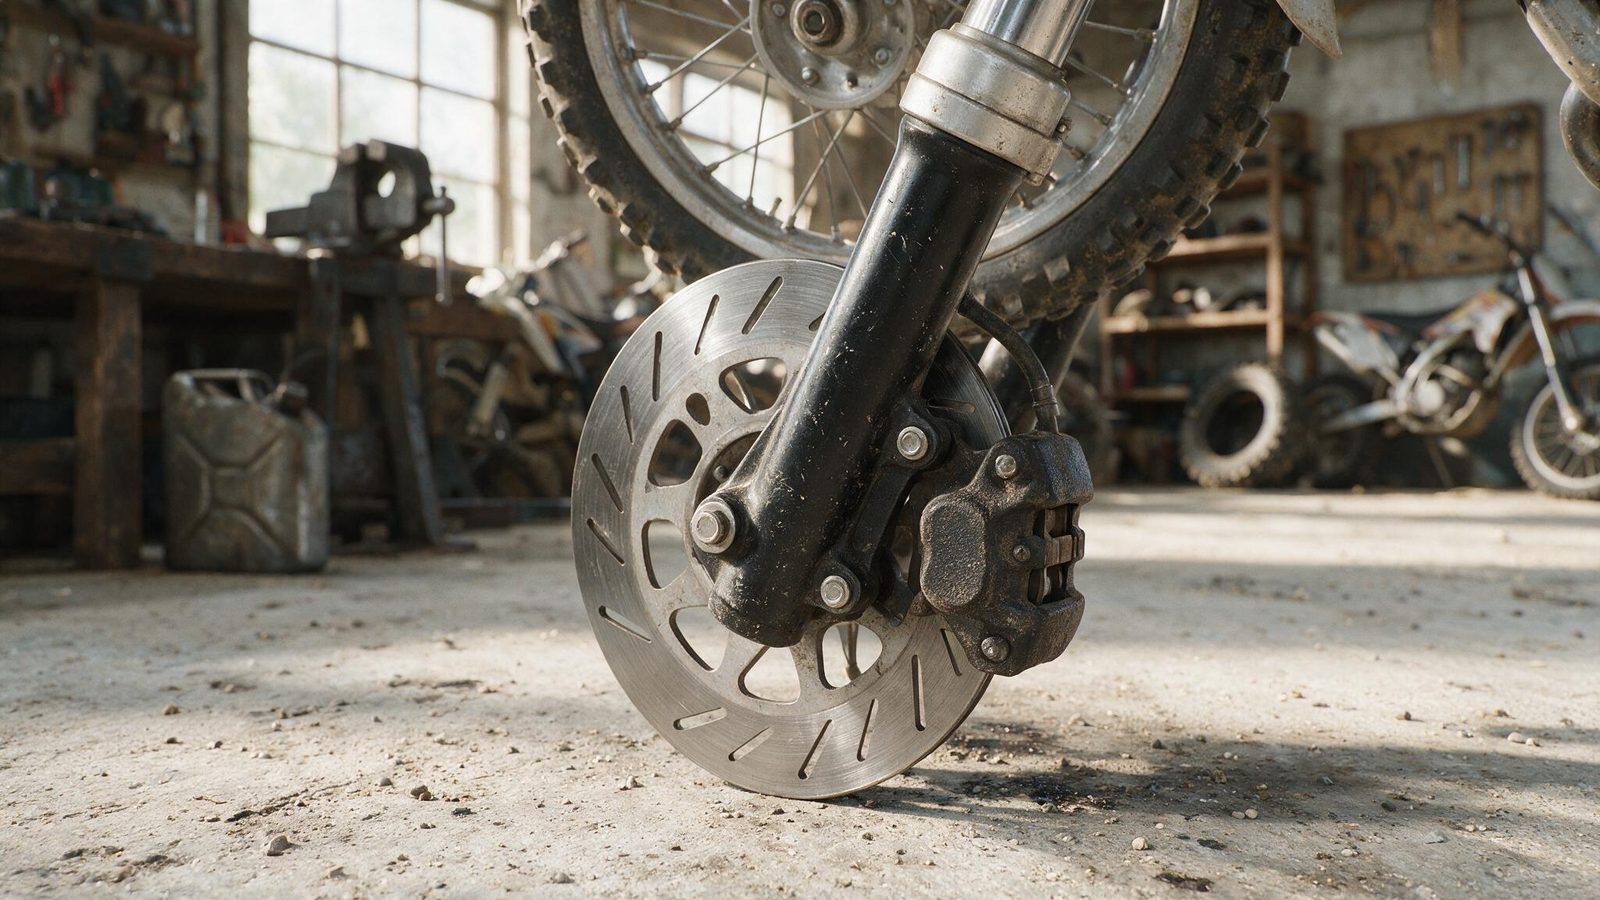
The rest shows up fast. A disc too hot to touch after one straight. One pad chewed down while the other looks almost new. That burnt smell when you load the bike back on the van. On a twin-piston caliper only one piston may seize — the wheel still turns, but it drags, and the brake bites crooked.
Don’t mix up two different faults. A rubbing noise that repeats once per wheel revolution points at the disc rather than the caliper, so check for a warped brake disc first. A seized piston brakes continuously instead.
Why it happens so fast on a dirt bike
A road caliper lives in dry dust. Yours spends weekends in liquid mud, standing water and fine sand. The dust seal packs with grit, and that grit holds moisture against the metal. The corrosion stays invisible because it works inside the seal groove, where nobody ever looks.
The pressure washer speeds everything up. A jet aimed straight at the edge of the piston drives water in behind the dust seal instead of blowing it out. Most riders wash far too close to the caliper and not nearly often enough everywhere else. Add brake fluid that hasn’t been changed in a long time — it pulls moisture out of the air, and that moisture ends up in the bore.
Getting the piston out without wrecking it
- Wash the outside of the caliper with clean water and a brush before you touch anything else. That keeps sand from dropping into the bore as you take it apart.
- Pull the pads. Note which way the pin goes and the order of the retaining springs if your caliper uses them.
- Unbolt the caliper from its bracket but leave the hose connected. As long as the circuit stays sealed, you save yourself a full bleed later.
- Slide a wooden block into the caliper where the pads were. It limits how far the piston travels and stops it firing out in one go.
- Work the lever or the pedal gently, in short strokes, until the piston comes up against the block.
- Take the block out and pull the piston free by hand, twisting as you go. If it won’t come, fit a thinner block and push again — never grab it with pliers, you’d score the sealing surface.
- Undo the hose over a rag, plug the port, and set the caliper on the bench. Catch the fluid that runs out: it eats paint and plastics.
If the piston refuses to move while the circuit is clearly building pressure, stop there. A truly seized piston comes out with compressed air, and that job needs precautions not everyone has at home.
Clean it, then decide
Clean the piston and the bore with fresh brake fluid or a dedicated brake cleaner. Never white spirit, engine degreaser or petrol: those swell whatever rubber is left and the problem comes back worse. Once the metal is clean, look at it and run a fingernail over it.
| What you see | What it means | What you do |
|---|---|---|
| Brown film that wipes off with a rag | Aged fluid deposit, sound metal underneath | Clean it, fit new seals, reassemble |
| Grey patch your nail catches on the piston’s sealing band | Surface corrosion | Very fine steel wool along the direction of travel, then rinse with fresh fluid |
| Clear pitting, visible craters | The seal can no longer hold pressure | New piston |
| Scored bore or damaged seal groove | The body itself is finished | Complete caliper, new or a sound used one |
The maths is simple: a piston plus a seal kit costs a fraction of a caliper. But a pitted body can’t be saved. If you’re torn, the general reasoning is laid out in repair or replace a part.
New seals and reassembly
Change both seals, not just the one that failed. The square-section seal does the sealing and pulls the piston back; the dust seal keeps mud out. Reuse either one and you’re booking the same job again a few rides from now.
Fit clean seals into a clean groove, without twisting them. Coat the piston with fresh brake fluid — that’s the only lubricant allowed here, ordinary grease kills the rubber. Push the piston in dead straight, by hand: it should slide down smoothly. If you have to force it, it’s going in crooked.
Reconnect the hose, put the pads back the right way round, bolt the caliper on. Torque the mounting bolts to the figures in your bike’s workshop manual: those values change from model to model and belong on the manufacturer’s spec sheet, not in a generic guide. Then bleed until not a single bubble comes through and the lever feels firm. If it still feels spongy after several bleeds, the fault is elsewhere — often the master cylinder.
One last check before you put the tools away: wheel in the air, lever released, the wheel should spin freely and coast to a stop with no tight spot.
Keeping it from seizing again
Washing matters more than anything else. Keep the jet back from the caliper, never aimed at the joint between piston and dust seal, and finish with clean water at low pressure. Dry the area before you throw a cover over the bike: it’s trapped moisture that does the damage, not the mud itself.
Now and then, use a pad change as an excuse to run the piston out over its full travel, clean it, and push it back. Brake fluid gets replaced too, at whatever interval your manual gives: fluid loaded with water boils sooner and corrodes from the inside. That check slots straight into your usual brake maintenance.
FAQ
Can I finish the ride with a caliper that drags a little?
Better not to. A piston that doesn’t retract keeps the brake working the whole time: the disc heats up, the pad cooks, and the fluid can boil, which leaves you with no brake at the worst possible moment. If you have to get back, ride slowly, stay off that brake, and let it cool as soon as you smell anything hot.
Do I have to bleed the system after pulling the piston?
Yes. The moment the piston leaves its bore or the hose comes off, air gets into the circuit. A full bleed, carried on until no more bubbles pass through the clear tube, is the only way back to a firm lever. And a firm lever is the only reliable sign that the circuit is clean.
How do I tell the caliper from the master cylinder?
Watch what happens when you release. If the wheel stays braked while the lever has returned to its rest position, the caliper piston isn’t retracting. If the lever itself sticks, comes back soft, or the brake tightens up over the course of a ride without you touching anything, look at the master cylinder.
The rest of the fix-it guides are gathered in the repairs section.
Editorial content. PiloteMX offers no on-site service, no parts or gear sales, no quotes and no bike repairs. Working on a bike and riding it carry risk: what you do with this guide is your own responsibility.