Changing a Dirt Bike Spark Plug: A Small Fix That Solves a Lot
Contents
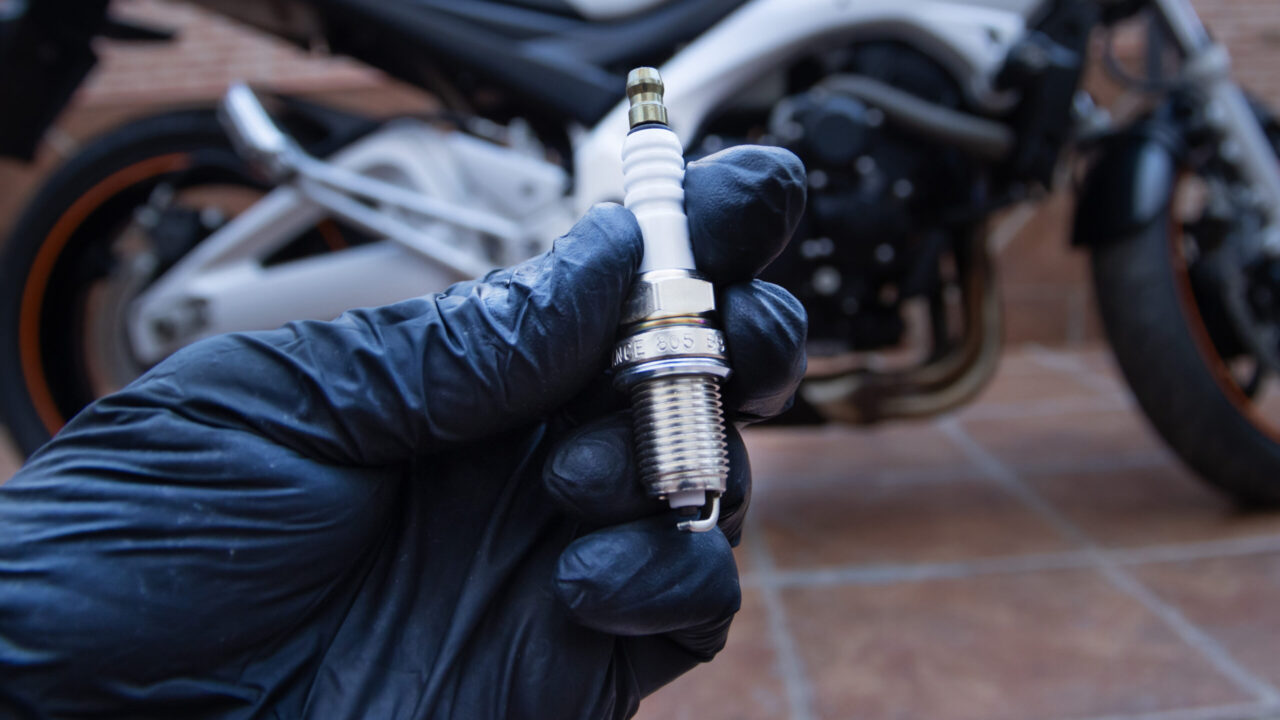
A dirt bike spark plug needs changing far more often than a street bike plug, typically every 15 to 25 hours of riding. Sustained high RPM and repeated heat cycles wear the electrode down fast. Slow starts, a rough idle, power going soft up top: before you blame the carburetor, pull the plug and look at it.
Why plugs wear out so fast off-road
On the road, an engine spends most of its life in the middle of the rev range. Off-road, it lives at the top. The electrode takes thousands of extra sparks a minute and rounds off gradually. Nothing fails outright; the spark just gets less crisp, and the bike loses its edge without you being able to say when it started.
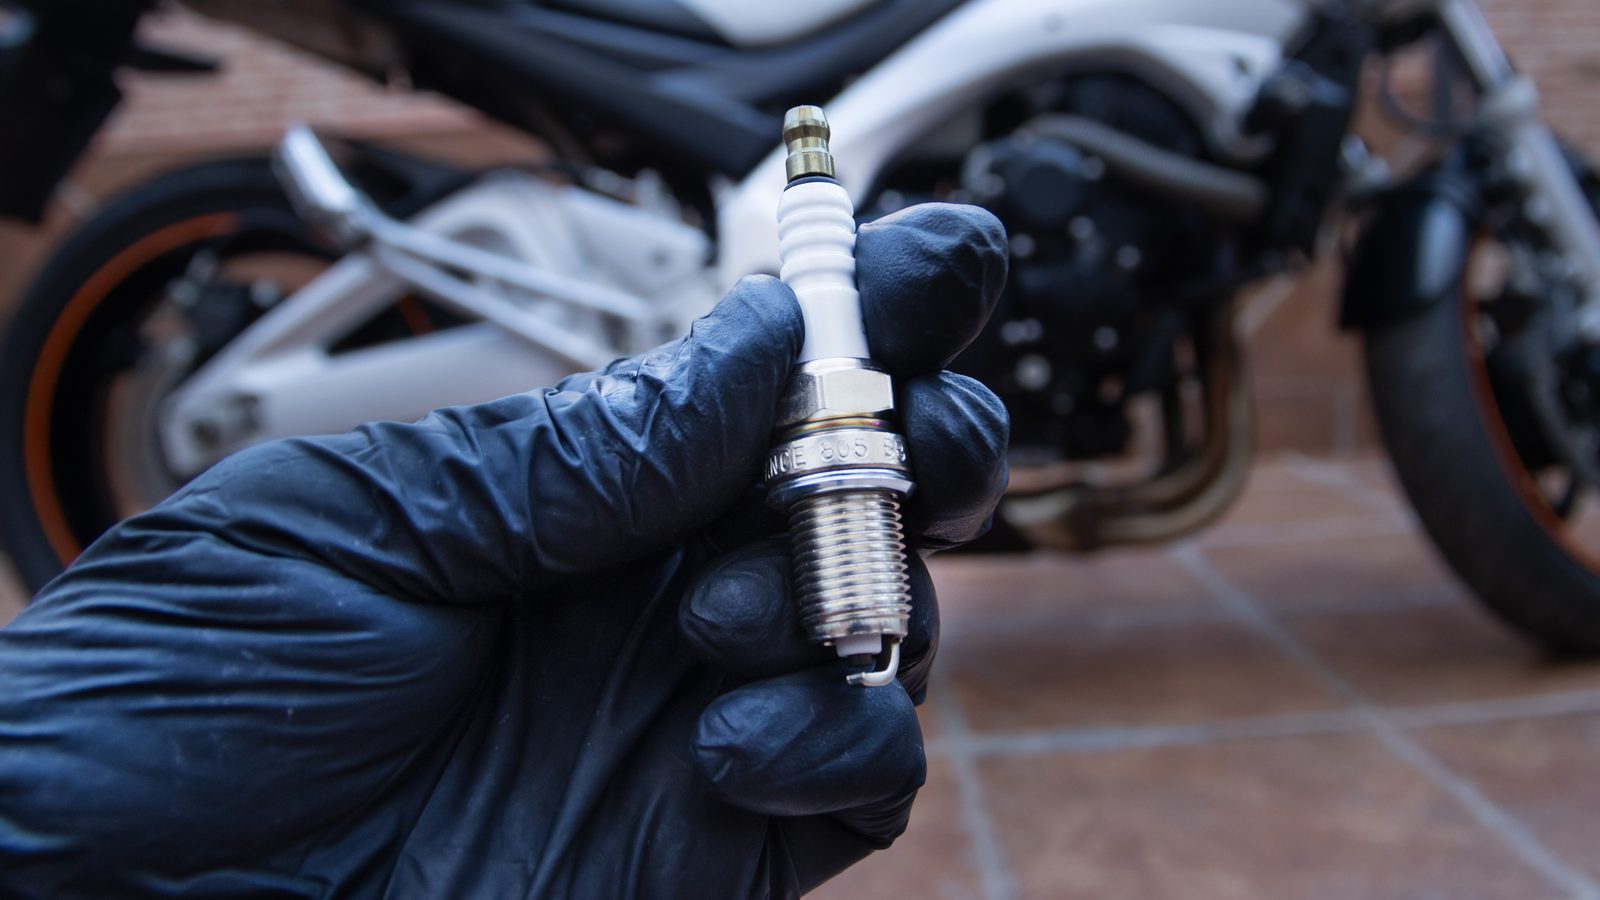
Then there’s thermal fatigue. A hard session, then shutdown, then a full cool-down, then the next session: the ceramic works through every cycle. Short, intense outings age a plug faster than continuous running does.
The third factor is what the engine breathes. A clogged filter upsets the mixture and fouls the plug much faster. If you’re getting through plugs without knowing why, start by checking the state of the air filter, because that’s usually where it comes from.
As for symptoms, starting almost always goes first. You have to work at it a little harder than before, then a little harder again. You put it down to the cold, to tiredness, to the fuel. Then the idle starts hunting, and the top end goes flat. A plug costs little and comes out in minutes, so it belongs at the front of the diagnosis, not at the back.
Read the plug before you bin it
The plug you just pulled is the best free diagnostic report you’ll get. Look at the colour of the insulator nose and the electrode, in daylight, before you wipe anything off.
| What you see | What it means | What you do |
|---|---|---|
| Light tan to grey | Healthy combustion, mixture about right | Nothing more: replace at the interval and go ride |
| Black, dry and sooty | Mixture running rich, or too much idling and low-speed work | Check the air filter, then have the carburation or injection looked at |
| Black and wet, smelling of fuel or oil | Flooded, or oil getting into the chamber | Fit a new plug, and if it comes back quickly, get a workshop opinion |
| Chalky white, blistered or eroded | Mixture running lean, or the wrong heat range | Stop there: an engine running lean holes pistons. Have it checked before you ride |
Note what you saw and keep the old plug in a corner of the toolbox for a while. If the symptom comes back after the swap, comparing the two tells you whether things moved on or whether you’re looking in the wrong place.
Changing it, step by step
None of this is difficult, but a couple of details separate a clean swap from a damaged cylinder head thread.
- Work on a cold engine. Pulling a plug out of a hot aluminium head is the surest way to tear thread.
- Blow or brush the plug well out before you pull the cap: anything sitting there drops into the cylinder the moment the plug comes out.
- Disconnect the lead by pulling on the cap, never on the wire.
- Undo it with a proper plug socket of the right size, rubber insert included, so you don’t crack the ceramic.
- Take the plug out and read it in good light, using the table above.
- Check the gap on the new plug with a feeler gauge against the figure in your bike’s workshop manual. Don’t assume it left the factory set for your engine.
- Start the new plug by hand, several turns, no tools. If it fights you, back it out and start again: you’re cross-threading it.
- Torque it to the manufacturer’s figure with a torque wrench.
- Push the cap back on until it clicks, start up, and let it run for a moment before you head out.
Picking the right plug
The part number and heat range come from the manufacturer for your exact model. This isn’t a place to improvise: too hot a plug can trigger pre-ignition, too cold a plug fouls over and over.
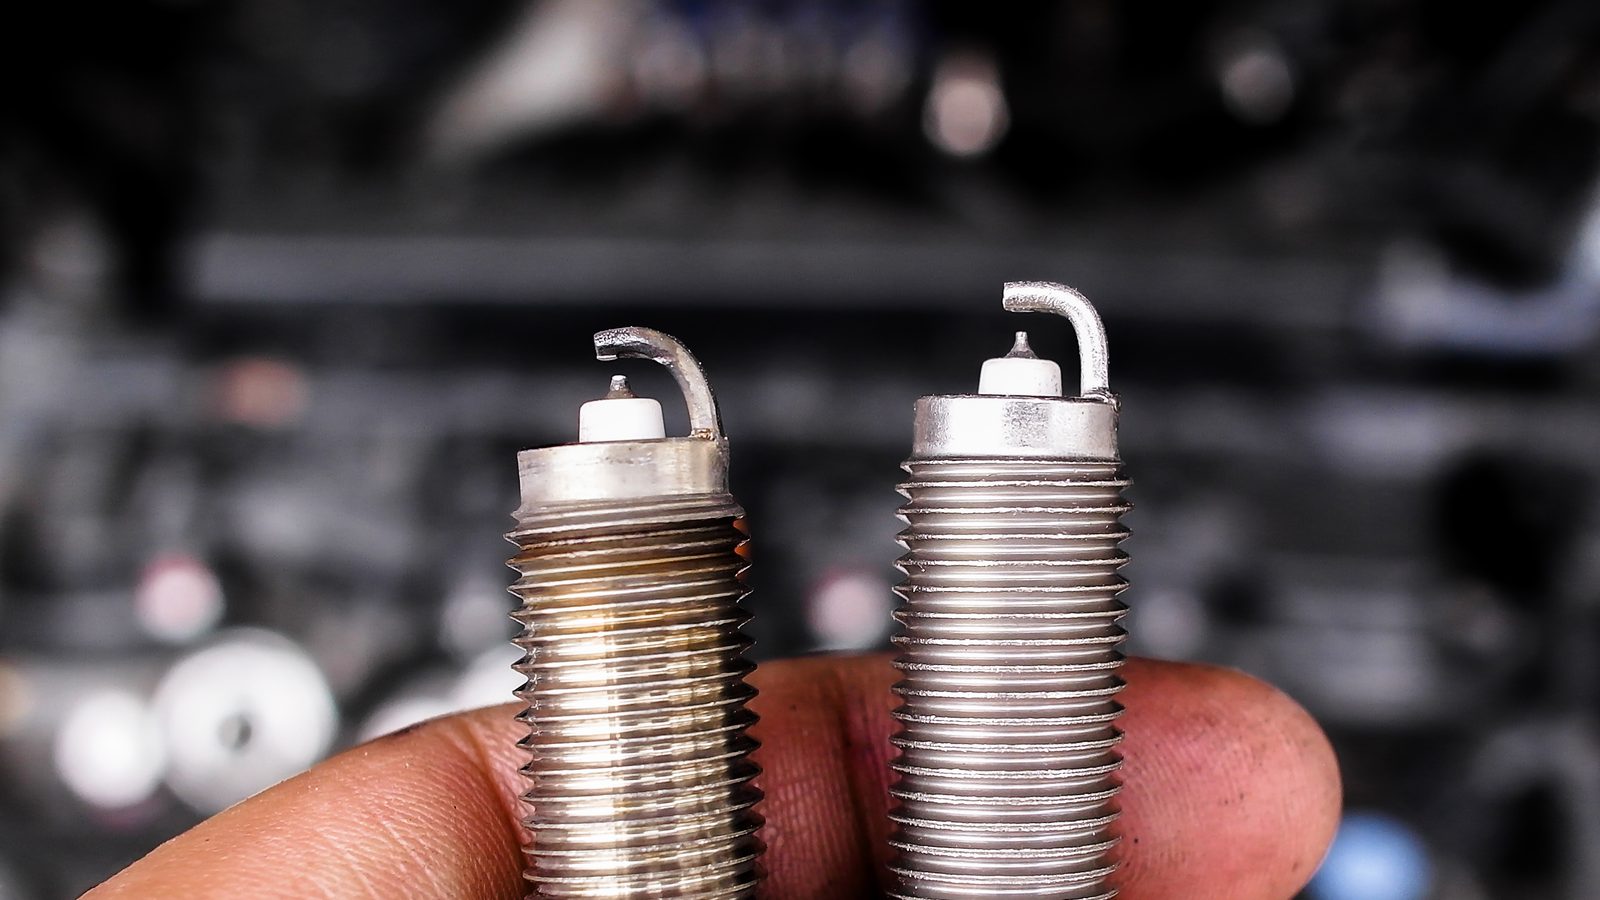
Some riders shift the heat range to suit their use, colder for long committed sessions, hotter for occasional riding. That’s an experienced rider’s adjustment, and it assumes you can read a plug and are willing to throw a few away while you learn. For normal use, stay on the standard recommendation.
Buy a spare and keep it in the tool pouch. A spare plug and its wrench weigh almost nothing, and they turn a ruined afternoon into a short stop at the edge of the track.
Mistakes that muddy the diagnosis
The common one: going after the carburetor before looking at the plug. It’s the quickest, cheapest check on the whole bike, and it rules a cause in or out in minutes.
Second: putting the old plug back “just to see” after fitting the new one. If the symptom stays, you no longer know which plug is responsible or since when. A plug that comes out stays out.
Third: fitting the new plug without checking the gap. Depending on the model and on how it was handled in transit, the factory setting isn’t always what you assume, and a new plug with the wrong gap reproduces exactly the symptoms you were trying to cure.
Last: tightening hard to be safe. Compression doesn’t leak because you torqued a plug properly; it leaks because the washer crushed crooked or the thread is damaged. While you’re at it, add a plug check to your pre-ride checklist, and before a long layup, a fresh plug is part of winterizing the bike.
FAQ
How often should a dirt bike spark plug be changed?
Every 15 to 25 hours of riding under hard use, following the manufacturer’s recommendation for your model. Regular visual checks beat a strict calendar: a bike running clean will reach the top of that range, while a bike that fouls plugs warns you long before, through starts that drag on.
Can a fouled plug be cleaned instead of replaced?
To get home, yes, a brass brush will do. As a lasting fix, no: cleaning removes deposits but doesn’t give the electrode back the sharp edge it lost. Past the recommended interval, replace it. And if a plug fouls again quickly, the real problem is somewhere else.
How do I confirm the plug is really the problem?
Fit a new plug of the correct part number and go ride. If starting is crisp again and the idle settles, you have your answer. If nothing changes, look at the air intake and the air filter, then at carburation. That’s part of the plug’s value: it’s a fast test.
Find the rest of the practical guides on the dirt bike maintenance page.
Editorial content. PiloteMX offers no on-site service, no parts or gear sales, no quotes and no bike repairs. Working on a bike and riding it carry risk: what you do with this guide is your own responsibility.