Fork Seal Leak on a Dirt Bike: Diagnosis and Repair
Contents
A leak on a dirt bike fork tube almost always traces back to an oil seal scored by grit trapped under the dust wiper. Start by cleaning under the wiper, because the leak often stops right there. If it comes back, replace the seal and inspect the chrome, since a scratch on the tube will kill a new seal within a few rides.
Finding where the oil is actually coming from
Not every greasy streak on a fork is a blown seal. Degrease the whole leg, from the top clamp down to the fork foot, then work the suspension by hand several times or ride a short loop. Watch where the trace shows up first. That is the only diagnosis worth trusting.
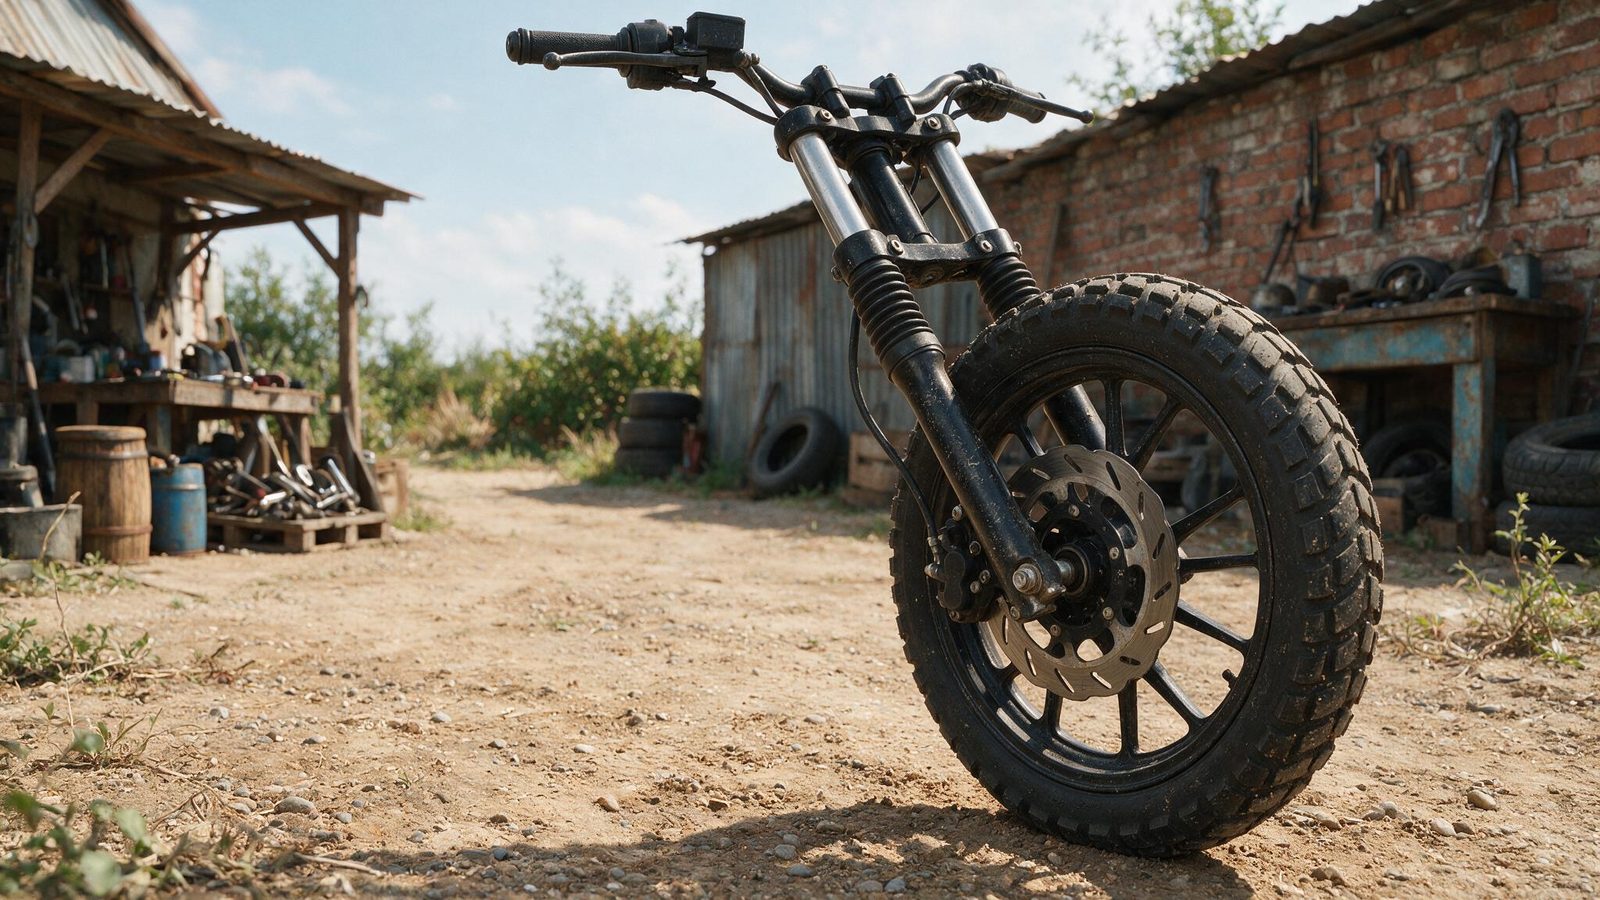
A film that starts at the top of the lower leg, right under the dust wiper, and runs down the outside of the slider, is the oil seal. A weep near the fork cap points at the cap O-ring instead. A drip at the very bottom usually comes from the cartridge bolt or its washer, and no amount of seal replacement will fix that one.
| Where the oil shows | Likely part | What to do |
|---|---|---|
| Streak under the dust wiper | Oil seal, or grit sitting on the lip | Clean first, replace if it returns |
| Weep around the fork cap | Cap O-ring | Pull the cap, fit a new O-ring |
| Drip at the fork foot | Cartridge bolt or its sealing washer | Retorque to the manual figure |
| Greasy film everywhere, no start point | Overspray or degreaser not rinsed off | Clean, dry, run the test again |
Clean the seal before you condemn it
Plenty of leaks are nothing more than a grain of sand sitting on the seal lip. The job is quick and it happens with the fork still on the bike. Ease the dust wiper down with a small flat screwdriver, keeping the tool off its lip. Then slide a seal cleaning card, or a strip of old camera film, between the tube and the seal lip and run it all the way round, dragging the dirt up and out.
Wipe it down, pump the fork by hand a few times, wipe again. Nothing back after a session and you have your answer. Oil reappearing in the same spot means the lip is nicked or the tube is scored, and the leg has to come apart. This trick repairs nothing. It sorts dirt from a dead seal, and that is worth doing before you order parts.
Why oil seals give up early
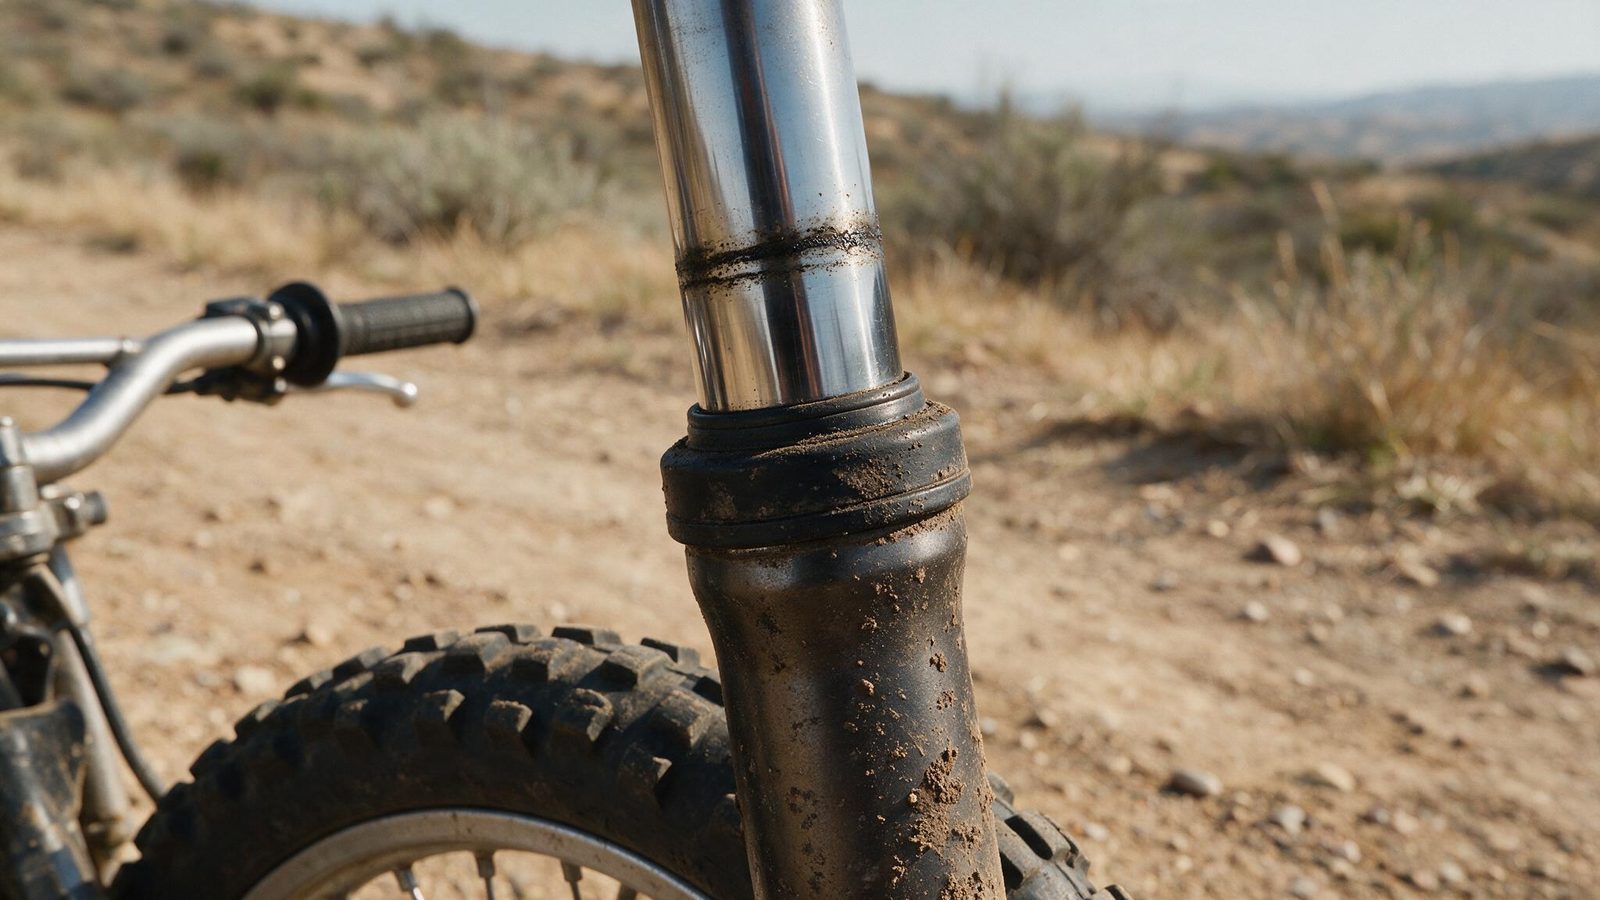
The dust wiper is the culprit most of the time. Split, deformed, or simply not seated properly after a wash, it lets dust and mud reach the chrome on every stroke. The tube picks up a score line, the score line saws through the new seal lip, and you are back on the bench a few rides later.
Tired oil speeds the same process up. Without regular oil changes, the fluid loads up with metal particles and stops lubricating, so the lip works dry at the top of the stroke. Bikes that live in loose, dusty ground go through seals far quicker than bikes running on heavy clay.
Replacing the oil seal, step by step
This one happens on the bench with the leg off the bike and a vice fitted with soft jaws. Have a drain pan ready and lay the parts out in the order they come off.
- Pull the front wheel, caliper and fender, then slide the leg out of the triple clamps.
- Crack the fork cap loose while the tube is still pinched in the clamp, it is far easier that way.
- Drain the oil, pumping the cartridge fully several times with the leg inverted over the pan.
- Slide the dust wiper down, then pick the retaining clip out with a small screwdriver.
- Separate the lower leg from the stanchion with a series of sharp pulls to full extension: the seal comes out with the clip and the washer.
- Clean inside the lower leg and the seal bore, leaving no rag fibres behind.
- Oil the new seal lip, start it square, and drive it home with a seal driver until the clip groove is fully exposed.
- Refit the clip and wiper, refill with the oil quantity and viscosity your service manual specifies, then reassemble.
Two mistakes come up again and again. A seal fitted backwards, lip facing out, which leaks on the first ride. And a seal driven in crooked, because someone tapped one side instead of letting the driver work flat.
The stanchion decides everything
Before the new seal leaves its bag, put the chrome under raking light and drag a fingernail across it. If the nail catches, the score is too deep for any seal to survive. Surface marks can sometimes be dressed with a fine oil stone, working gently and rinsing often. A tube that is genuinely gouged, or pitted by corrosion, gets replaced.
That is where the bill changes category and the repair or replace question becomes real. A rechromed tube or a good used stanchion usually beats the price of a complete leg, but have it checked for straightness before you buy. A bent fork is not something you fix in the garage.
Keeping the next set alive
Rinse the tubes with clean water after every ride, before the mud dries under the wipers. A wipe with a clean rag over the chrome at the end of the wash removes whatever would otherwise be dragged past the lip on the next compression. Replace dust wipers as soon as they go hard: they are the cheapest part on the whole fork.
With a leg already off, check what else is now within reach, starting with the steering head bearings. And if the rear is marking oil too, diagnosing a leaking shock follows similar logic with one big difference: the rear body is charged with nitrogen and does not get opened at home.
FAQ
Can I ride with a small fork leak?
Better not to. Even a slow leak drops the oil level, damping goes uneven between the two legs, and the bike pulls to one side under braking. The real hazard is oil reaching the front disc. If you have to finish the day, clean the disc before every session and ride well within yourself.
Should I do both seals at once?
Yes, in almost every case. Both legs have the same hours on them and the second one usually follows the first before long. Since most of the work is the removal and the oil change, doing the pair mainly costs extra bench time. It also guarantees the same oil level on each side.
How long does an oil seal replacement take?
Count one to two hours per leg the first time, less once you have done it. Most of that goes into draining properly and cleaning. A seal driver in the right diameter and a vice with soft jaws change everything: without them, seating the seal turns into a fight and the odds of damaging the new part climb fast.
Why would a brand new seal leak straight away?
Three classic reasons. The seal went in backwards, lip facing outward. The tube is scored and saws the fresh lip on the first compressions. Or the bore was not clean, so dirt stopped the seal from sitting flat. Check all three before you blame the part.
More repair guidance in the repairs section.
Editorial content. PiloteMX offers no on-site service, no parts or gear sales, no quotes and no bike repairs. Working on a bike and riding it carry risk: what you do with this guide is your own responsibility.