Leaking Dirt Bike Shock: Diagnosis and Repair
Contents
A leaking dirt bike shock goes to a specialist with a nitrogen charging station. The oil and pressurized gas inside don’t get swapped the way fork oil does: the shock opens under controlled pressure, with tooling nobody keeps in a home garage. What you can do is confirm the leak, rule out the false alarms, and avoid making it worse in the meantime.
Weeping, running, gushing: three different levels of urgency
A shock shaft always carries a film of oil. That film is what keeps it from scoring the seal, so a shiny shaft is not a diagnosis. What matters is a trace that runs down, collects dirt, and comes back in the same spot ride after ride. Wipe it clean first, then watch how it returns.

| What you see | What it means | What you do |
|---|---|---|
| Light oily sheen on the shaft, bike still handles normally | Lubrication film riding up, or the very start of a weep | Wipe it, note how it looked, check again after the next ride |
| Oil running down the body, a ring of caked dirt under the seal | The shaft seal is letting oil past | Book the rebuild. Not a same-day emergency, but it will not heal itself |
| Body wet after every lap, rear bottoming, sloshing sound when you shake the bike | Oil loss, usually nitrogen loss with it | Stop riding on it and send the shock out |
What the leak does under your seat
A shock that has lost oil stops controlling the spring. The bike rebounds instead of settling, the rear packs through closely spaced bumps, and the wheel spends its time in the air instead of loaded. Traction disappears exactly where you need it most: on the throttle at corner exit.
The second symptom is bottoming. On big hits the end of the stroke arrives hard and you feel it in your back. Plenty of riders answer that by winding in compression clickers, stiffen everything, and end up with a bike that pushes the front on hard-packed ground. The problem was never in the clickers.
On soft, sandy ground the decline hides better. Sand forgives, you ride a few sessions noticing nothing, and the seal lets go properly the first day the track dries out and gets rough.
Why nobody opens a shock at home
A fork works mostly at atmospheric pressure: a leaking fork seal comes apart with ordinary tools and a bit of patience. A shock does not. It packs a hydraulic oil reservoir and a nitrogen chamber pressurized to several dozen bar, separated by a bladder or a floating piston, and the whole thing is closed by a crimped cap.
Opening that chamber without a charging station and the manufacturer’s crimping tool releases all the energy stored in the gas at once. Parts leave, and they leave fast. On top of that, a shock reassembled with air trapped in the circuit damps like a lottery: firm on lap one, vague on lap five.
The checks to run before you pull anything apart
Work through these five steps in order. Half the leaks reported over the phone to a suspension shop turn out to be grease pushed out of a zerk or a loose reservoir hose fitting.
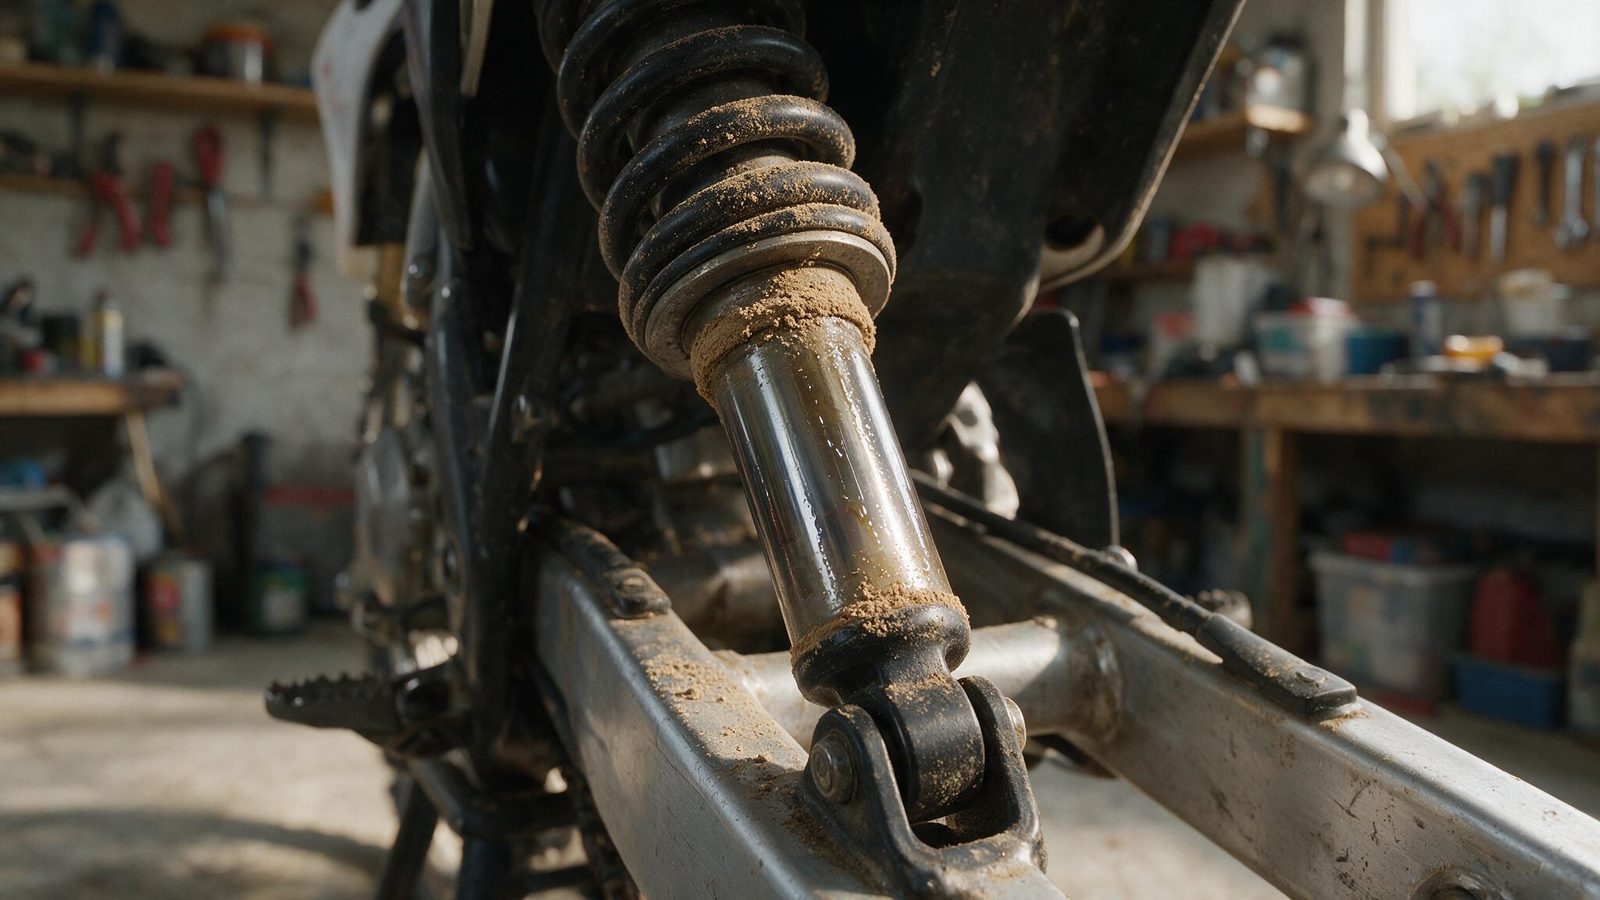
- Wash the shock body and shaft with clean water, then dry them with a clean rag. As long as mud is sitting there, you cannot tell where the trace starts.
- Push down hard on the seat several times and listen. The rebound should come back smooth and even, with no hitch and no bubbling sound.
- Look at where the film reappears: top of the shaft, main body, reservoir fitting, or simply a linkage grease nipple. Each origin leads somewhere different.
- Drag a fingernail across the shaft under raking light. If the nail catches on a score line, tell the shop: a damaged shaft can decide the whole job.
- Lift the rear, grab the wheel top and bottom, then push it side to side. Play here means tired swingarm bearings or linkage bushings, which side-load the shaft and kill a fresh seal within a few rides.
For the upper and lower mount fasteners, use the figures in your bike’s service manual. They change from model to model, and a shock bolt that is too tight or too loose is not something you can feel your way to.
What the shop does, and what to tell them
A full rebuild covers the shaft seal and internal seals, an inspection of the shaft, a complete oil change, and a nitrogen recharge at the exact pressure the manufacturer specifies. A good technician also opens the valve stack to check that no shim is bent or dished.
Send three pieces of information with the shock: your weight in full gear, the ground you ride, and your current compression and rebound settings. Without that, it comes back on the stock setup, which is almost never the one that suits you. If the shock already has serious hours and the shaft is marked, the repair or replace question becomes a real one.
Stretching the rebuild interval honestly
Hard competition use justifies a full rebuild every 20 to 30 hours, even with no visible leak, because the oil degrades under the heat of repeated hits. Recreational riding stretches that interval. A visible leak, though, calls for prompt action whatever the hour meter says.
The habit that pays best is washing. After every muddy ride, low-pressure water over the body and shaft, never a direct jet at the seal, then wipe dry. Dried grit works like sandpaper on the shaft, and it is the scored shaft that kills the seal, not the other way round.
FAQ
Can I finish the season with a small leak?
The bike still rolls, but damping degrades with every ride and poor lubrication starts chewing the internals. A job that would have cost seals ends up taking the shaft and piston with it. If it is a light weep, finish the day you are on, then book the rebuild rather than riding it out.
Is a rebuild cheaper than a new shock?
On a recent bike, in most cases yes: the wear parts being replaced cost a fraction of a complete assembly. The maths shifts if the shaft is deeply scored or the body has taken a hit, since those are the expensive pieces. Get a quote from the shop before you decide either way.
Can I recharge the nitrogen myself?
No. It takes a charging station, the right brand adapter, and the exact pressure specified for that shock. Too low and the oil foams, so damping collapses late in a moto; too high and the bladder suffers. This step stays with an equipped workshop, and no shortcut with compressed air comes close.
How long will the bike be off the track?
Usually a few days to a week, depending on seal availability for your model and how busy the shop is. Mid-season the queue gets longer. If you ride every weekend, send the shock over winter rather than in June, and pull it off the bike yourself so the whole machine is not tied up.
More repair guidance in the repairs section.
Editorial content. PiloteMX offers no on-site service, no parts or gear sales, no quotes and no bike repairs. Working on a bike and riding it carry risk: what you do with this guide is your own responsibility.