Replacing Dirt Bike Steering Head Bearings
Contents
Replace your steering head bearings as soon as a tight spot or play shows up when you turn the bars lock to lock, engine off and front wheel off the ground. The check takes no tools and belongs in your routine roughly every 40 to 60 hours. Wait too long and the play starts chewing the frame’s bearing bore, which turns a cheap job into an expensive one.
Spotting a worn steering head bearing
Lift the front wheel on a stand, let the engine cool, and swing the bars slowly from one lock to the other. There are two separate faults to hunt for, and they don’t come from the same place.
The notch at center
The bars catch as they pass through straight-ahead, like they drop into a detent. That’s the needle rollers brinelling the race right where the bike spends most of its life. Once the notch is there, it never smooths out: the front end ignores small corrections and pushes wide on fast lines.
Play in the steering stem
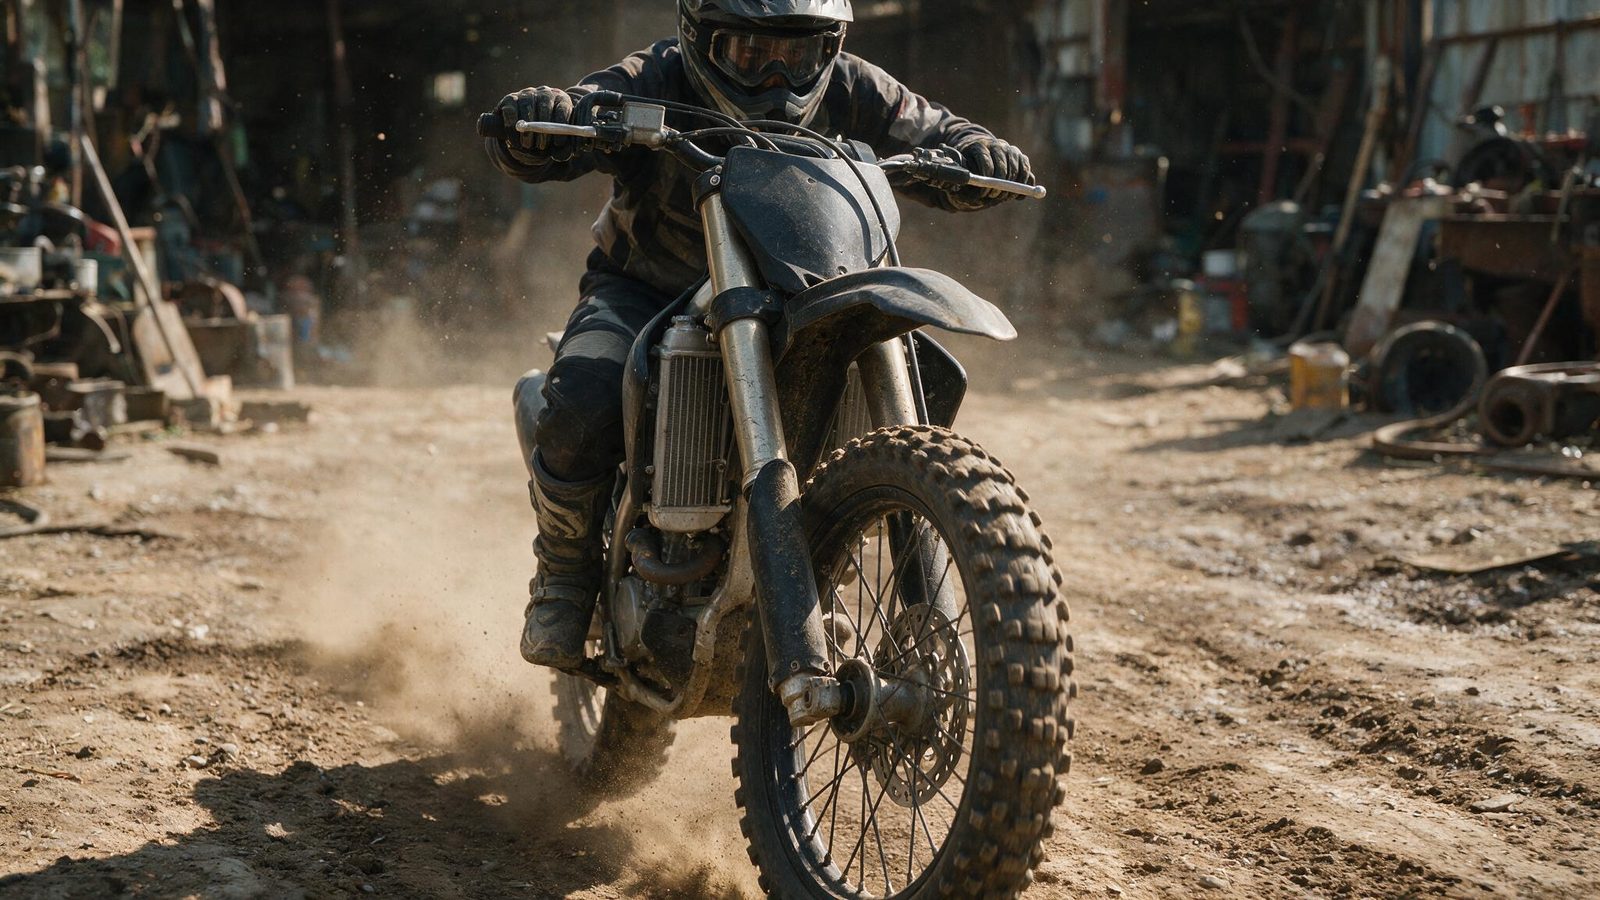
Stand in front of the wheel, grab the fork legs low down and rock them forward and back. A dull knock coming up through the stem is your answer. Lay a flat hand on the lower triple clamp while the other hand pushes and you will feel the movement long before you hear it.
Watch out for false alarms. A badly routed clutch cable or a short brake line can drag on the steering with the bearings perfectly fine. Free whatever is pulling, run the test again with nothing attached, then decide.
| What you feel | What it means | What to do |
|---|---|---|
| Sharp notch at center, free elsewhere | Race brinelled by the needles | Replace bearings and races |
| Even drag through the whole sweep | Preload too tight, or hardened grease | Back off, inspect, regrease |
| Knock when you rock the fork | Stem play: loose preload or dead bearing | Reset preload, strip it down if the play returns |
| Creaking after rain or a wash | Water past the top seal | Strip, dry, regrease, fit a new seal |
Why dirt bike steering heads die young
The stem eats everything the front wheel picks up. Jump landings and chassis hits travel up the fork legs, through the clamps, and land on two small bearings. The same parts last for years on a road bike.
Water finishes the job. A pressure washer aimed at the lower clamp drives water under the seal, the grease emulsifies, and corrosion goes after the needles. That, not hours on the clock, is what kills most sets early.
Stripping the front end, step by step
Give yourself bench space, a solid stand and a tray for small parts. Once the fork is out, the bike is balancing on the stand alone, so strap it down before you start.
- Set the bike on a stand under the engine, front wheel in the air and the frame secured.
- Pull the front wheel and fender, then hang the caliper somewhere without stretching the brake line.
- Remove the bars with their clamps and rest them back on a rag, cables still connected.
- Loosen the triple clamp pinch bolts and slide both fork legs out through the bottom.
- Undo the stem nut, then the preload nut, supporting the lower clamp with one hand.
- Drop the lower clamp and stem out: the bottom bearing almost always comes down stuck to it.
- Clean the frame bore and note the orientation of every part before it hits the bench.
Driving the old races out, pressing the new ones in
The races are an interference fit in the frame. Use a long drift, or a soft steel rod, resting on the lip of the race from inside the tube. Tap around in a cross pattern and never twice in the same spot, or the race cocks over and scores the bore. A race that is behaving walks out in small even steps. If it stops moving, reposition the drift instead of swinging harder.
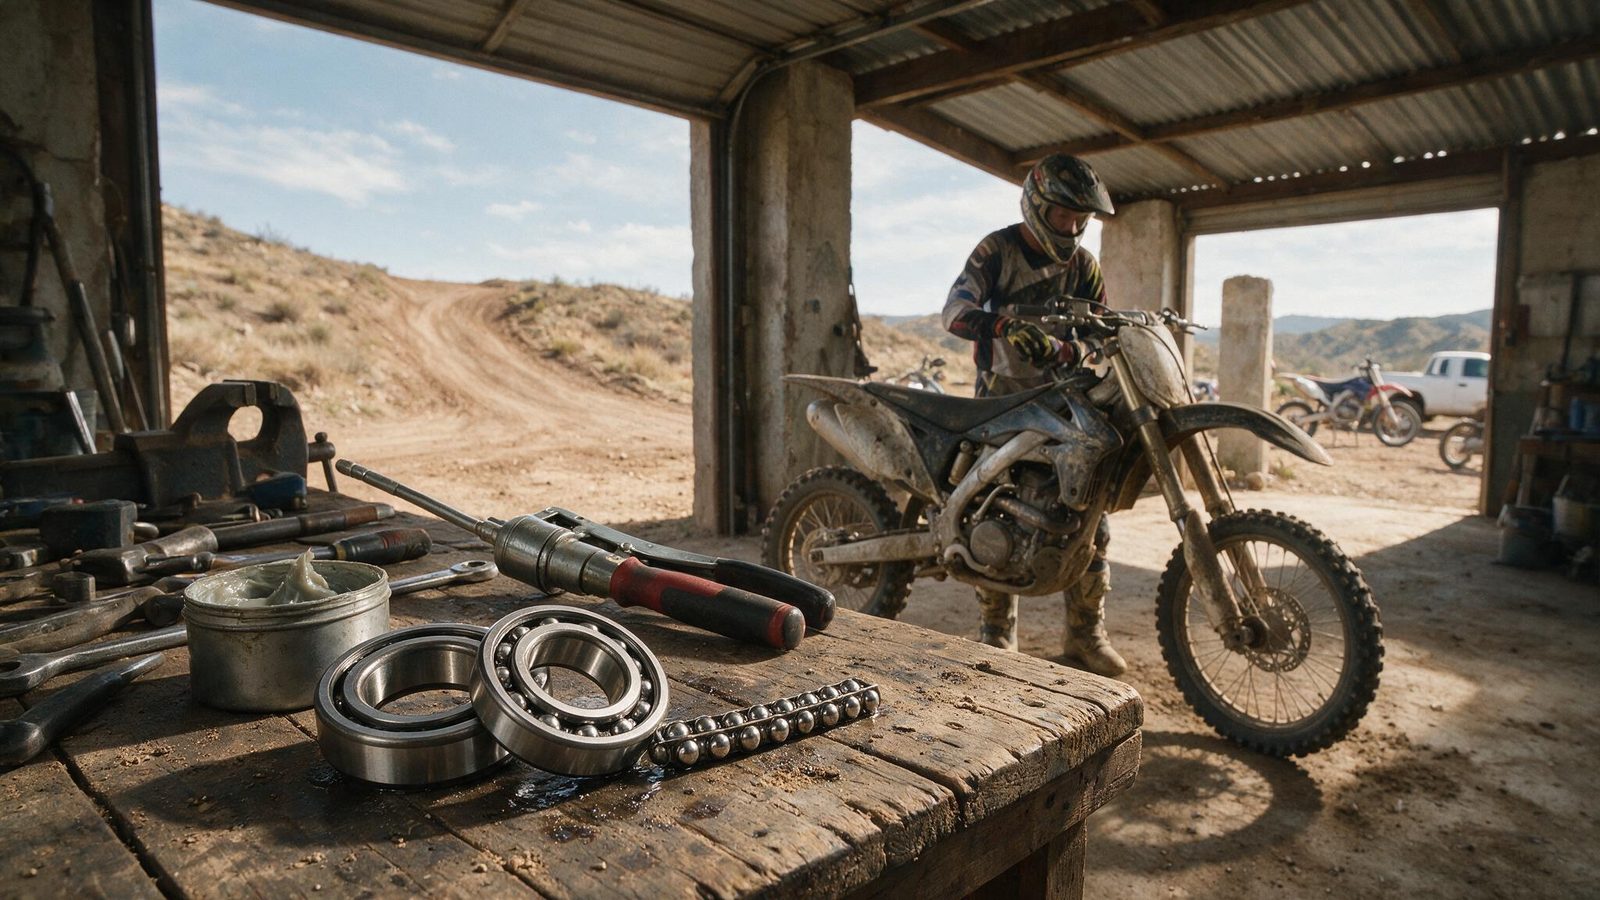
The lower race is pressed onto the stem instead. A bearing splitter or claw puller handles it, as long as you don’t nick the seat. This is where home jobs go wrong most often: if it starts coming off crooked, a shop with a press will get it off without ruining anything, and that costs far less than a new lower clamp.
On the way back in, alignment is everything. New races go in dead square, pushed by a press or by an old race turned upside down as a driver. They have to bottom in the bore, and the sound tells you when they do: it goes sharp all at once. Then pack the bearings with water-resistant grease, working it between the needles with your thumb until it comes out the other side.
Setting preload without guessing
Torque the stem with the tool the manufacturer specifies, to the figure printed in your bike’s service manual. That number moves from model to model, so it can’t be guessed and it can’t be borrowed from a mate’s bike. What does carry across is the feel: after torquing, swing the steering lock to lock several times to bed the new bearings in, then reset the adjustment. Released slightly off center, the bars should drift to the lock on their own without catching, and rocking the fork should produce no knock.
New bearings settle. Recheck preload after the first ride, then again after the second. That’s when play comes back, and play caught early leaves fresh races unmarked.
Making the next set last longer
The rubber cover over the top of the stem costs almost nothing and stops most of the water getting in. Replace it the moment it splits or deforms. When you wash the bike, keep the lance away from the lower clamp and finish with a rag instead of a jet.
Check the stem every time the fork is already off: a leaking fork seal or a suspension service puts the bearings within reach for free. Same logic for swingarm bearings, which die of the same causes and get forgotten just as often. And if the job looks too big for what the bike is worth, settle the repair or replace question before you order the first part.
FAQ
How often do steering head bearings need replacing?
There is no universal interval. Check for play regularly and replace as soon as a notch or a knock shows up, generally somewhere between 40 and 80 hours depending on how much water and mud the bike sees. A machine blasted with a pressure washer every Sunday will get there far sooner than one wiped down and stored dry.
Can I keep the old races and fit new bearings?
No. Race and bearing wear together as a matched pair. Dropping fresh needles onto a brinelled race rebuilds the notch within a few rides. That’s why kits are sold with both, plus the seals. Saving on the race just means pulling the front end apart a second time.
Can steering play damage anything else?
Yes. Play lets the stem work inside its bore, which peens the aluminium and eventually stops new races seating properly. It also fatigues the triple clamps and puts a shake in the bars on fast straights. The longer the repair waits, the more it turns into a frame problem rather than a bearing problem.
More repair guidance in the repairs section.
Editorial content. PiloteMX offers no on-site service, no parts or gear sales, no quotes and no bike repairs. Working on a bike and riding it carry risk: what you do with this guide is your own responsibility.