Replacing Dirt Bike Swingarm Bearings
Contents
Swingarm bearings need replacing as soon as lateral play shows up when you shake the rear wheel side to side, bike on a stand with the suspension unloaded. Play there throws off the whole chassis, pulls the chain out of line and eats tires. This is not a wear part you let age quietly: it holds the line the bike takes.
Spotting swingarm play
The check happens with the rear wheel in the air, on a stand that fully unloads the suspension. As long as the wheel carries weight, everything sits loaded and the play hides. Two tests cover it, and they tell you different things.
The side-to-side test
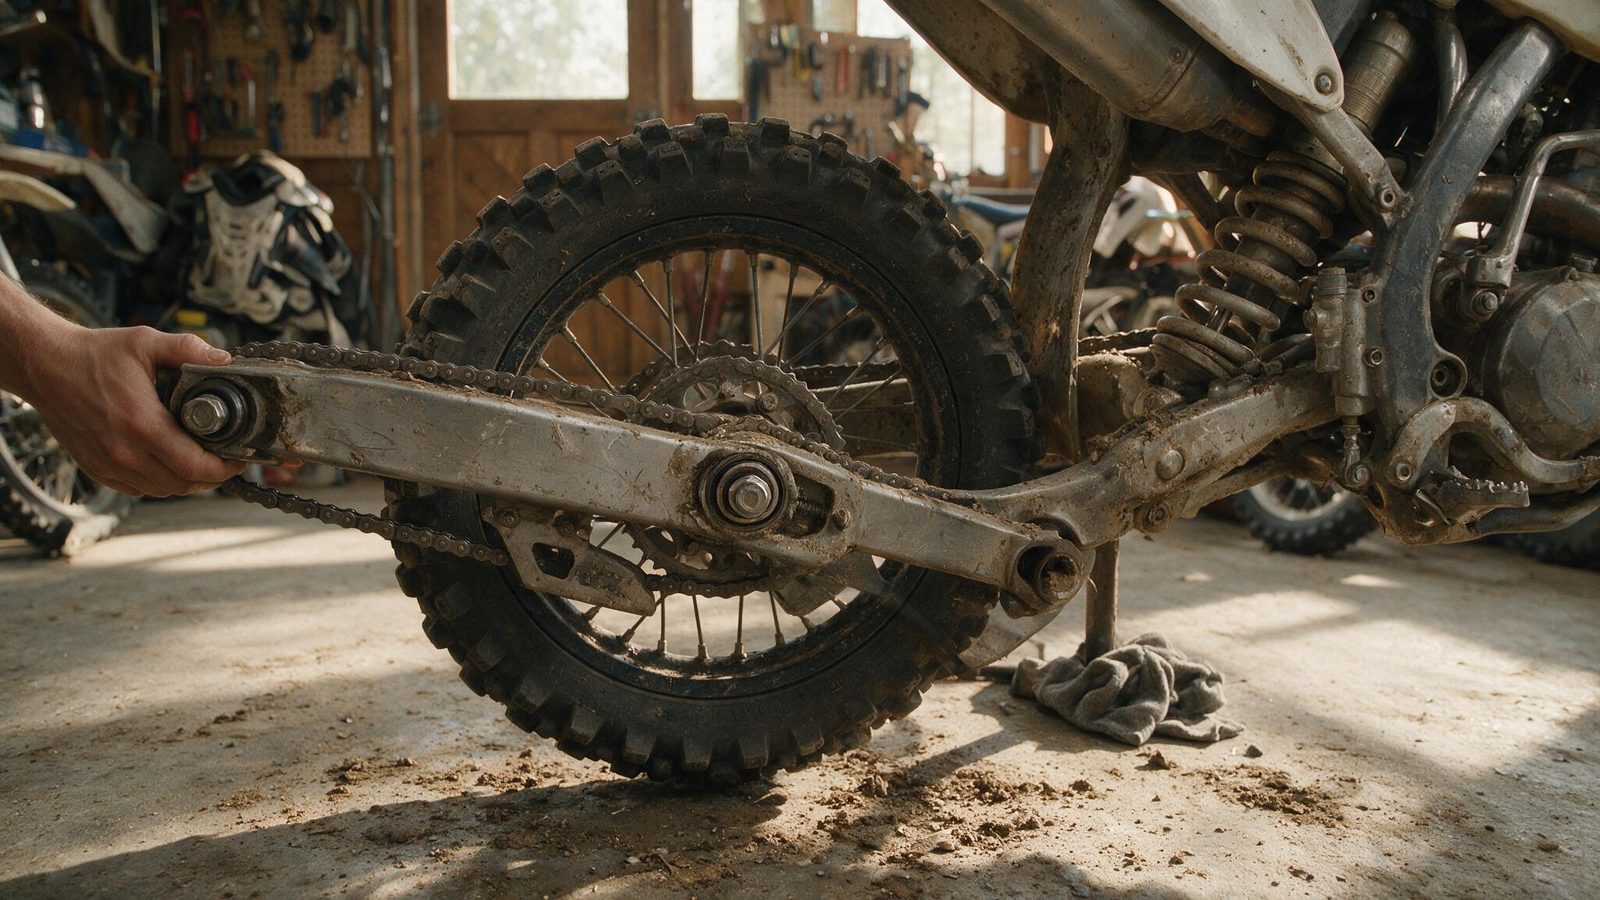
Grab the wheel by its sides, level with the axle, and push it laterally with a firm back-and-forth motion. Noticeable play, a dull knock, visible movement between the swingarm and the frame at the pivot: the bearings or bushings are done. Repeat it holding the swingarm itself instead of the wheel, so a worn wheel bearing giving the same feel gets ruled out.
The up-and-down test
With the shock unbolted at its lower mount, raise and drop the swingarm by hand. It should fall on its own, with no tight spot and no noise. A dry creak, resistance that shows up at the same place in the travel every time, movement that hangs up: the needles have brailled their races. That noise has nothing to do with the normal swish of the shock.
Why this area wears out so fast
The pivot axle takes everything the rear wheel sends back: every jump landing, every hard drive out of a corner on loose ground, every rut caught sideways. The bearings work through a tiny arc of rotation, always the same one, which keeps grease from redistributing and eventually marks the races.
Add water and mud wicking up the axle, a pressure washer aimed straight at the pivot, a grease interval skipped for a couple of seasons, and corrosion finishes the job. Depending on the model you will find needle bearings or bronze bushings, but neither survives long behind a torn dust seal.
Replacing the bearings, step by step
Key points
- Play check
- every 20 to 30 hours of use
- Tools
- bearing puller, driver rod, torque wrench
- Grease
- water-resistant grease, applied generously
- Pivot torque
- the figure in your bike’s service manual, no guesswork
- Set the bike on a tall, stable stand. With the swingarm out, the bike loses its rear support, so secure it before anything else.
- Pull the rear wheel and the chain, then unbolt the shock at its lower mount to free the swingarm.
- Loosen the pivot nut with tools matched to the original torque. It is a heavy fastener, and a short wrench ends up rounding it off.
- Drive the axle out. If it fights you, that is corrosion: soak it in penetrant, give it time, and hit a bronze or wood drift rather than the threads.
- Pull the bearings or bushings with a puller, or tap them out in a cross pattern using a rod of the right diameter so the part comes out square.
- Clean the housings down to bare metal and look at them in good light. An oval or scored housing will never hold a new bearing.
- Press the new parts in dead straight, in a vise with proper drivers or on a press. Even slight misalignment wears the needles unevenly within the first few hours.
- Grease the axle, the bearings and the spacers heavily, fit new dust seals, then torque the pivot nut to the manufacturer’s figure.
While you are in there: the linkage
With the swingarm off, the linkage and shock-clevis bearings are a wrench away. They work through an even narrower arc, closer to the ground, and they usually give up before the pivot does. Checking them now takes about as long as a coffee; checking them later costs a second full teardown.
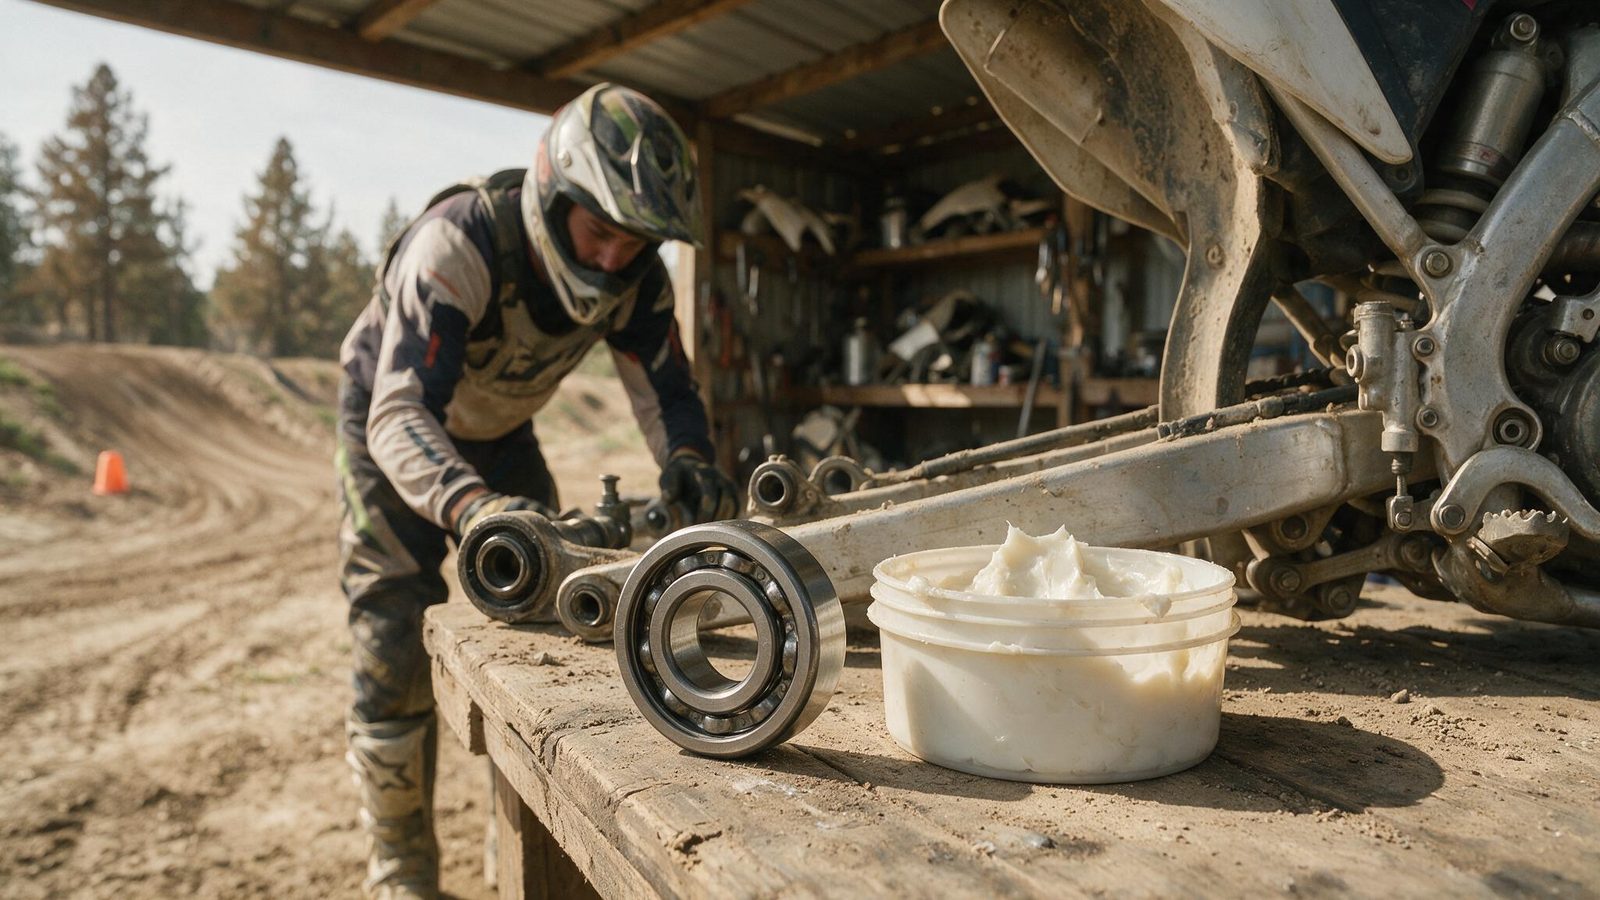
The test is the same: strip, clean, turn by hand. Orange rust in the bottom of a housing, needles that slide instead of rolling, a split dust seal, and the part gets replaced. A seized linkage flattens the whole progressive curve of the suspension, and you feel it on landings well before you see it on the bench.
Pivot torque, the step most people blow
This is where reassembly usually goes wrong. Under-torqued, the axle works in its seats and all the play you just removed comes back within a few rides. Over-torqued, the new bearings get crushed in their housings and the swingarm turns stiff, which you pay for in traction over braking bumps.
The exact figure lives in your bike’s service manual, and it varies from one manufacturer to the next. Do not infer it from axle diameter, do not borrow it from another model. Torque it properly, then check straight away that the swingarm still drops freely by hand. That check tells you whether the torque is right before you ever ride it.
Making the new bearings last
Grease the pivot at the interval the manufacturer recommends, and put the grease gun back on the list after a genuinely muddy ride even if the interval is not up. Check the dust seals at every wash: a cheap, simple part that protects everything behind it.
When you wash, keep the pressure lance away from the pivot and the linkage. The jet gets under the sealing lips and drives grease inward. If you are torn between refreshing a badly worn swingarm and replacing it outright, that call is covered in the guide on repairing versus replacing a part.
One last thing: if the axle comes out bent, or the frame housings are oval, the bearing is no longer the problem. Get the geometry checked, the same way you would after a crash that bent the frame. Same vigilance at the front end, where identical play shows up as a headshake: see steering head bearings.
FAQ
Can I ride with a bit of pivot play?
Technically yes, for a handful of rides. In practice you lose precision the moment you turn in, the chain runs out of line and wears faster, and the play grows on its own because the axle starts scoring its seats. The real risk sits further down the road: a pivot left loose eventually ovals the frame housings, and that repair is nothing like simple.
Can the bearings come out and go back in without a press?
Yes, with a slide-hammer puller or a threaded-rod setup with washers and sockets for removal, and a well-set vise for installation. The condition is pushing square, on the outer race only, with a driver of the right diameter. A bearing started crooked is scrap, and it often takes the housing with it.
Needle bearings or bronze bushings, what changes?
Needle bearings turn more freely and feel better over small suspension movements. Bronze bushings shrug off impacts and grit better, but they want a stricter grease routine. Do not mix them: stay with the setup your model was built around, because the spacers, the dust seals and the housing dimensions all go together.
More repair guidance in the repairs section.
Editorial content. PiloteMX offers no on-site service, no parts or gear sales, no quotes and no bike repairs. Working on a bike and riding it carry risk: what you do with this guide is your own responsibility.