Sprocket Wear: When to Replace the Front and Rear Together
Contents
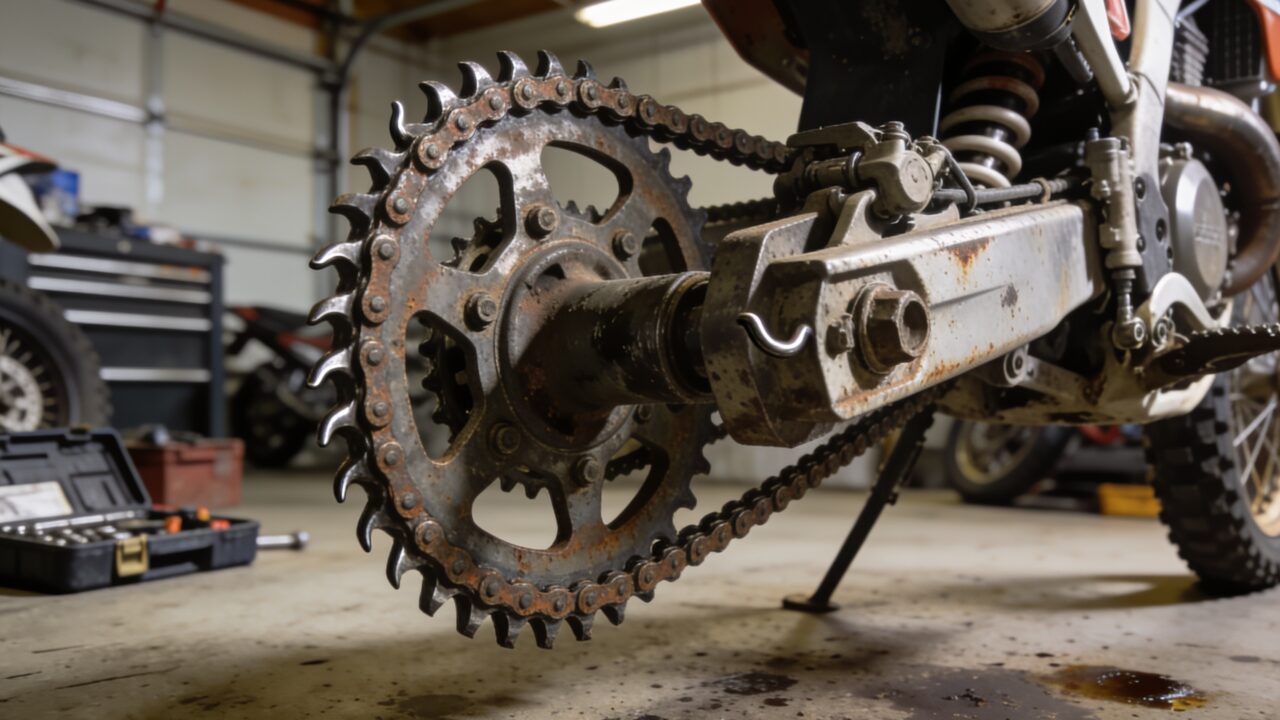
Replace the front sprocket, the rear sprocket and the chain as a set, as soon as the teeth turn hooked instead of straight and symmetrical. A fresh chain dropped onto worn teeth wears out fast: it slaps, it needs tensioning after every ride, and you end up paying twice. Always look at the teeth from the side, never head on.
Three parts, one wear cycle
Chain, front sprocket and rear sprocket grind against each other every single wheel revolution. As a chain stretches, the rollers stop seating in the bottom of the tooth valleys. They ride higher up the tooth flank and carve it out. It works the other way too: teeth that are already hooked force a new chain to sit crooked and stretch it long before the maker’s numbers say it should.
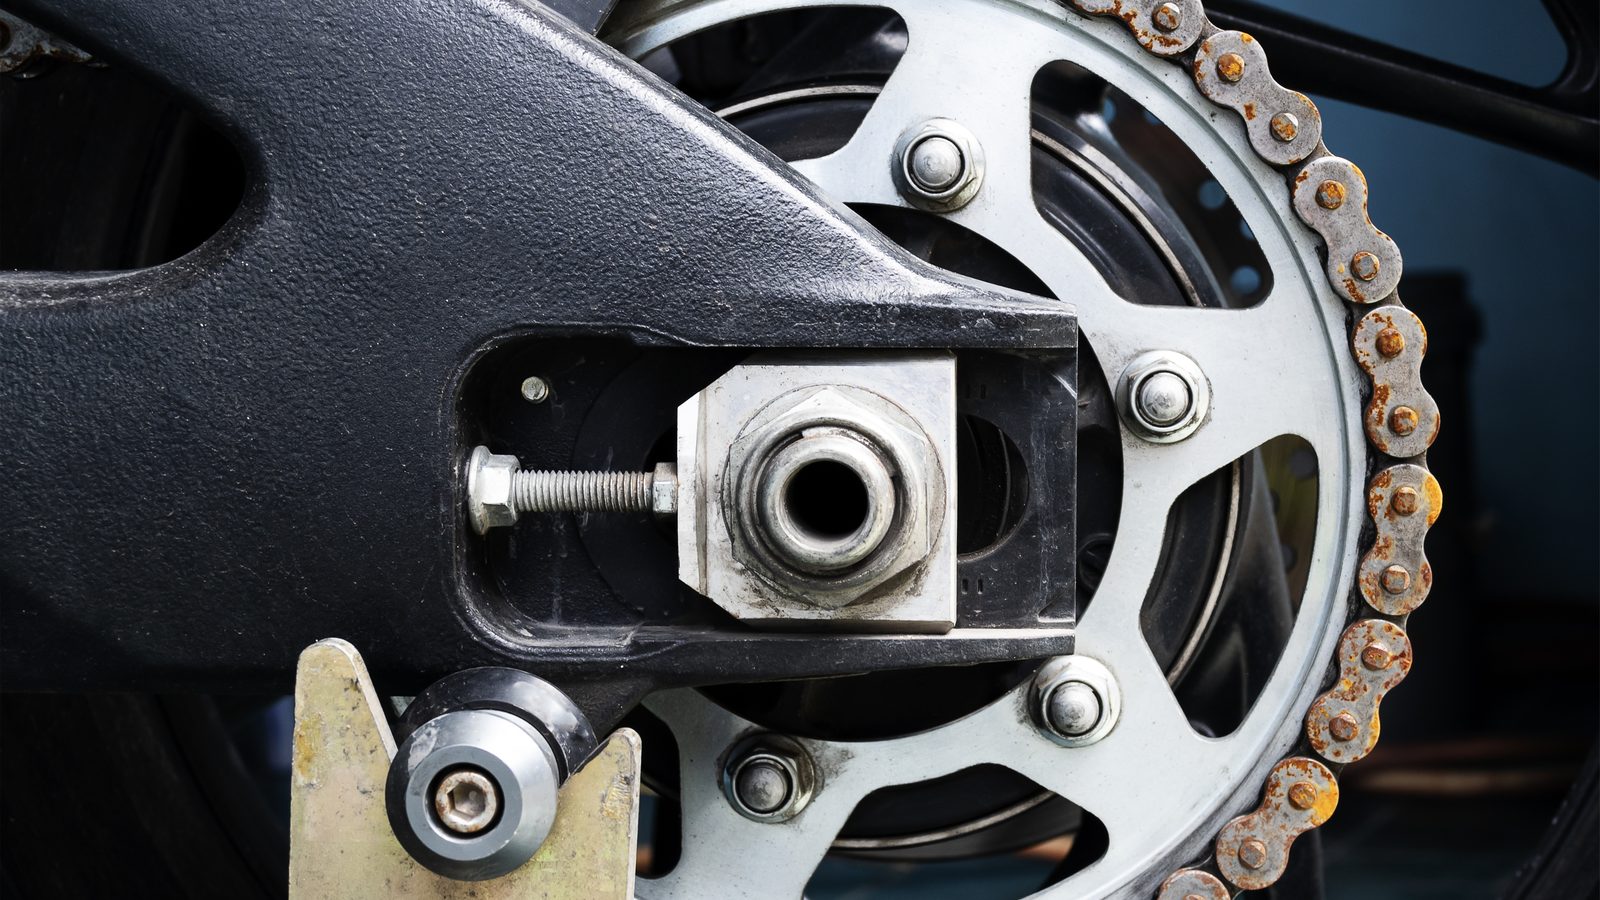
Hence the paddock rule, replace all three at once. It hurts at the counter, but most riders who try to save one part end up redoing the whole job before the season is out. Motocross piles on: sand and mud sit between roller and tooth and work like grinding paste.
Reading the teeth before you spend money
Bike on the stand, gearbox in neutral, rear wheel free. Spin the wheel by hand and look at the rear sprocket from the side, on the taut run of the chain. A new tooth is symmetrical, two flanks that mirror each other and a centred tip. A worn tooth leans. The loaded flank hollows out, the other stays full, and the tip curls over into a hook.
The front sprocket wears faster than the rear because it has fewer teeth, so each one takes its turn more often. Plenty of riders never look at it, hidden as it is behind its cover. Pull the cover off, it is only a few bolts, and you will know where you stand.
| What you see | What it means | What to do |
|---|---|---|
| Leaning teeth, hooked tips | Teeth are done | Replace the whole set |
| Teeth still straight, chain slack again after every ride | The chain gave out before the teeth | Check chain stretch, inspect the teeth at the same time |
| Sharp clack under drive, a skipping feel | The chain is climbing hollowed teeth | End the session, inspect cold |
| Rear sprocket looks new, front is chewed up (or the reverse) | Wheel alignment off, or a warped sprocket | Fix the cause before fitting new parts |
| Tooth flanks polished on one side only | The chain is pulling at an angle | Check alignment and the swingarm slider |
When wear isn’t really wear
Teeth that go crooked rarely blame the hours. Look elsewhere. Adjuster blocks not set on the same mark left and right, an axle pulled up skewed, a hollowed swingarm slider, a seized chain roller: each one drags the chain out of its plane and eats one flank of every tooth.
A warped rear sprocket shows up without tools. Turn the wheel slowly with your eye fixed on a point of the swingarm and watch whether the sprocket wobbles sideways. A warped sprocket cannot be pulled straight with torque. It gets replaced, and you clean the hub face while you are in there.
Doing the job properly
A well equipped home mechanic can handle this, with one condition: the torque figures for the rear sprocket bolts and the front sprocket fastener belong to your model and live in the workshop manual. There is no universal number here. Get the manual out before you get the wrench out, and have the right tools ready, torque wrench included.
- Put the bike on a stand, rear wheel off the ground, gearbox in neutral.
- Crack the axle nut loose and take all tension out of the chain before anything else.
- Pull the front sprocket cover, then break its fastener loose with the rear brake held on, or the output shaft just spins.
- Take the rear wheel out and undo the sprocket bolts in a cross pattern, without leaning on any single one.
- Clean the hub face back to bare metal and check that no burr is standing proud.
- Rock the wheel on its axle and spin the bearing by ear while it is apart: the check costs nothing.
- Fit the new rear sprocket and tighten in a cross pattern, in stages, to the manual figure.
- Fit the new front sprocket with a new lock washer, and fold the tab over if your bike uses one.
- Run the new chain, set the tension, check wheel alignment on both sides, then walk round every fastener again.
The lock washer behind the front sprocket does not get reused. It has already been bent once. And if that fastener resists to the point where you start looking for a breaker bar extension, stop and hand the job to a shop. A damaged output shaft costs far more than an hour of labour.
Change the gearing, or leave it
Swapping the set is the only moment when a gearing change costs nothing extra. More teeth on the rear shortens the gearing: sharper drive, traction that is easier to meter in sand, less top speed. Fewer teeth does the opposite, calmer on a fast open track, lazier out of tight corners.
My take: keep the stock gearing until you have a specific reason to leave it. A rider bogging on a hill usually has a clutch or a gear selection problem, not a gearing problem. And if you do change, change one thing at a time.
The mistakes that kill a new kit
Fitting a chain alone onto marked teeth is the most common error, and the most expensive one in the end. The new chain takes the shape of the hooks within a few laps, stretches, and you are back to tensioning it every weekend.
Running dry comes next. An unlubricated chain works like a file on the teeth. Get back to lubing at the rhythm your terrain demands, not the rhythm of your neighbour’s road bike.
Finally, a pressure washer aimed straight at the sprocket drives grease out of the O-rings and pushes sand into the joints. Back the lance off and let the chemicals work, because your wash routine matters as much as the lube. A glance at the teeth during the post-ride cleanup will show you the hook weeks before it becomes a problem.
FAQ
Can I replace just the rear sprocket?
On a nearly new set damaged by a rock or an alignment fault, yes, and it is done all the time. On a set that has lived its whole life, no: a stretched chain will hollow out the new sprocket within a few rides. Check the front sprocket first, it gives away the true age of the drivetrain.
How do I know whether the chain or the sprockets went first?
The teeth decide. Straight profiles with a chain that goes slack after every ride means the chain is at the end of its life. Hooked teeth with a chain that holds its tension means the sprockets are. Either way, if all three parts are the same age, replace all three.
Does an aluminium rear sprocket last long enough for motocross?
It saves unsprung weight and you can feel it, but it wears faster than steel, especially in sand. If you ride often and would rather not think about it, steel or a steel-toothed hybrid lasts longer. If you chase the feel and inspect regularly, aluminium holds up fine.
Find the rest of the maintenance guides on the dirt bike maintenance page.
Editorial content. PiloteMX offers no on-site service, no parts or gear sales, no quotes and no bike repairs. Working on a bike and riding it carry risk: what you do with this guide is your own responsibility.