Dirt Bike Chain Tension: Getting the Adjustment Right
Contents
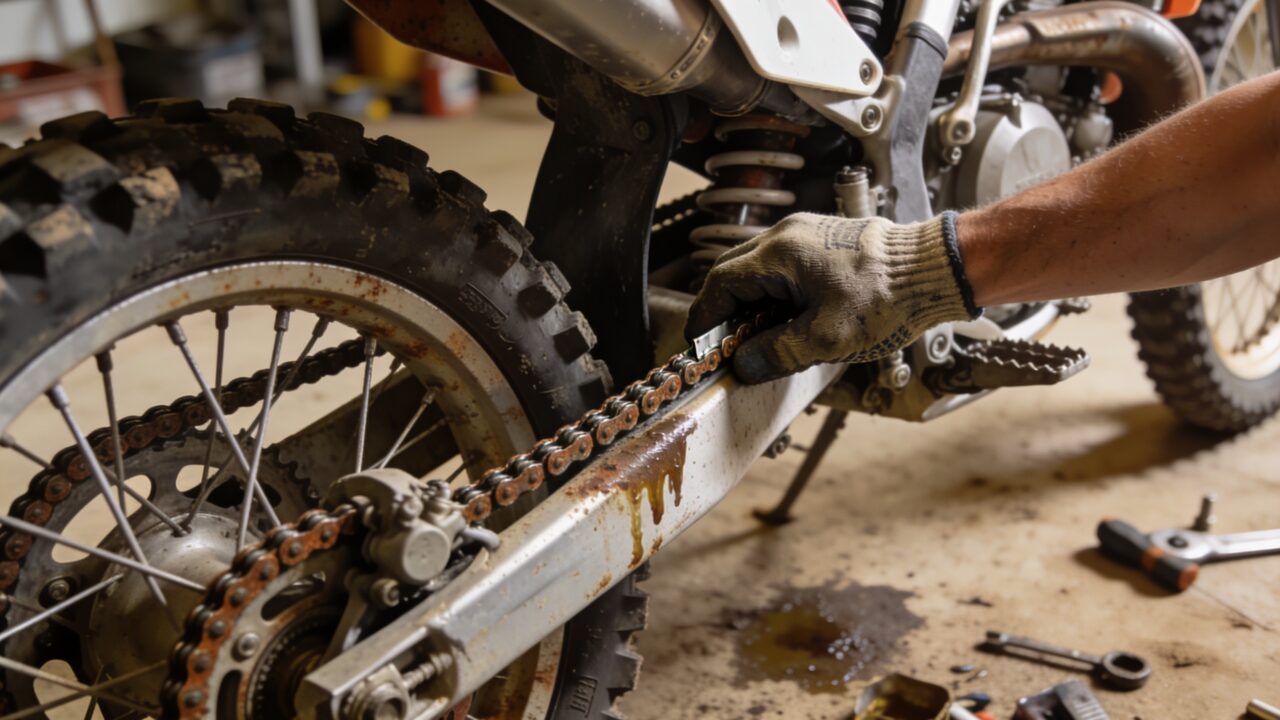
Check chain tension before every ride and adjust it as soon as the slack falls outside the manufacturer’s tolerance, a common reference being 5 to 10cm of vertical movement depending on the model. Too tight and it drags on the countershaft bearing and swingarm pivot. Too loose and it slaps, jumps the sprocket, and eventually derails.
Why the tension never stays put
On a road bike the chain barely moves from one month to the next. On a dirt bike the swingarm sweeps through a huge arc, and the distance between the countershaft and the rear axle changes constantly while you ride. A chain that looks right in the garage can bind solid at full compression.
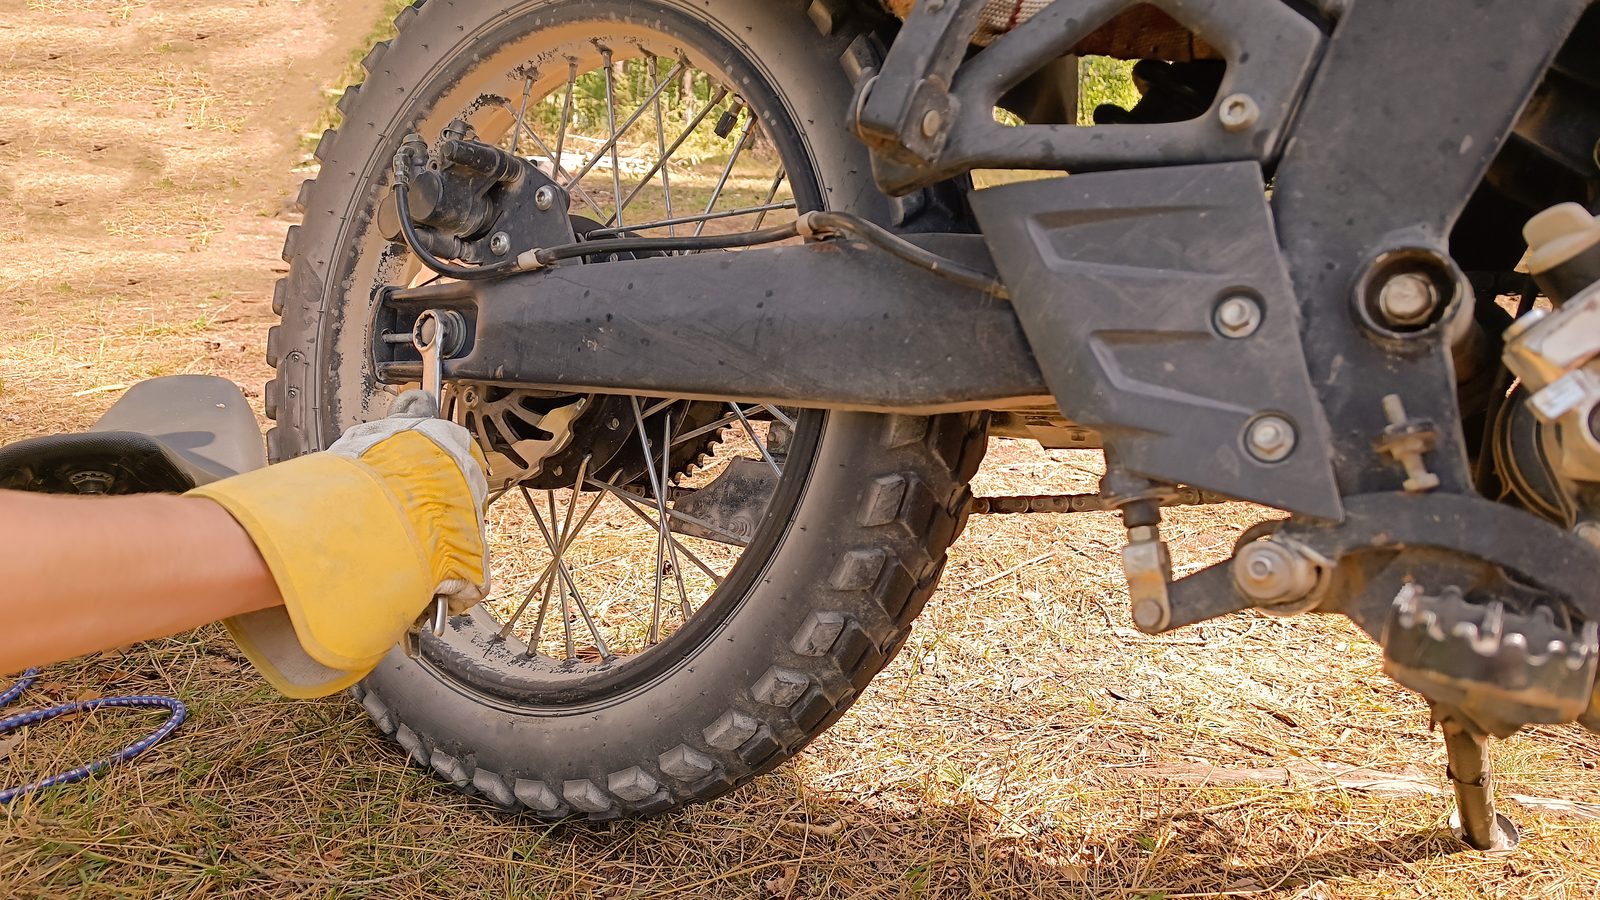
Add mud, sand and dust, which chew the pins and rollers far faster than street use ever will. That is why this check belongs in your pre-ride checklist and not in an occasional service.
| Adjustment fault | What you hear or feel | What pays for it |
|---|---|---|
| Chain too tight | Dry-feeling driveline, the bike binding at full travel, snatch when you get back on the gas | Countershaft bearing, swingarm pivot, and the chain itself |
| Chain too loose | A sharp metallic slap on acceleration and again on deceleration | Chain slider, a groove worn into the swingarm, rear sprocket teeth |
| Wheel out of line | Nothing at first, then knobs wearing unevenly across the tire | Chain, sprocket teeth, and how the bike holds a line under load |
Measuring slack in the right place
No chain wears perfectly evenly. Roll the wheel slowly by hand and find the position where the chain sits tightest. That spot, and only that spot, is where the measurement counts. Set it on a slack section and you have just made the rest of the rotation far too tight. While you’re already spinning the wheel by hand to find that tight spot, it costs nothing to feel for play in the wheel bearing too.
Your manual gives two things that go together: the slack figure and the position you take it in. Some manufacturers specify it with the rear wheel off the ground and the suspension extended; others with the bike sitting on its wheels at normal loaded sag. Borrowing the number from one convention and the position from the other gets you a wrong setting from a correct figure. If you no longer know which applies to your bike, find the manual before you touch the adjusters.
Measure at the midpoint between the sprockets, pushing the chain up and then down. Then check the wheel alignment against the graduated marks on each side of the swingarm. A wheel pulled off to one side falsifies the reading and wears the teeth at an angle, no matter how good the tension looks. Those marks are not laboratory accurate, but the difference between the two sides is still the best indicator you have without workshop equipment.
The adjustment, step by step
- Support the bike securely, in the position your manual requires for the measurement.
- Loosen the rear axle nut, then the adjuster locknuts on both sides, without removing anything.
- Move both adjusters by the same amount, one side and then the other, watching the alignment marks.
- Recheck the slack at the tightest point and keep correcting until you are inside the manual’s tolerance.
- Lock the adjuster nuts, then torque the axle nut with a torque wrench to the manufacturer’s figure.
- Roll the wheel through a full turn, checking slack at several points. The setting has to hold everywhere.
Torquing the axle usually shifts the wheel a fraction, and that is enough to change the reading. This is why the final check comes after the axle is tight, never before. A torque wrench belongs in the basic tool kit, right alongside the spanners.
Signs you need to act now
A sharp metallic slap, clearly separate from engine noise, showing up both on the gas and off it. The chain is hitting the slider or the swingarm, and it never gets better on its own.
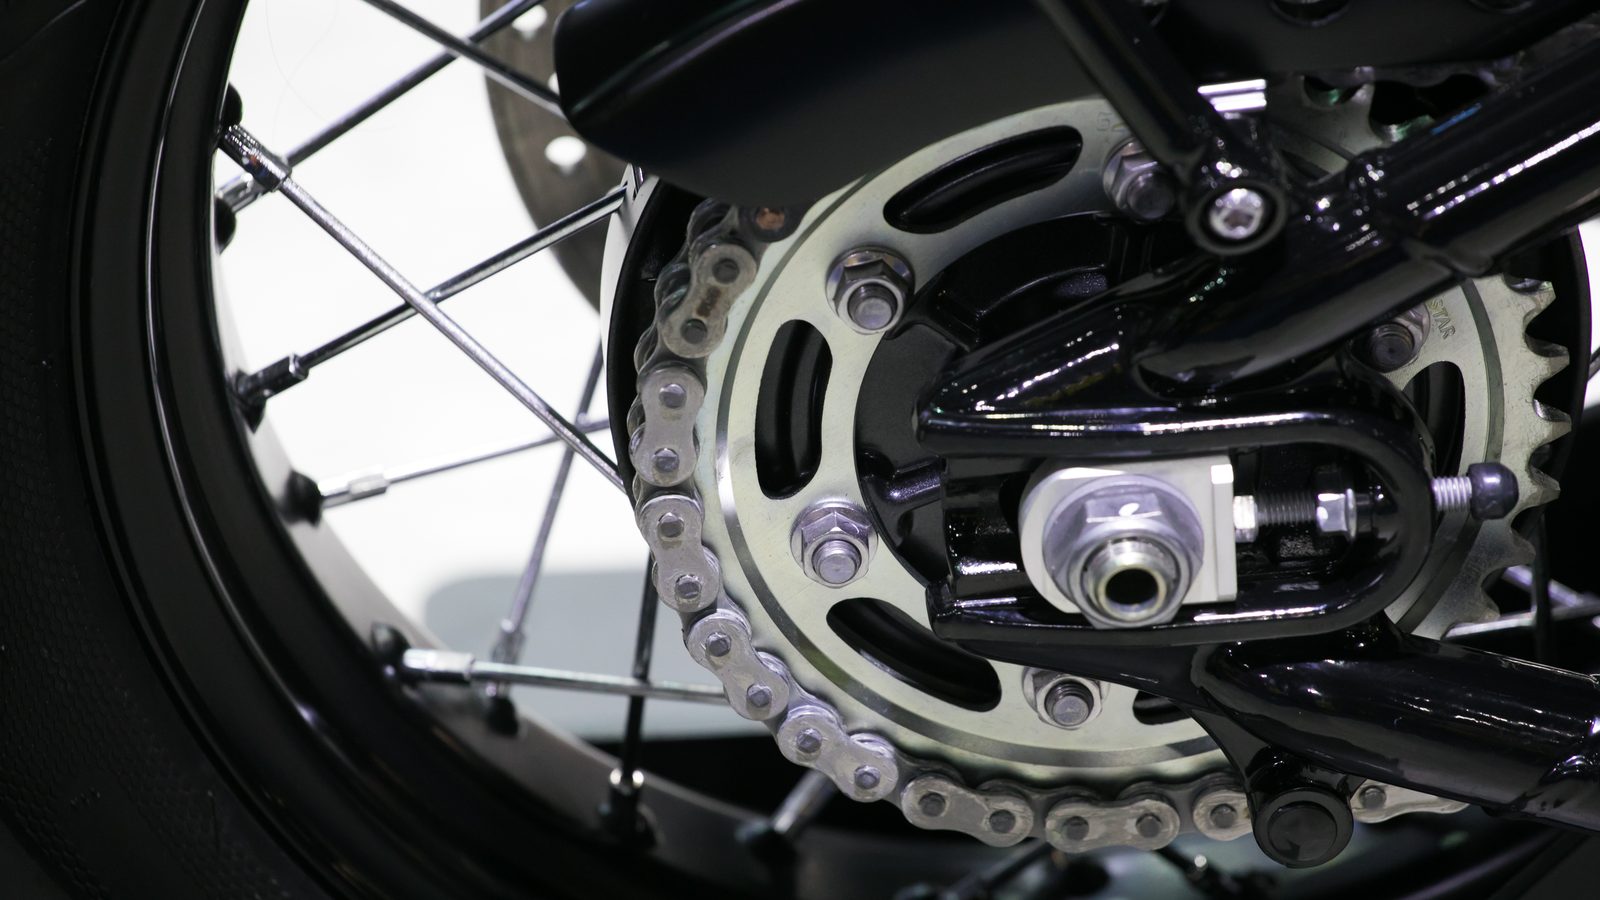
Sprocket teeth curling into a hook shape instead of standing straight. No adjustment rescues that. It is tooth wear, and it is covered in the guide on sprocket wear.
A chain that is dry, rusty, or no longer flexes freely link by link. Start with lubrication: a dry chain has stiff spots that throw off the reading, and it keeps wearing while you hunt for the right setting.
An adjustment interval that keeps shrinking. A new chain settles down after the first few rides. One that wants the adjusters every single time out has stretched past its useful life, and the sprockets have usually gone with it.
The mistakes that cost real money
Setting it tight because tight feels safer. This is the most common and most expensive error: the countershaft bearing and the swingarm pivot pick up the bill, and neither repair is anywhere near the cost of doing the adjustment properly.
Adjusting by eye, one side then the other, without watching the marks. The wheel ends up cocked without looking wrong, the chain wears at an angle, and the bike starts pulling under load.
Measuring in a position the manual did not specify, sitting on the bike when the figure was given with the wheel in the air. The number you read is real; the conclusion you draw from it is not.
Riding off without torquing the axle. That is the kind of oversight that stays invisible in the garage and introduces itself on the track. Use your post-ride routine to clean the chain too: a clean driveline reads more honestly and adjusts more precisely.
FAQ
How often does the chain actually need adjusting?
Check it before every ride; adjust only when the slack leaves the tolerance in your manual. On abrasive terrain and hard use, that can mean every two or three sessions. On a new chain, expect a couple of early adjustments close together while it beds in, then a longer and more predictable interval afterwards.
On the stand or on the wheels?
It depends on the bike, and the manual settles it. The slack figure and the measuring position belong together: some manufacturers quote the tolerance with the rear wheel off the ground, others with the bike on its wheels at normal sag. Both methods are correct with their own number, and both are wrong with the other one.
My chain goes loose faster than it used to. Is that normal?
A shrinking interval points to real wear, in the chain, in the sprockets, or both. Poor lubrication speeds it up sharply by attacking the pins and rollers. If the adjusters are running out of travel, or the setting no longer holds for a full session, the driveline needs replacing rather than another turn of the adjuster. Run it slack long enough and the chain can snap mid-ride, so know how to handle a broken chain on the trail.
Find the rest of the maintenance guides on the dirt bike maintenance page.
Editorial content. PiloteMX offers no on-site service, no parts or gear sales, no quotes and no bike repairs. Working on a bike and riding it carry risk: what you do with this guide is your own responsibility.