Dirt Bike Suspension Setup: Matching Fork and Shock to Your Weight
Contents
Suspension setup starts with spring preload set to your weight in full gear, before you touch rebound or compression. Until sag is right, every click you turn is just compensating for a wrong baseline. Set sag first, then change one thing at a time on a track you know well enough to feel the difference.
Why the factory setting doesn’t fit you
A bike leaves the factory set up for an average rider who does not exist. That is an honest starting point and nothing more. If you are light, the suspension feels dead: it refuses to move into its stroke, and the front wheel skips from bump crest to bump crest instead of following the ground. If you are heavy, the bike sits down in its travel, dives under braking, and slams into the bottom of the stroke on landings.
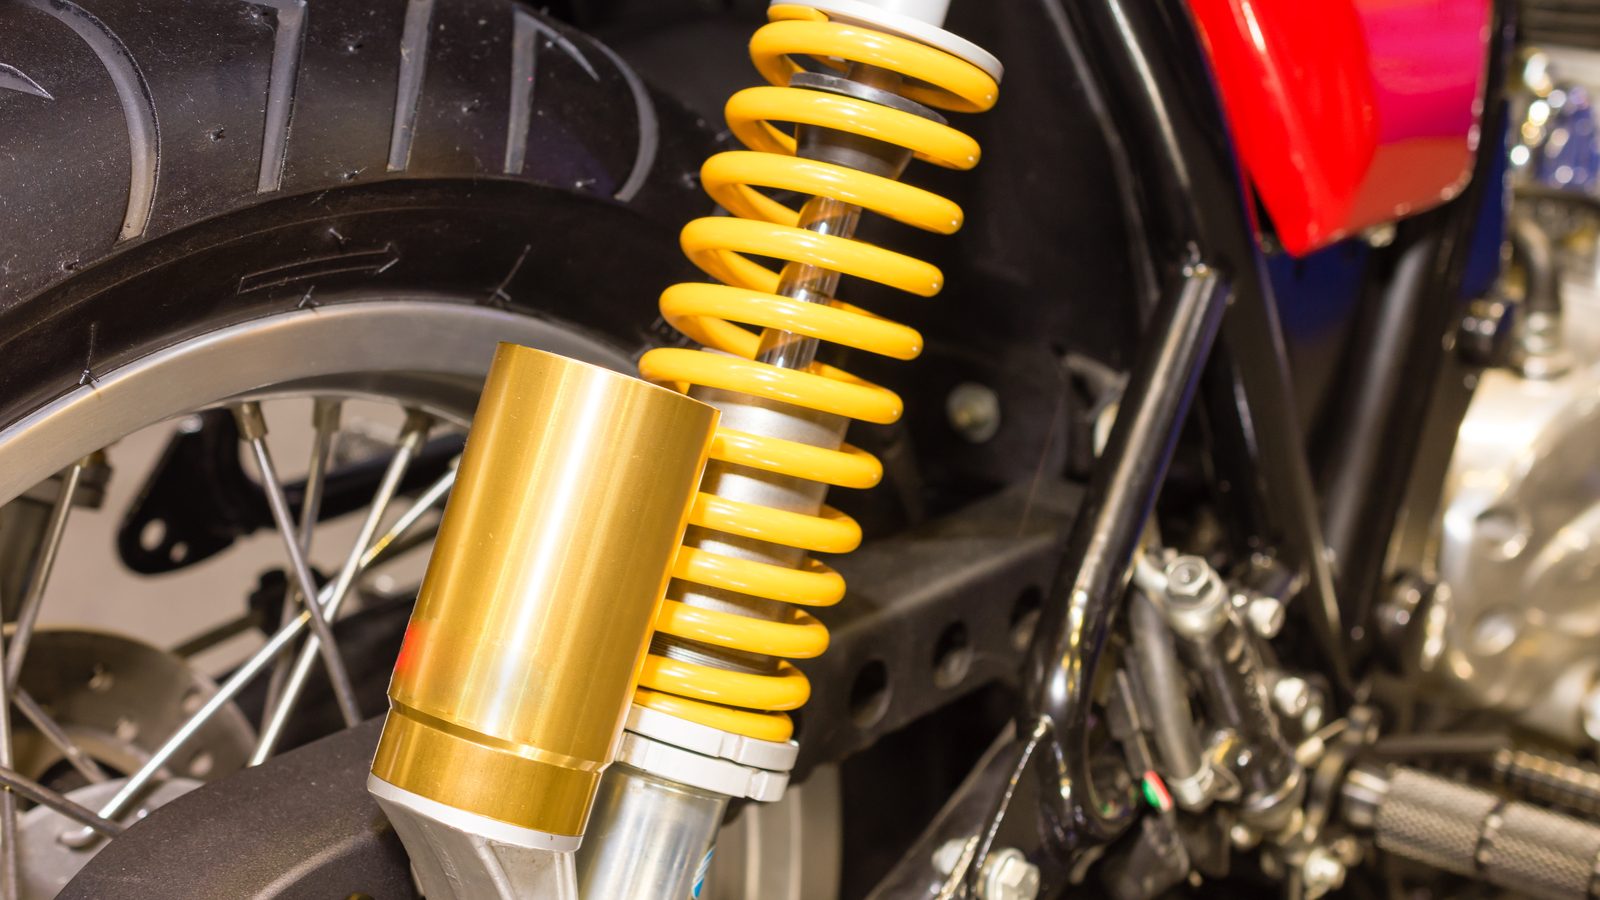
Bottoming out is not just a comfort problem. A suspension that runs out of travel on a landing feeds the hit straight into the chassis and unsettles you exactly when you need your footing. And a wheel in the air transmits nothing: no traction, no braking, no steering. All the grip you have goes through suspension that keeps the tyre on the dirt.
Sag, the measurement everything else hangs on
Sag is how far the suspension settles under the weight of the bike, then under yours. You measure it. You do not guess it by pushing on the seat in the garage. Get a tape measure, a friend, and the preload spanner that came with the bike.
- Put the bike on a stand with the rear wheel off the ground, and pick two fixed points: one on the rear axle, one directly above it on the fender or the frame.
- Measure that distance with the wheel hanging. This is your reference.
- Set the bike back on the ground with no rider, push the rear down and let it rise several times to free up stiction, then measure again.
- Put your full gear on, boots and helmet included, and get on the bike in a riding position, standing on the pegs first, then seated normally, while your friend holds the bike upright.
- Bounce the rear gently, let it settle, and take the final measurement without shifting your weight.
- Compare the difference against the figure in your manual. Most off-road bikes target somewhere between 95 and 105mm of race sag.
- Turn the preload collar on the shock one way, then measure again. Never make two corrections in a row without measuring in between.
Run the whole sequence a second time to confirm you land on the same figure. A gap between two runs means the bike was not held upright, or the stiction was never freed.
When the spring is wrong, not the setting
Preload has a usable range, and it is short. If you have to wind the collar all the way in to reach the right sag, your spring is too soft for you. If you have to back it almost all the way out, it is too stiff. Turning the collar further fixes nothing at that point: you are just moving the starting position within a stroke that stays wrong.
That is the moment to order springs at the correct rate, front and rear together, giving the supplier your weight in full gear. A rider who has gained or lost weight since buying the bike sits in exactly the same situation, even though nothing on the machine has changed.
Compression and rebound: reading what the bike tells you
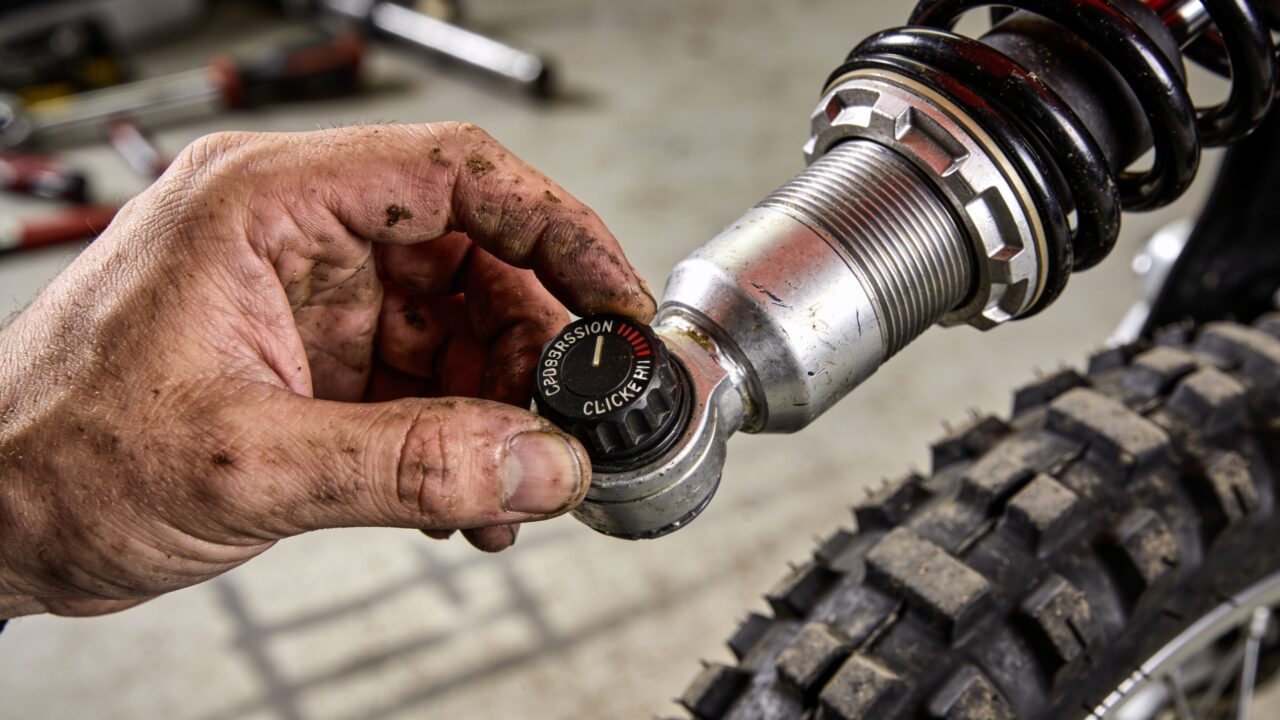
With sag set, the clickers fine-tune behaviour. Compression controls how fast the suspension moves into its stroke under an impact. Rebound controls how fast it comes back. Here is how that reads on track.

| What you feel | Likely cause | What to change |
|---|---|---|
| Hard bottoming on landings, with sag already correct | Compression too open | Add compression, one click at a time |
| Arm pump on hardpack, the bike skipping instead of absorbing | Compression too stiff | Back compression off, one click at a time |
| The rear kicks up and steps out after every bump | Rebound too fast | Add rebound damping, one click at a time |
| The suspension packs down and stays low through a series of bumps | Rebound too slow, no time to recover | Back rebound off, one click at a time |
| The front dives and goes vague under braking | Fork compression too open, or too much front sag | Reset front sag first, then compression |
Change one setting at a time, on a track you know by heart, and ride the same sections between each change. Whoops are the best judge of rebound, big landings the best judge of compression. Log every click in a notebook with the date. After a season that notebook is worth more than any paddock opinion.
Adapting to terrain and to your style
On a fast, dry track, a slightly stiffer setting holds the bike better at speed and keeps the steering precise. In soft ground, deep sand or fresh loam, a plusher base lets the wheel follow the surface and makes traction easier to meter with the throttle.
Style matters as much as terrain. A rider who jumps long and attacks landings needs a firmer setup than a rider who works on placement and consistency. Do not copy someone else’s settings sheet: their weight, their pace and their tyres are not yours.
The suspension also works with whatever is underneath it. Wrong tyre pressure or worn-out tyres will ruin your judgement on the clickers, so check those first. And revisit your settings after a fork oil change, because fresh oil does not behave like tired oil.
The mistakes that ruin a good setup
Touching the clickers before measuring sag is mistake number one. You spend hours compensating for a spring that was never right for you, and you end up with a bike set at the extremes that works nowhere.
Turning several adjusters at once comes next. Change compression and rebound in the same lap and you will never know which one did what. Suspension gets tuned the way you chase a fault: one variable at a time.
Last, setting it once and never checking anything again. Seals, fork bushings and linkage bearings all pick up play with hours. Add a glance at the fork tubes to your post-ride routine, because a seal that has started weeping destroys a setup long before it becomes obvious.
FAQ
How do I know if my suspension is too soft or too stiff?
Too soft: the bike sits down in its travel, dives under braking and slams the bottom of the stroke on landings. Too stiff: it passes every small ripple straight through, the wheel skips crest to crest and your forearms are cooked by the end of the session. If you cannot tell which, remeasure sag before touching anything.
Can I set my suspension up on my own?
Sag and clickers, yes, with a tape measure, the preload spanner and a friend to hold the bike upright. Swapping springs is within reach of a well equipped home mechanic too. Internal valving, nitrogen recharging and anything involving a pressurised shock body belong to a suspension specialist.
How often should I revisit my settings?
After a meaningful weight change, after a fork oil change, after fitting different tyres, or when the terrain you ride changes for good. Otherwise a correct setup stays correct. Still, remeasure sag now and then: springs sag slowly over their life and nobody notices it happening.
Find the rest of the maintenance guides on the dirt bike maintenance page.
Editorial content. PiloteMX offers no on-site service, no parts or gear sales, no quotes and no bike repairs. Working on a bike and riding it carry risk: what you do with this guide is your own responsibility.