Chain Break Mid-Ride: Trailside Repair
Contents
A chain that breaks mid-ride gets fixed where it lies, with a master link matched to your chain’s pitch: pull the damaged link out, bring the two sound ends together, fit the new link and close its clip with pliers. Five minutes with the right kit in your pack, and you ride home instead of pushing.
What happens the moment it lets go
The engine revs out, the bike stops driving. Kill it right away, before you even get a foot down. A chain coming off whips: it can wrap the rear sprocket, hammer the swingarm, or feed behind the countershaft sprocket and chew into the case.
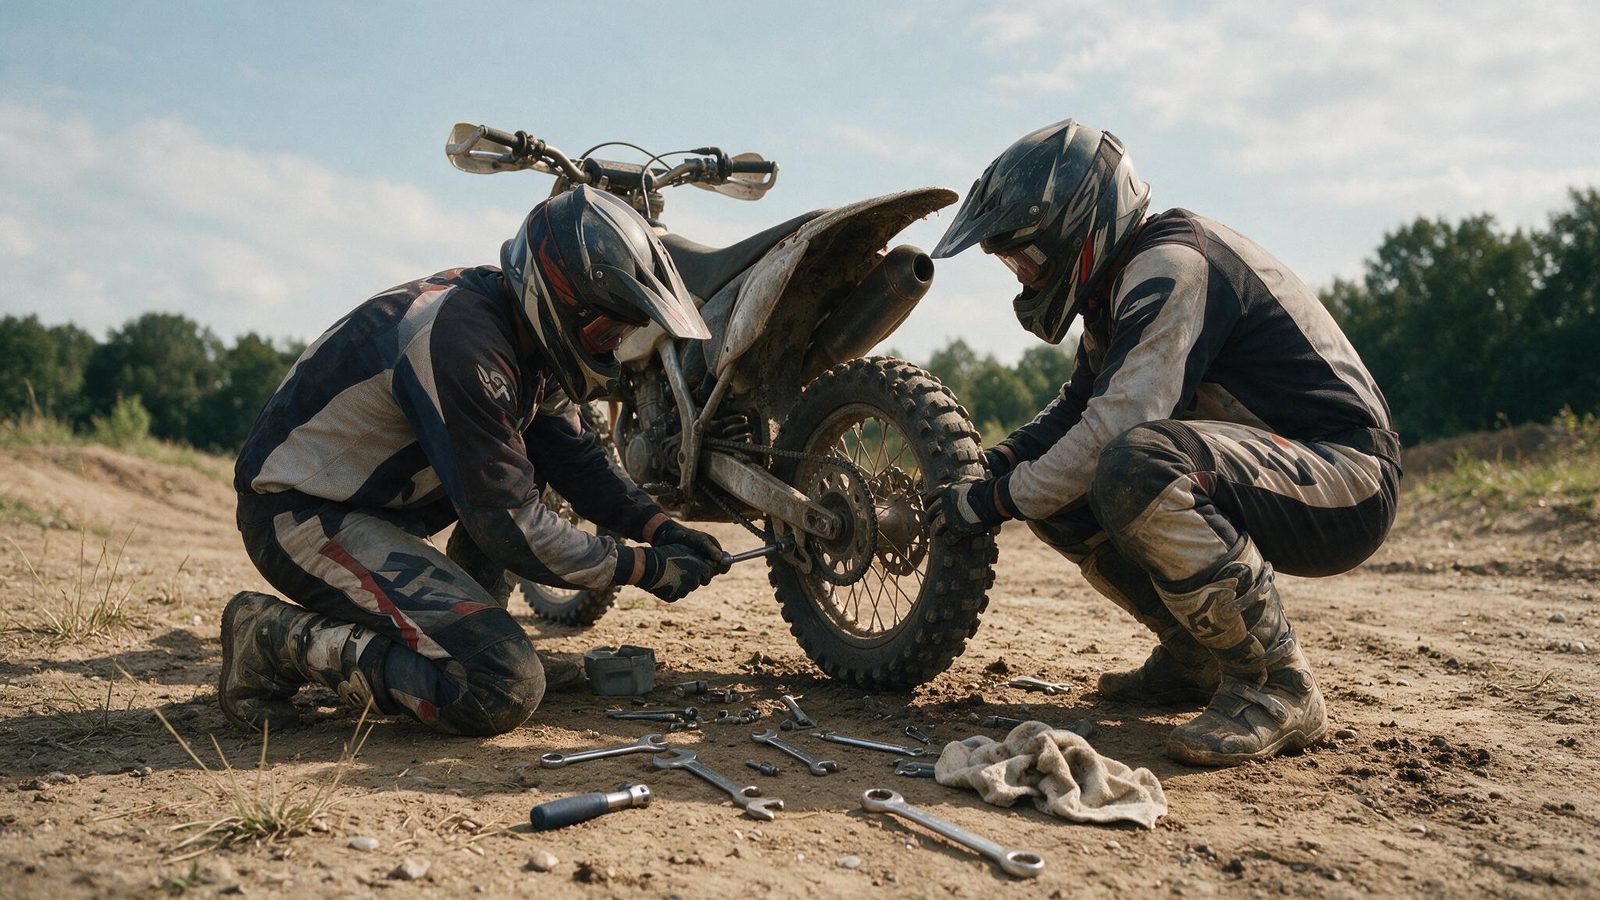
Get off the line, lay the bike down and look before you touch anything. Three things to check, in order: the chain guide and slider, usually the first casualties; the countershaft cover, which takes the hit; and the wiring or speed sensor if either runs near there. If the case is split and weeping oil, fixing the chain won’t be enough — read up on a cracked engine case before you restart the motor.
Pick up every piece of chain, including bent half links. They tell you later where the failure started, and they keep steel off the track.
Why chains break mid-session
A chain almost never goes without warning. The most common cause is a chain adjusted too tight: it pulls on every link on every wheel revolution, and the most tired link eventually gives. Too loose is no better — it slaps and skips a tooth, which does its own damage.
Then there’s the wear nobody spotted. Sprockets well into their life grow hooked teeth that stop engaging cleanly, so every tooth loads with a jolt, and one of those jolts opens a side plate. The third case is dumber: a thrown rock, a deep rut, a branch caught in the bottom run. Nothing to blame on maintenance there.
One more culprit shows up on riders who spend their weekends in soft terrain: dried mud packed solid between the rollers. It stops the chain articulating, and a stiff chain works in bending instead of rolling.
Master link: clip or rivet
Both exist in the same pitch, and they don’t do the same job.
| Type | What it needs | When to use it |
|---|---|---|
| Clip-style link | A pair of pliers, nothing else. Comes back apart. | Trailside repairs, and the one you always carry. |
| Riveted link | A dedicated riveting tool, bulky to carry. | The permanent fix at the bench, or a freshly fitted chain. |
The pitch is stamped on your chain’s own side plates — 520, 428, depending on the bike — and it’s in the owner’s manual too. Buy the link before you need it, and check it matches the chain type as well: a non-sealed link on an O-ring chain won’t go the distance. What else belongs in your pack is covered in the trailside repair kit guide.
The repair, step by step
- Put the box in neutral and make the bike stable. On a stand if you carry one, otherwise laid on its right side, countershaft up.
- Clear the bent fragments. If a damaged link is still hanging on, push its pin out with a chain tool or cut it off — never leave a cracked plate in the run.
- Slacken the rear axle and run the wheel forward in the adjusters. That gives you the slack you need to bring the two ends together.
- Route the chain around the countershaft sprocket, then the rear sprocket, through the guide and under the slider, exactly as it ran before.
- Bring the two ends together and push the master link pins through from the inside outwards.
- Fit the side plate, then the clip with its closed end facing the chain’s direction of travel. Backwards, it will unhook on the first rock.
- Close the clip with pliers, firmly, until it sits in both grooves. Never with your thumb.
- Set the chain slack to the figure in your manual, torque the axle back down, and turn the wheel through several revolutions by hand: the link has to pass over both sprockets with no tight spot.
Riding home on a trailside fix
The link is holding, but you haven’t put the bike back to standard. Ride home smoothly: no big handfuls of throttle out of corners, no clutch slipping, nothing that snatches the drivetrain. Most master links that fail on the ride home fail on one brutal drive, not on distance.
Stop once shortly after you set off to check the clip and the slack. A chain that’s just been joined settles slightly as the links bed in. If you feel any snatch through the footpeg or hear a sharp noise once per revolution, shut it down and look rather than press on.
Back at the garage
Treat the trailside link as temporary, even if it hasn’t moved. Put the bike somewhere calm and run the whole chain through your fingers, link by link: look for blued plates, rollers that no longer spin, pins with sideways play. A chain that broke in one place is usually tired everywhere.
Then look at the sprocket teeth. If they’re hooked on one flank, a new chain on its own will wear out fast — drive components get replaced as a set. To weigh a full replacement against a repair, the reasoning is laid out in repair or replace a part. And once everything is back together, give the chain the lubrication it deserves, master link included.
FAQ
Can I ride long-term on a trailside master link?
For recreational riding, it holds. But a spliced link stays the weakest part of the run: its plate isn’t pressed on like the others, and its clip depends on a clean fit. Keep it for the ride home and for easy sessions, and replace the chain as soon as you go back to race pace or the rest of the run starts showing wear.
How do I know which chain pitch to carry?
The spec is stamped on your chain’s side plates, and it’s also in the bike’s owner’s manual. Write it down and buy the matching link calmly, not in a panic. Check the type too: O-ring chain or plain, the links are not interchangeable, and getting that wrong costs you within a few rides.
What if I don’t have a master link on me?
Strong wire, twisted tight around two sound links, can hold the chain together long enough to reach help, at walking pace and with no throttle at all. It isn’t a repair: it’s a way of not pushing the bike. As soon as you’re somewhere safe, the chain comes apart and gets fixed properly.
The rest of the fix-it guides are gathered in the repairs section.
Editorial content. PiloteMX offers no on-site service, no parts or gear sales, no quotes and no bike repairs. Working on a bike and riding it carry risk: what you do with this guide is your own responsibility.