Decarbonizing a 2-Stroke Engine: Cleaning the Combustion Chamber
Contents
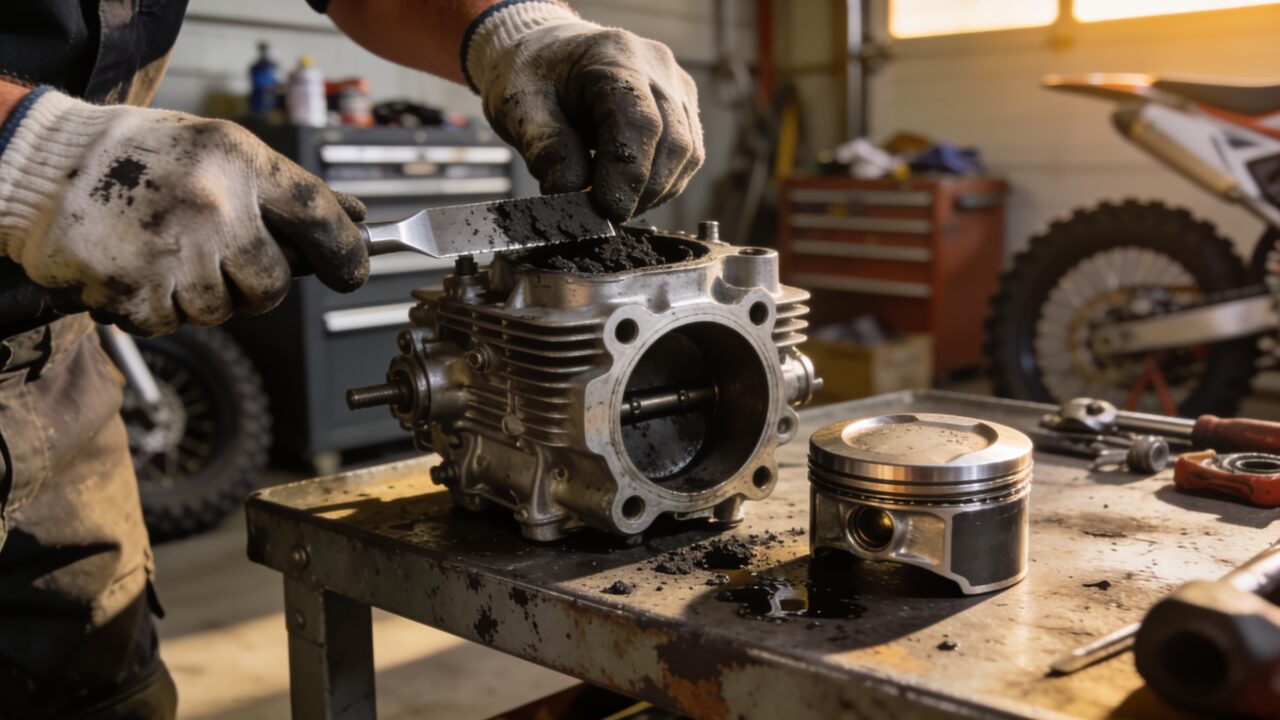
Decarbonizing a 2-stroke means removing the carbon deposits that build up in the combustion chamber, on the cylinder head and at the exhaust port. Plan on it roughly every 15 to 25 hours of riding, more or less depending on how hard you ride and how well the fuel-oil mix is sorted. Power fading up top is the best real indicator.
Why 2-strokes carbon up more than 4-strokes
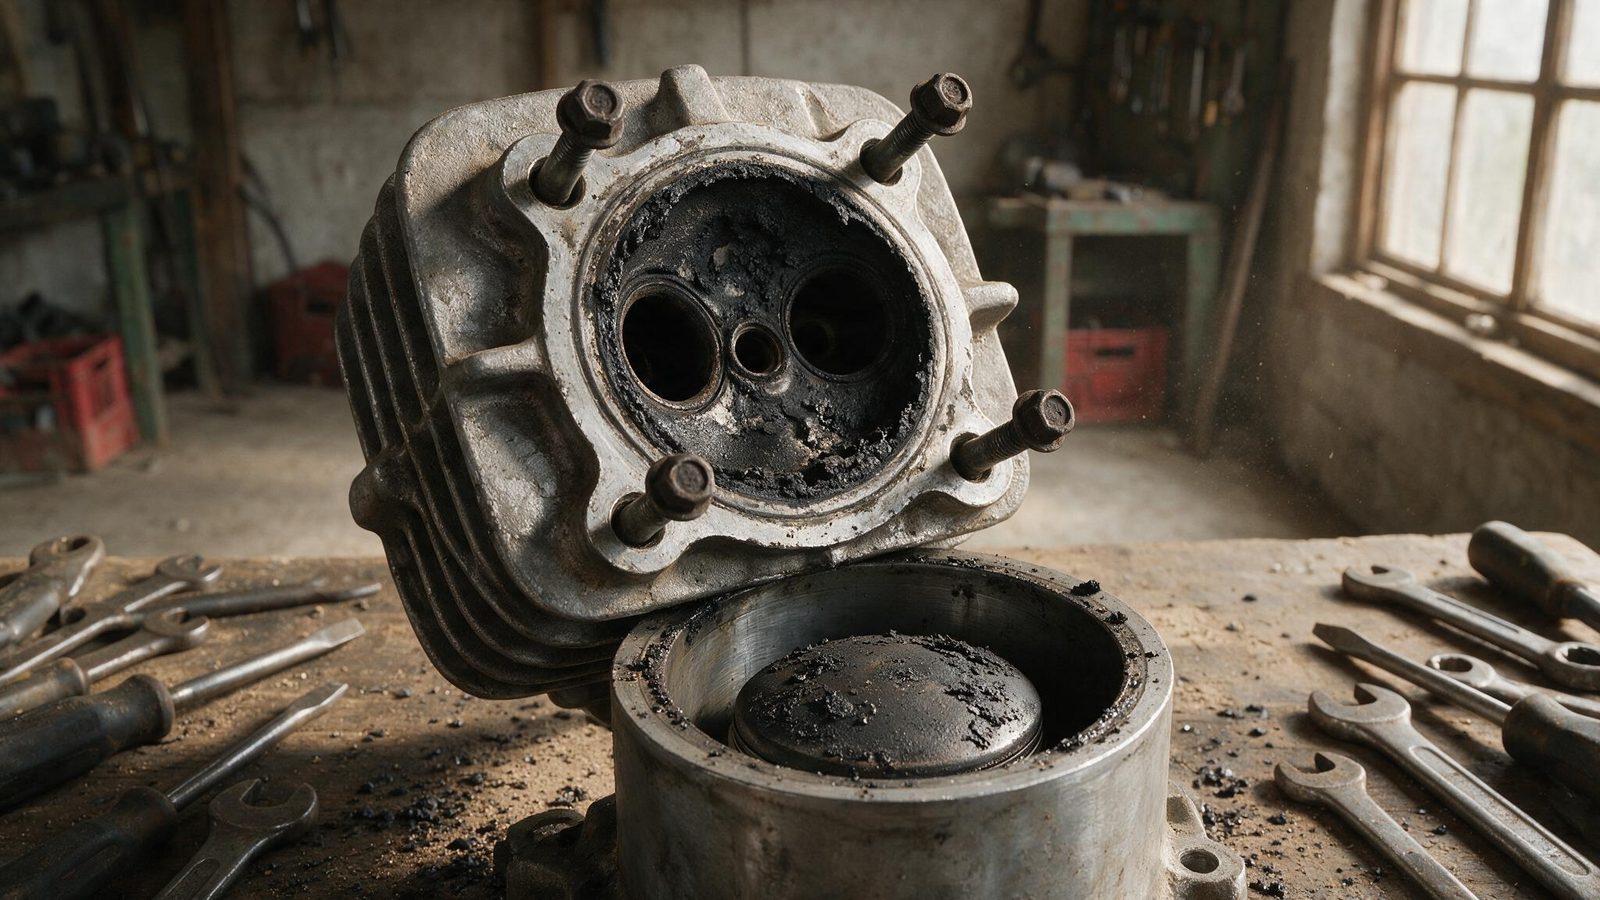
On a 2-stroke, the lubricating oil travels in the fuel and burns with it on every cycle. Part of it never fully combusts and leaves solid residue behind: carbon. It settles wherever the hot gases go, which means the piston crown, the underside of the head and the exhaust port.
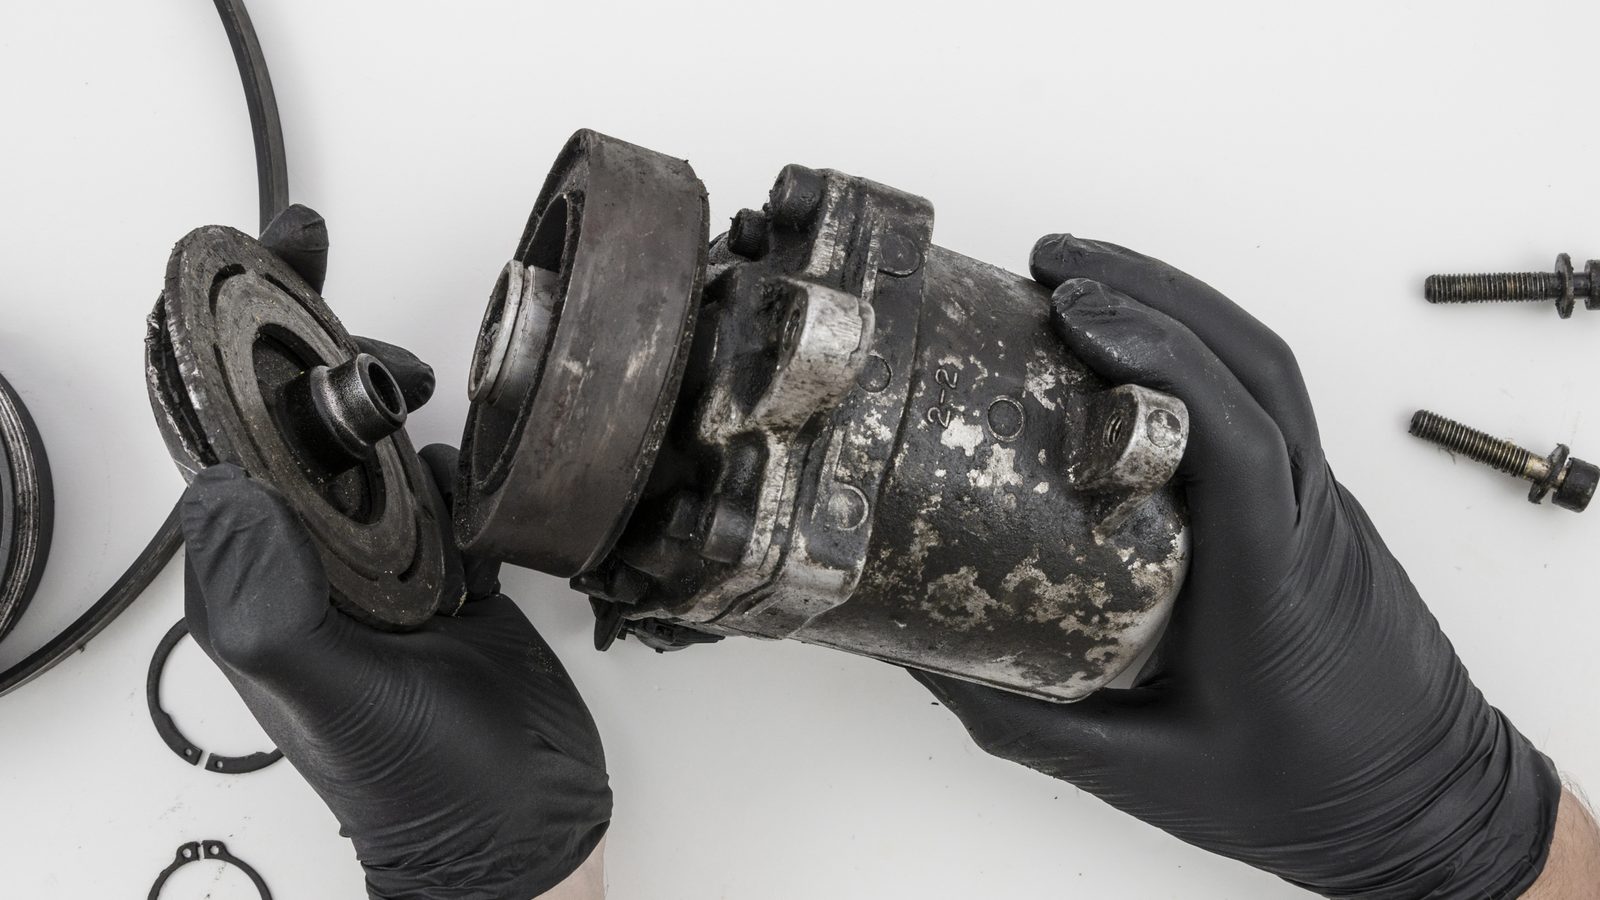
A 4-stroke doesn’t see this in the same proportions, simply because its oil stays sealed in a case and takes no part in combustion. That’s the trade a 2-stroke asks for: simple, light machinery that dirties itself from the inside.
How fast it happens is mostly down to you. Jetting that runs rich speeds the buildup up sharply, because unburned fuel leaves more residue behind. A clogged air filter does exactly the same thing: it chokes the intake and richens the mixture without you touching a single jet.
The signs that call for it
The usual one is power leaving from the top. The bike still pulls fine down low, but it won’t climb through the revs the way it used to. Carbon shrinks the chamber and shifts the effective compression ratio.
Starting gets harder too. And if you hear a metallic rattle under load, don’t put it off: that’s pre-ignition. A glowing carbon deposit lights the mixture before the spark does, and a piston doesn’t last long under that treatment.
The last clue is often the first one seen: a plug that blackens abnormally fast even though the jetting hasn’t changed. The guide on changing a spark plug covers how to read the insulator, and that reading tells you quickly whether you’re chasing a mixture problem or an engine that needs opening.
The procedure, step by step
- Cold engine, clean bike: pull the exhaust, the coolant hose and the head following your model’s procedure.
- Bring the piston to the top before you scrape anything, so nothing drops into the cases through the transfer ports.
- Scrape the deposits off the piston crown and the underside of the head with a wooden or hard plastic tool. Never a screwdriver, never a wire brush.
- Clean the muffler inlet and the header pipe, which carry their own share, as covered in the exhaust and silencer guide.
- With the engine open, inspect the piston and rings: scoring, ring end gap, any deposit concentrated on one side.
- Reassemble with new gaskets and torque everything to your bike’s service manual figures, respecting the tightening sequence.
Key points
- Indicative interval
- every 15 to 25 hours of hard use, adjusted to what the engine actually shows
- Scraping tool
- wood or hard plastic, never metal
- On reassembly
- new gaskets, torque wrench, manual figures and sequence
- Stop signal
- rattle under load: stop riding
Slowing the buildup between jobs
Jetting is the first lever. A rich mixture carbons up fast, and the guide on how a carburetor works explains which circuit does what at which throttle opening, which stops you from rejetting the whole thing over a problem that only exists at half throttle.
The oil matters just as much. An oil built for hard use burns cleaner than a budget product pushed past what it was designed for. Stick to the ratio the engine manufacturer specifies: more oil doesn’t mean better lubrication, it mostly means more carbon.
Then get into the habit of running a compression test. Taken now and then and written down in a notebook, it shows you the drift before you feel it through the bars, and it saves you from opening an engine that didn’t need it.
The mistakes that cost a piston
Scraping with metal tops the list. A score on the piston crown or the head creates a hot spot, and a hot spot eventually lights the mixture on its own. Whatever you gained in cleanliness, you gave back in reliability.
Second mistake: cleaning only the chamber. If the exhaust stays packed with carbon, the gases still can’t get out and the power doesn’t come back. The engine looks clean, the bike still won’t pull.
Third: closing up without new gaskets, or torquing by feel. A compression leak cancels the whole job, and on aluminium cases a forced thread turns a morning of maintenance into a repair.
The last one is waiting. Riding for hours with a clear rattle in the hope of finishing the season lets pre-ignition work on the piston. At that point it isn’t a decarbonizing job waiting for you.
FAQ
How often should a 2-stroke be decarbonized?
Generally every 15 to 25 hours of intensive use, but the real interval depends heavily on jetting and on the oil you run. Two identical bikes can end up twice as far apart. The best indicator stays the gradual power loss at high rpm, backed by compression readings logged over several rides.
Can you decarbonize without pulling the engine apart?
Chemical products promise it, but on established buildup the result is nothing like a mechanical clean of the chamber. Stripping it has another benefit anyway: you get to see the piston, the rings and the head. That’s usually where the real problem shows up, not in a bottle.
Does a 4-stroke need decarbonizing too?
Far less, since its oil never burns in combustion. Light deposits do appear with the hours, especially on an engine that uses a bit of oil, but it’s nothing like the routine job it becomes on a competition 2-stroke ridden hard every weekend.
Does decarbonizing really add power?
Yes, when the engine was genuinely carboned up. You give the chamber its original volume back and clear the path for the exhaust gases, which shows up mostly at the top of the rev range. On an engine that was already clean, expect nothing: decarbonizing repairs, it doesn’t improve.
Full engine care lineup in the mechanics section.
Editorial content. PiloteMX offers no on-site service, no parts or gear sales, no quotes and no bike repairs. Working on a bike and riding it carry risk: what you do with this guide is your own responsibility.