Diagnosing an Electrical Fault: A Step-by-Step Method
Contents
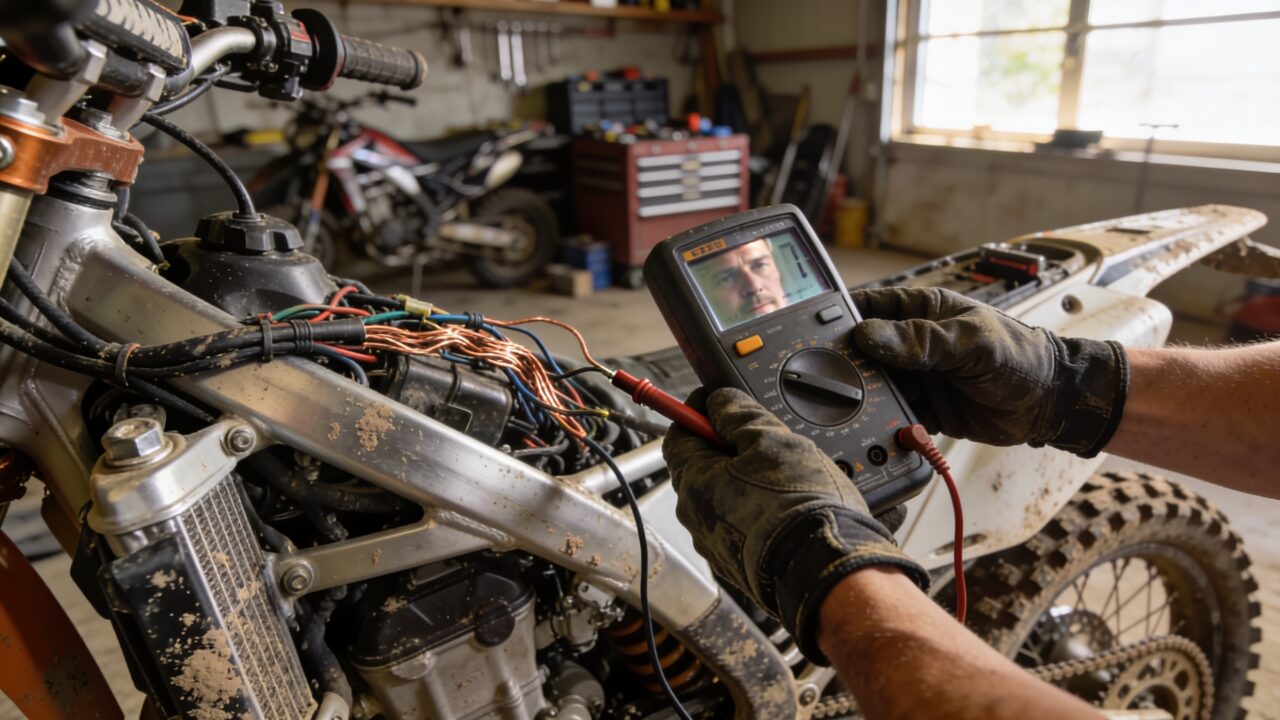
Diagnosing an electrical fault means working the circuit in order, from the source of the current out to the part that refuses to work, with a multimeter in hand and your model’s wiring diagram beside you. Method beats tooling here: most dirt bike electrical faults come down to a terminal, a ground strap or a chafed wire, not a box that needs replacing.
Why order beats tooling
The trouble with electrics is that everything looks the same from the saddle. A bike that won’t start could be the ignition system, a flat battery, a kill switch left pressed, or a terminal furred with corrosion behind the side panel. The symptom tells you nothing about the cause.
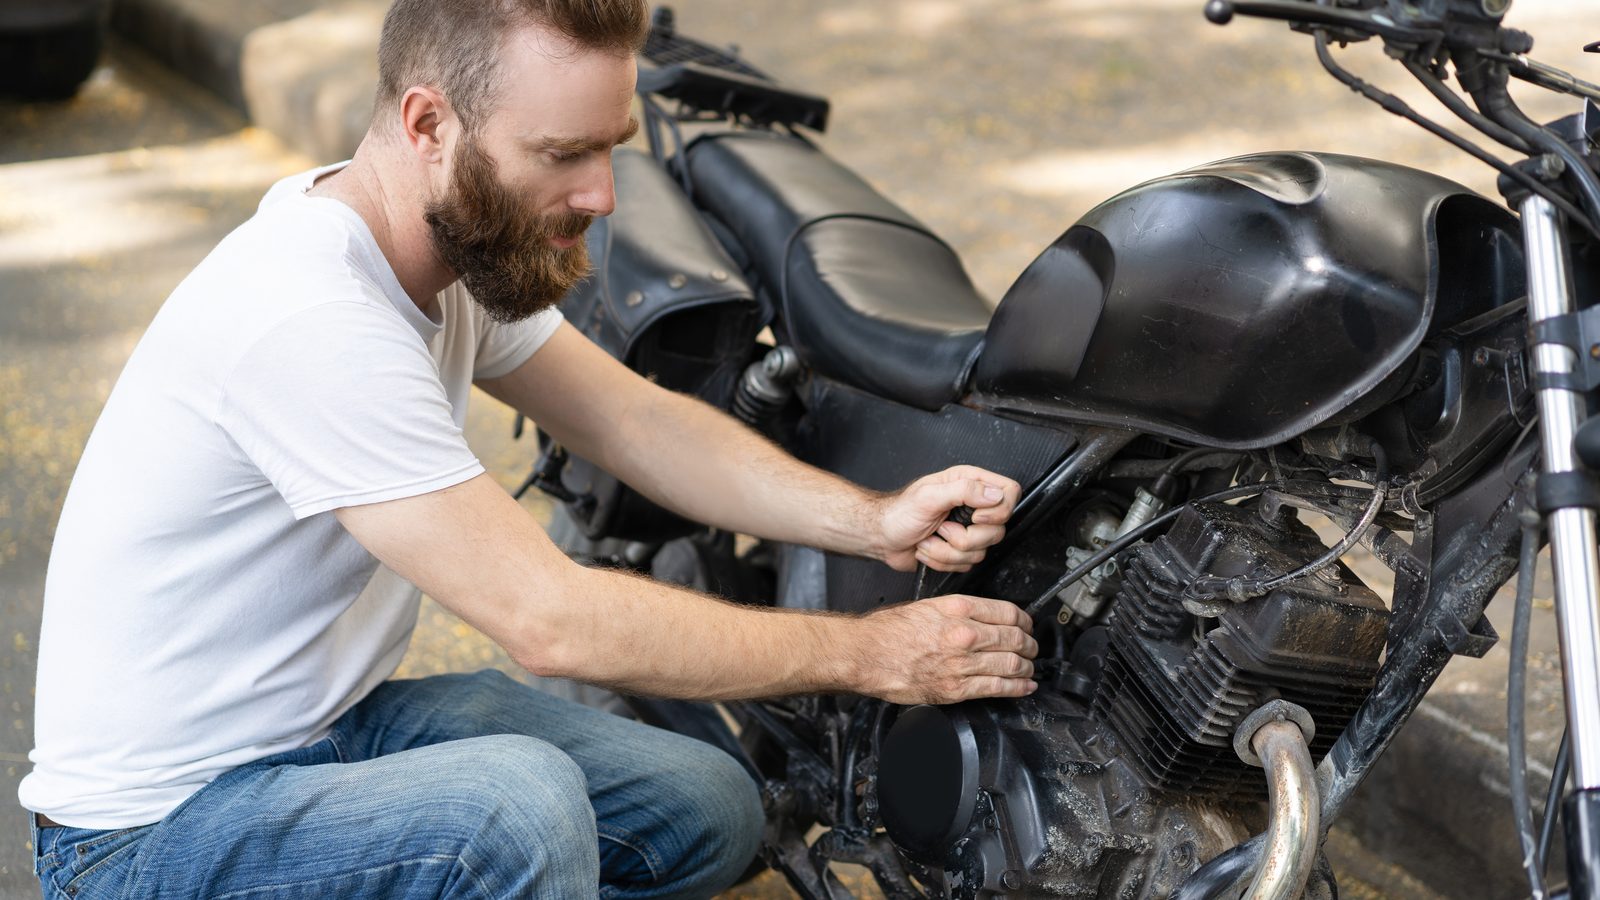
So the temptation is to start with the most suspicious part, the one a mate warned you about. Two boxes later the bike still won’t fire and the season’s budget has taken a hit. A check run in order isolates the faulty section of the circuit in an hour, often less.
Quick reference
- Core tool
- multimeter reading voltage, continuity, resistance
- Essential document
- your model’s wiring diagram, in the service manual
- Direction of work
- source toward component, never the reverse
- Prime suspect area
- connectors, grounds, harness routing points
Five minutes before the multimeter
Before anything comes apart, look. The bar-mounted kill switch first: it trips in a crash and nobody thinks of it. The stand switch next, on models that have one.
Pull the plug and check for spark against ground. That single move cuts the problem in half: spark present, look elsewhere; no spark, you stay inside the ignition circuit. On a bike with a battery, a glance at its state of charge rounds out the picture.
Then trace the harness with your eyes, bars to engine. You are hunting for a split sleeve, a wire touching the frame where it rubs, a connector half unseated, a white or green bloom on a contact. On a bike pressure-washed every weekend, moisture gets everywhere, and corrosion does more damage than components dying of old age.
If the bike has fuses, check them. A blown fuse is not a fault, it is a symptom: something drew too much current, and swapping the fuse without finding out what puts you right back here next weekend.
The diagnostic sequence
From here the multimeter takes over. Work with the ignition off for continuity and resistance, engine running only when you are measuring a voltage the bike produces.
- Clean and dry the work area: a reading taken on a muddy terminal means nothing.
- Open the wiring diagram and identify the wire you plan to follow, its color and its routing points.
- Check the grounds first, engine and frame — the most common fault and the least often suspected.
- On a bike with a battery, measure resting voltage and compare it to the figure in your manual, not to something quoted on a forum.
- Test continuity along the suspect wire end to end, flexing it as you measure to expose an internal break.
- Measure stator winding resistance and compare it to your service manual values, at the temperature the manufacturer specifies.
- Isolate zone by zone as you move toward the component: when the reading is good going in and bad coming out, you have your segment.
- Write down what you tested. A diagnosis spread over two evenings falls apart without notes.
What actually fails on a dirt bike
Corroded connectors lead by a wide margin. Mud, pressure washer, incomplete drying: the pins oxidize, contact resistance climbs, and current struggles through without anything visibly breaking. Take it apart, work it gently with a brass brush, add dielectric grease, and the fault is gone.
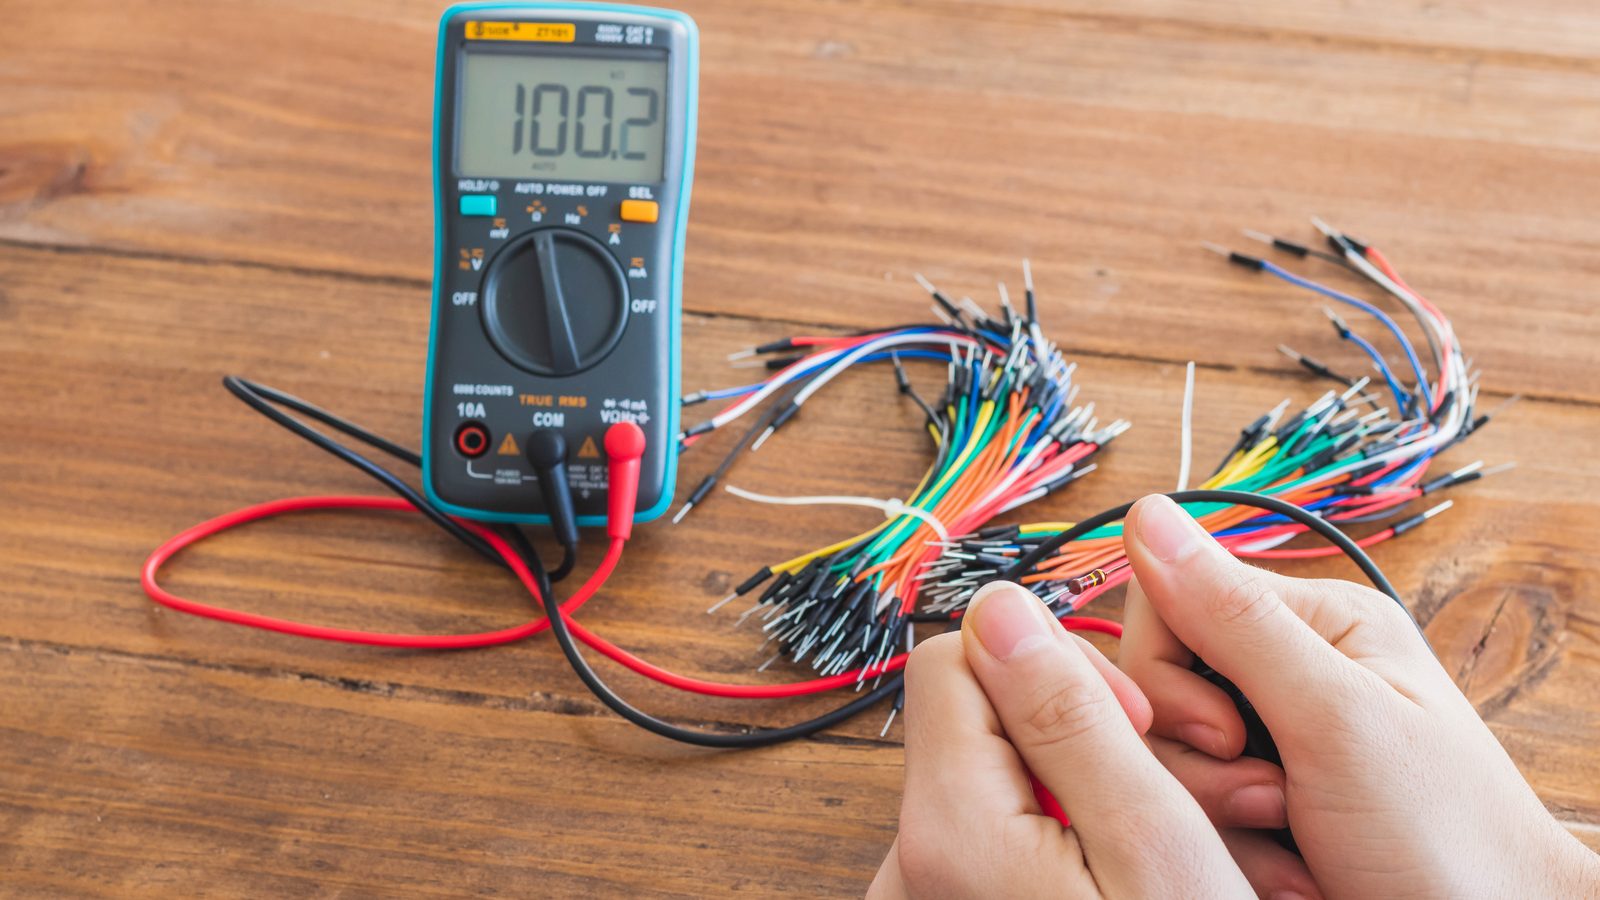
Next comes the chafed wire. A harness clipped badly against the swingarm, a lead trapped between tank and frame: the sleeve wears for months, then copper meets ground. The fault turns up in the rough stuff first, then all the time.
Less often, a component genuinely dies: a coil giving a soft spark, a stator outside spec, a sensor that cuts out once hot. On fuel-injected models add the fuel pump and its sensors, which turn a fueling problem into an electrical one. And if the electrics check out end to end, the next step is mechanical, starting with a compression test.
Repairing without recreating the fault
An electrical tape repair lasts until the first wash. Use properly crimped terminals, the right crimping tool, and adhesive-lined heat shrink over the joint. Dielectric grease in the reassembled connector handles the rest.
The part everyone rushes is the routing. A repaired wire sent back along the same edge comes back to haunt you within a few rides. Run it somewhere else, clip it, keep it away from the exhaust and anything that moves. And when the fault involves a whole harness or an engine control unit, a shop with the factory diagnostic tool will get there faster and cheaper than you will.
The mistakes that drag it out
Replacing before measuring, over and over. A CDI cannot be judged by feel and neither can a stator: without reference values, a blind swap proves nothing, even when the bike fires up afterward.
Testing without the diagram comes a close second. Wire colors change between brands, sometimes between model years on the same bike. A quarter of an hour spent reading the diagram saves two hours of random probing.
Last one: skipping the eyeball pass. A severed wire is visible, and plenty of painful diagnoses end at an unplugged connector that a proper look would have found before the meter ever came out of the box.
FAQ
Which multimeter should I buy for dirt bike work?
An entry-level meter is fine as long as it reads DC voltage, continuity with an audible beep, and resistance. The beeper saves real time: you can follow a wire without watching the display. Add a set of fine probe tips so you can reach into connectors without spreading the pins.
Battery or ignition — how do I tell quickly?
On a bike that has one, measure resting battery voltage and compare it to the manual’s figure. Healthy battery and a starter that spins strongly: the problem lies further along, at the stator, coil or box. Weak battery: charge it fully and repeat the test before you go looking anywhere else.
Do I need a mechanic for this kind of fault?
Basic checks are within reach with a meter, the diagram and some patience. A harness that needs rebuilding, engine management electronics, or a fault you simply cannot reproduce all justify an equipped shop. Paying for an hour of diagnosis costs less than three parts bought on a hunch.
Browse every guide on how the bike works in the mechanics section.
Editorial content. PiloteMX offers no on-site service, no parts or gear sales, no quotes and no bike repairs. Working on a bike and riding it carry risk: what you do with this guide is your own responsibility.