Dirt Bike Braking: Modulating Instead of Grabbing
Contents
Good dirt bike braking means using both brakes together and building pressure progressively: the front does the bulk of the work on hard ground, the rear takes over on soft ground and mid-lean. The brake is never a switch. It’s a dial you adjust continuously, based on the grip actually available under your tires.
Where the stopping force really goes
The moment you brake, weight shifts forward. The front tire squashes, its contact patch grows, and so does its grip. That’s why it handles most of the deceleration on hard ground: the harder you brake, the more it’s loaded, and the more it can brake.
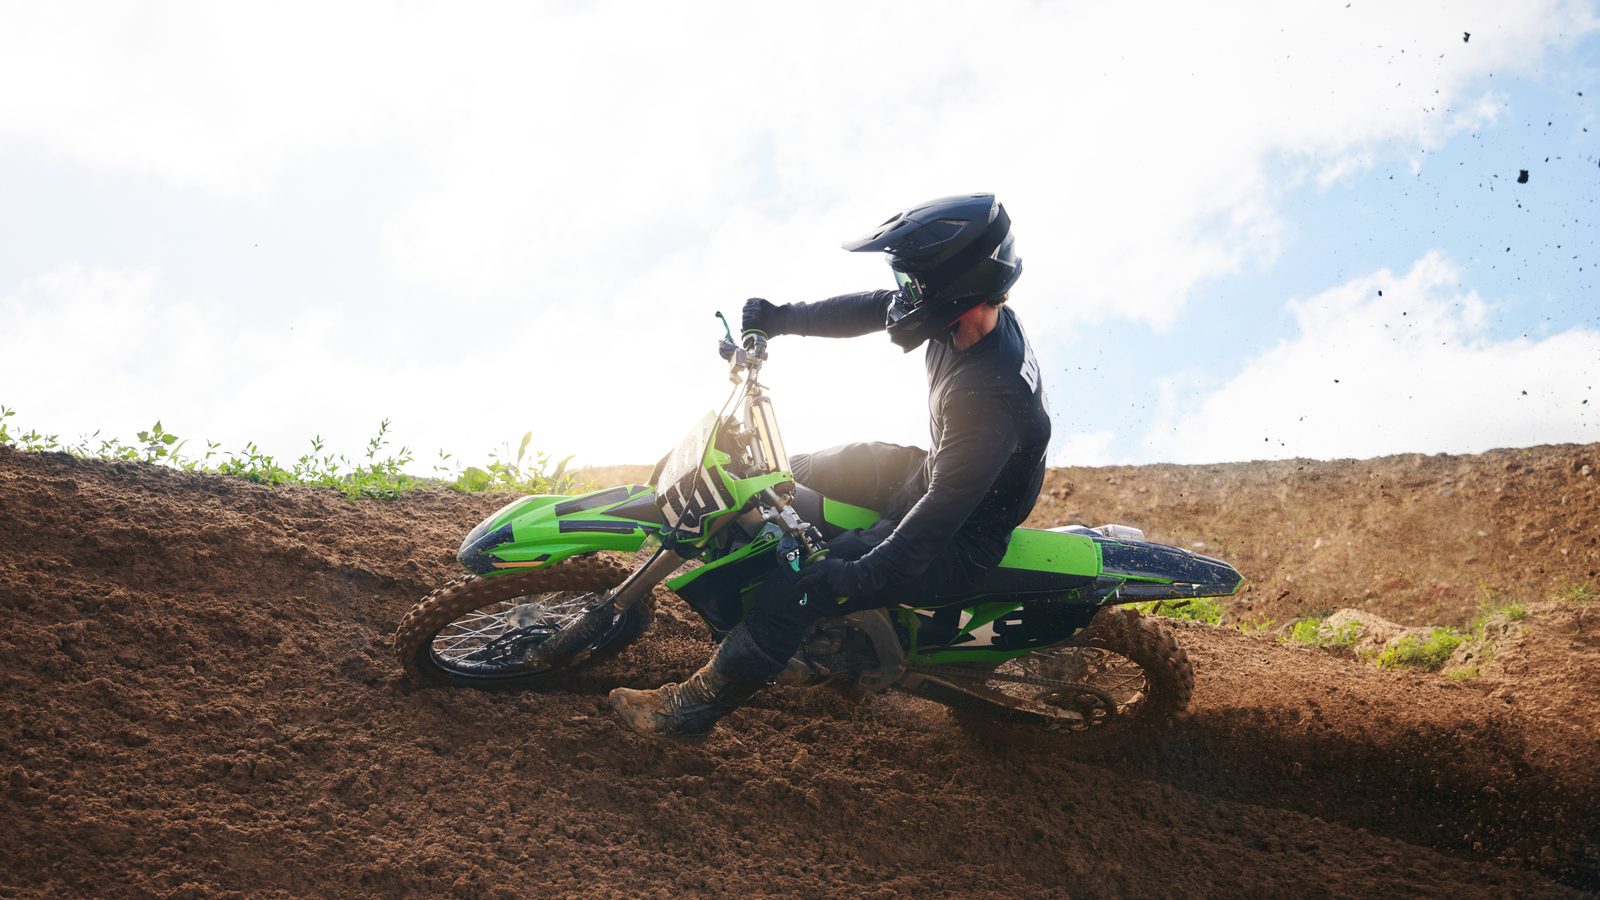
The rear does the opposite. It unloads as you slow, and its ability to stop you fades right when you want it. Its real job isn’t stopping the bike, it’s keeping it straight. A light touch on the pedal settles a rear that’s stepping out, squares the bike up before a corner entry, and keeps the front from working alone.
All of that flips when the ground stops holding. On soft dirt the front tire doesn’t press, it digs. It builds a ridge of dirt ahead of itself, plants into it, and the bike pivots around that point. That’s the exact mechanism behind going over the bars. On that ground the rear becomes the primary brake and the front only finishes the job.
Splitting the brakes by terrain
| Terrain | Primary brake | What to watch |
|---|---|---|
| Hard, dry, dusty | Front, by a lot | Loose marbles on top: grip leaves without warning |
| Tacky, damp dirt | Both, close to even | Rear lockup that swings the bike sideways |
| Sand, loose soil | Rear, front as an assist | The front digging in and planting |
| Mud | Rear, very progressive | Packed rotors: the bite comes back all at once |
| Roots and rocks | Neither, over the obstacle | Brake before, release across, brake again after |
None of this is a fixed setting. The same track changes character between the first moto and the last, and sand that supported you in the morning turns to soup by the afternoon. Redo your braking test on the sighting lap, every single time.
The input: fingers, not fist
Modulation lives in your fingertips. A full hand clamped on the lever has no resolution — it goes from nothing to everything in a fraction of a second. Two fingers do the job, and the other three stay wrapped around the grip. Those three are what keep you on the bike when the wheel hits something.
Same logic at the back: push the pedal with the ball of your foot, not the weight of your leg. Plenty of riders lock the rear without realizing it, purely because they push down at the same moment they absorb a bump.
Quick reference
- Fingers on the front lever
- two, the rest closed on the grip
- Pressure build
- progressive, never a grab
- End of braking
- before you lean the bike, not during
- Wheel locking
- release, then reapply with less
- Jump landing
- wait until the suspension has finished working
Mistakes that cost you control
Locking a wheel is still the worst of them. A locked wheel barely brakes and doesn’t steer at all: you slide in a straight line toward the thing you were trying to miss. The reflex you need to build runs against instinct — release when it slides, instead of pushing harder.
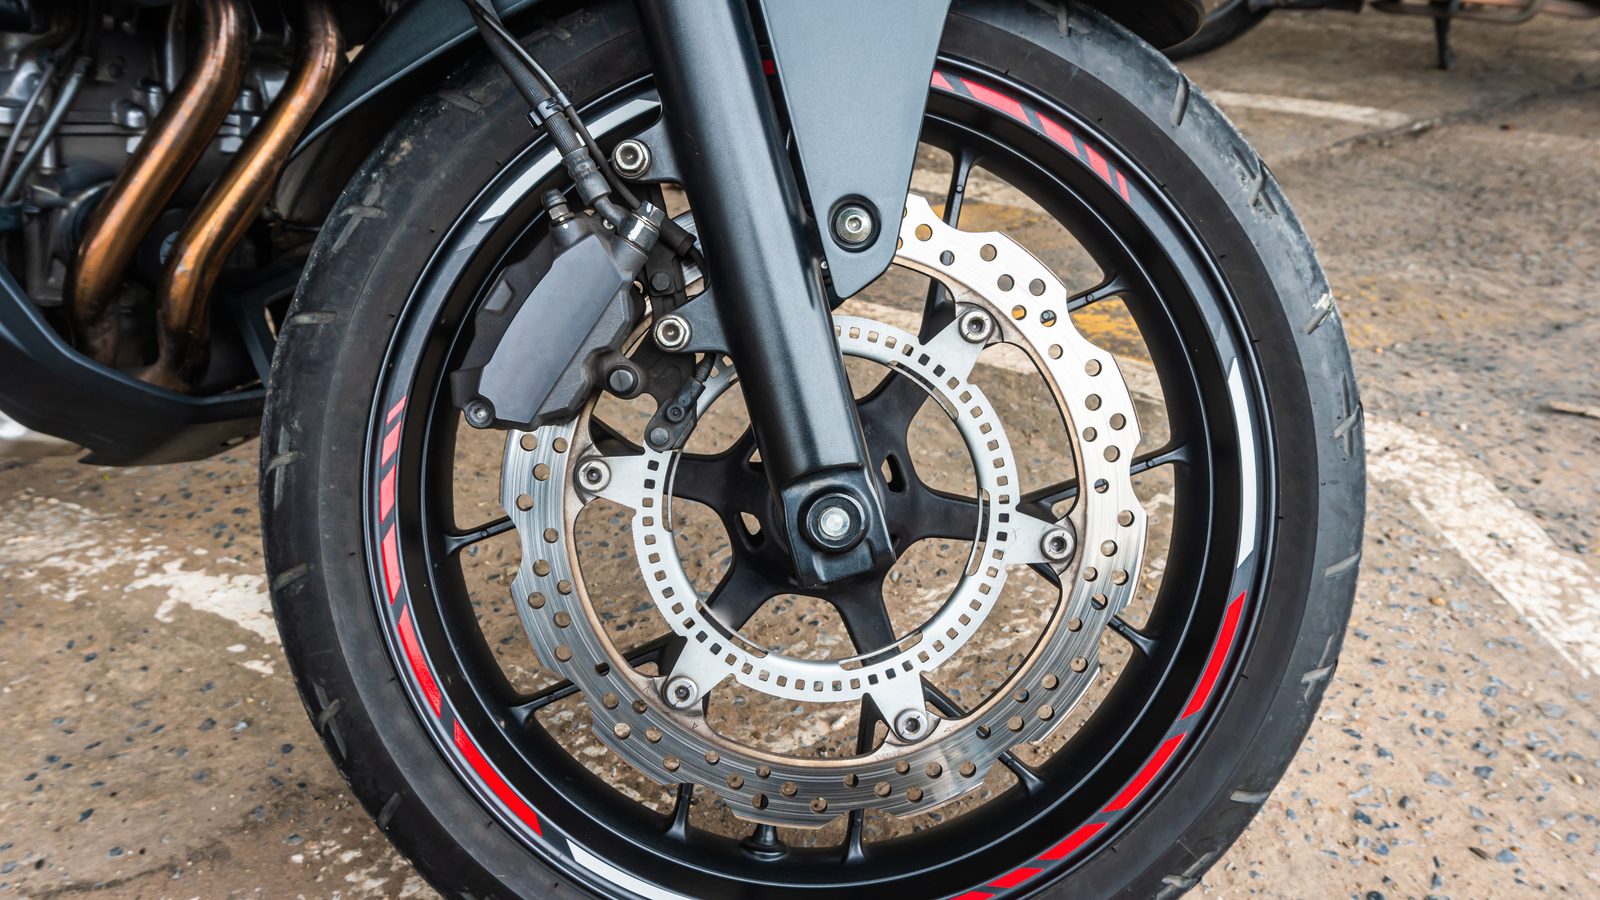
Using the front alone on soft ground mostly catches riders who came from the street, where that habit is the correct one. On a dirt bike, it plants the front.
Late, hard braking comes from misreading your approach speed. You compensate at the last second, the bike sits on its front end, and the line you planned goes out the window. Brake earlier, longer, softer: you’ll lose less time than you will on the blown corner exit that follows.
Then there’s braking while leaned over. The tire can’t do everything at once — whatever it gives to braking, it stops giving to turning. Finish before you lay the bike over, as the cornering position article covers, and shift your marker depending on whether you’re attacking a flat turn or a berm. Those two don’t brake the same way, which is laid out in flat turns vs berms.
Three drills worth the time
Straight-line stops on hard ground
Open straight, moderate speed, a marker on the ground. Brake with both, build the pressure to a full stop, never lock. Repeat while trying to shorten the distance rather than squeeze harder. When you can hear the front tire chirp without letting go, you’re in the right place.
Front-to-rear shift on soft ground
Same drill on sand or blown-out dirt, but rear-dominant. Compare both feelings inside one session — the contrast is what makes it stick. On greasy ground, run it again: the mud article explains why the bite arrives late there.
Braking marker before a corner
Pick one corner, ignore everything else. One rule: no brake left by the time you lean. If you’re still dragging it into the first part of the arc, move your marker back a bike length each lap until it falls right. This work pairs straight into throttle and clutch control: braking and getting back on the gas are the same skill seen from both ends.
FAQ
Should you use the front or the rear brake more?
It depends on the ground. On hard dirt, weight transfer loads the front tire and hands it most of the work. On soft ground, sand or mud, the rear moves ahead because the front digs instead of pressing. You use both brakes either way — only the balance between them changes.
Why do I go over the bars when I brake hard?
Almost always because the front is working alone and arriving too fast on ground that can’t take it. The tire plants and the bike pivots around it. Share the load with the rear, build pressure progressively, and get your hips back as you brake hard. Body position matters as much as modulation here.
How do you brake on a jump landing?
You wait. Both wheels down, suspension done returning the impact, and only then you apply. Braking while the fork is still rebounding loads the tire at the moment it has the least grip. Look far ahead on the landing — that’s what tells you the bike is genuinely settled. The jump landing article covers the detail.
How many fingers on the front brake lever?
Two, in the vast majority of cases. Modulation is finer and the remaining three hold the grip, so you don’t lose the bars over an impact. Some riders use one on very sharp brakes. What matters is keeping a firm hold on the grip, whichever you pick.
Find all the riding fundamentals on the riding technique page.
Editorial content. PiloteMX offers no on-site service, no parts or gear sales, no quotes and no bike repairs. Working on a bike and riding it carry risk: what you do with this guide is your own responsibility.