Choosing Dirt Bike Boots: Protection Starts at the Feet
Contents
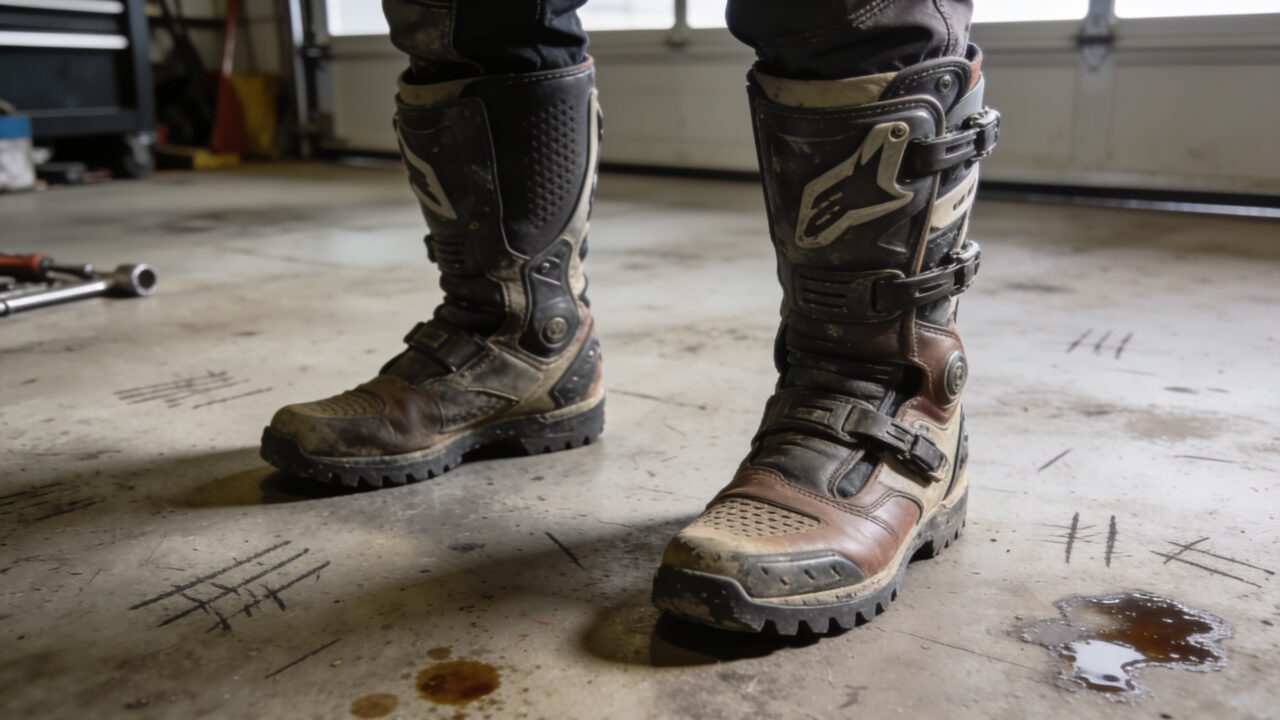
A dirt bike boot comes down to three things: rigid lateral ankle support, a shin plate that absorbs impacts, and a sole that bites into serrated footpegs. Colour and brand come later. And you try boots on wearing the socks you actually ride in, never barefoot in the middle of a shop.
The ankle is what breaks
Bad sprains and ankle fractures nearly always come from the same two moments. Your foot goes sideways while dabbing for the ground in a corner, or it stays pinned under the bike while the rest of you keeps travelling.
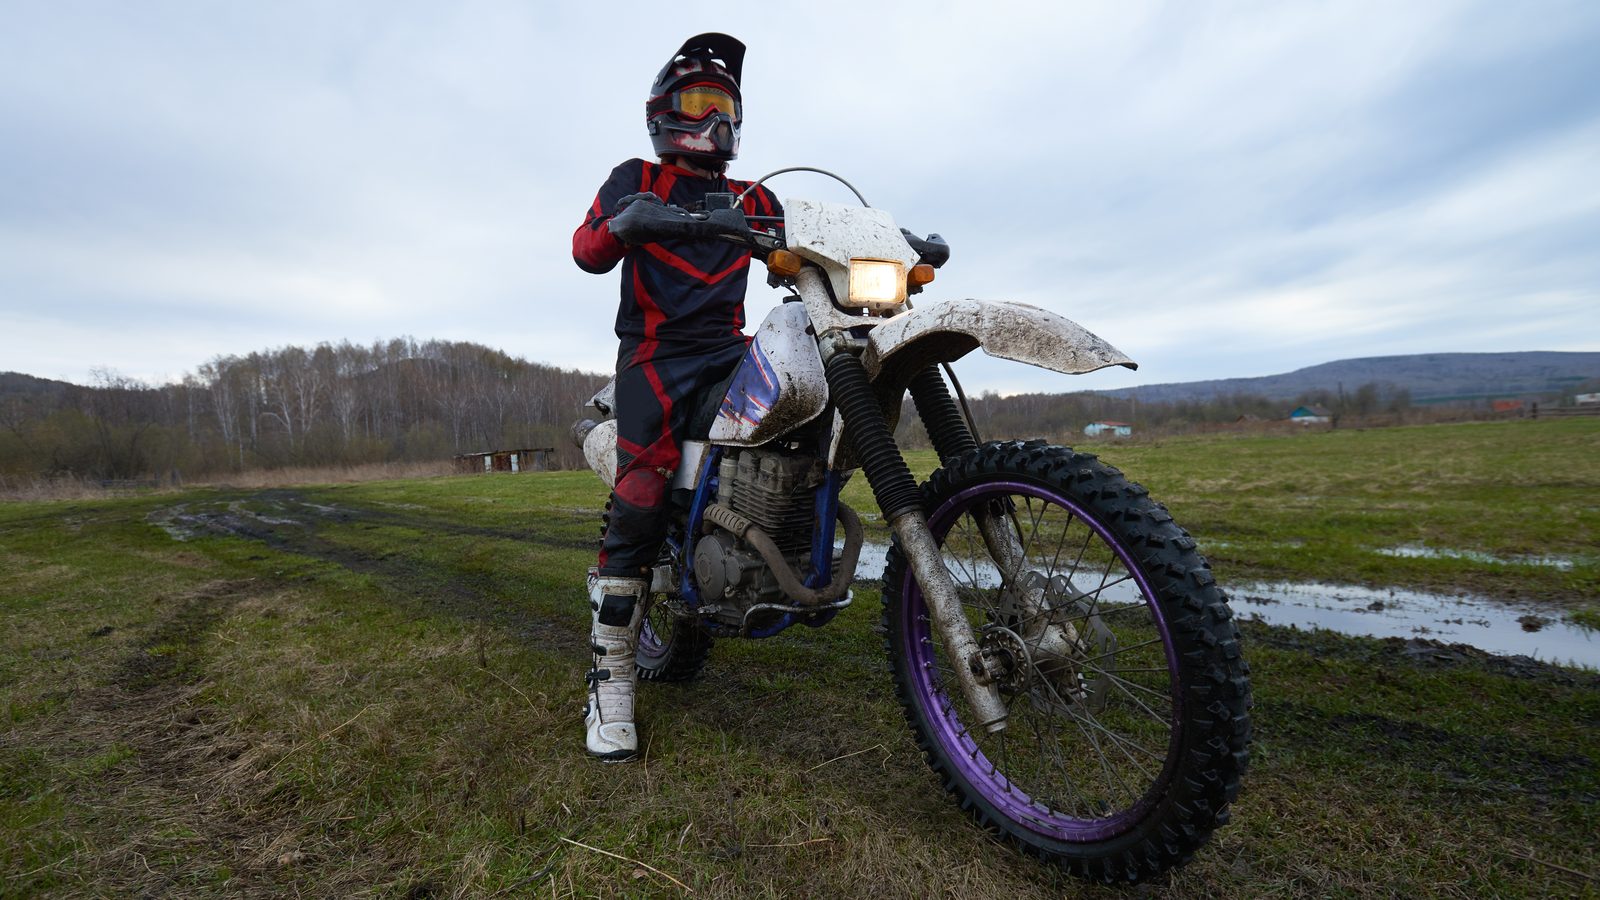
A dirt bike boot answers that with rigid lateral reinforcements, plastic or composite, that cap how far the ankle can twist without freezing the foot. You still need to drop a leg, load a peg, hold your riding stance standing up. A boot that locks everything down puts you at risk in a different way: you lose the read on the terrain coming up through the sole.
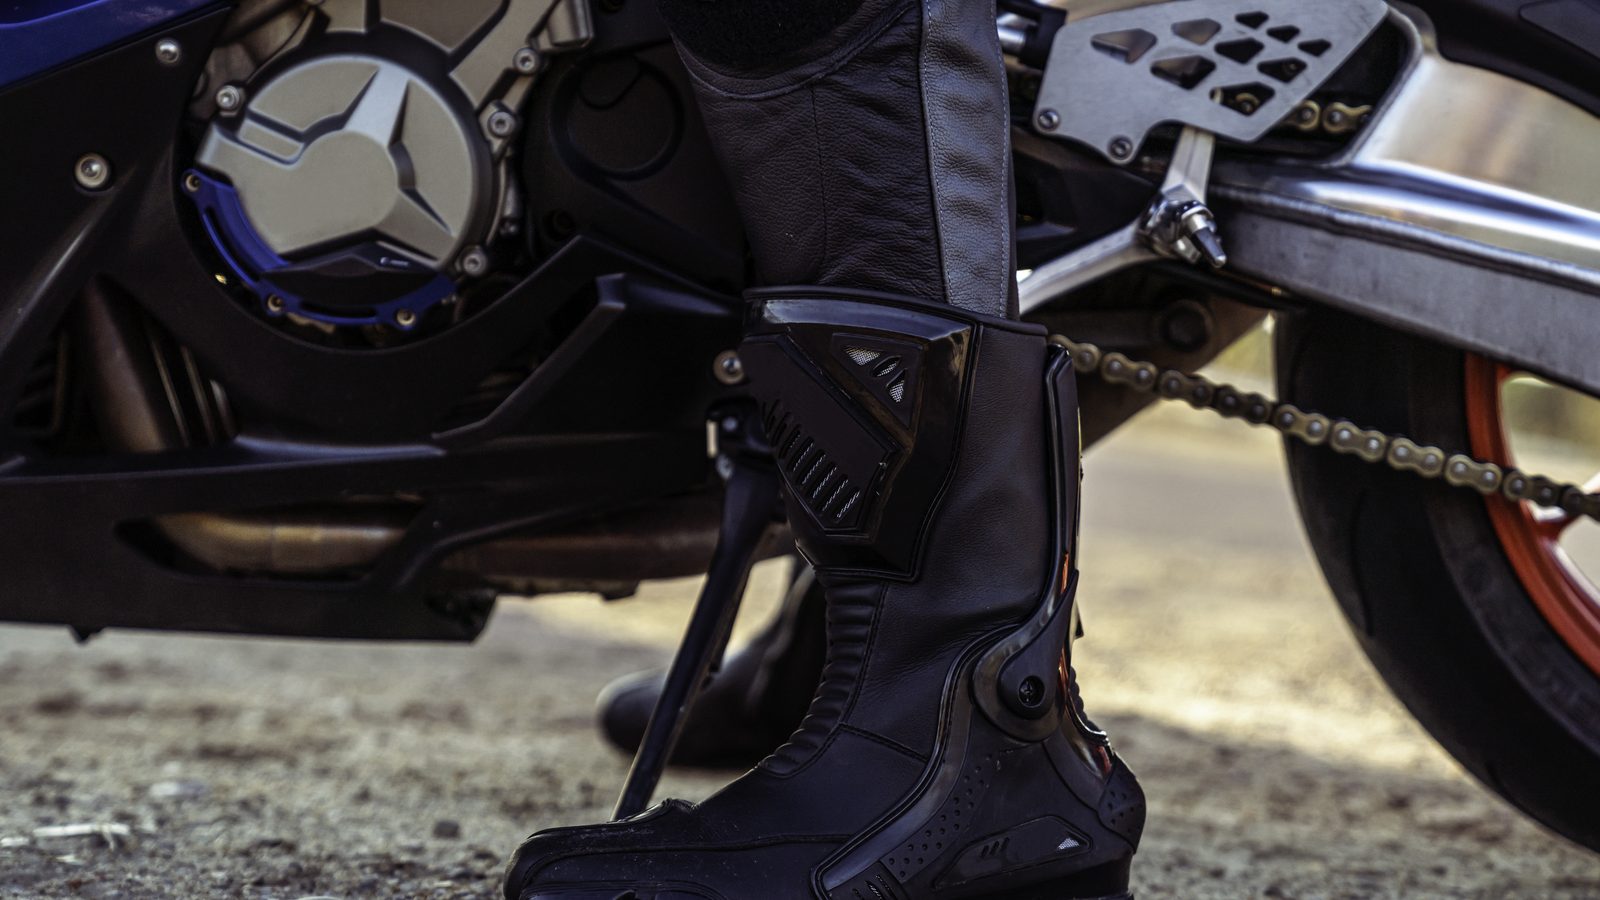
That is what separates a motocross boot from a street riding shoe. The street shoe handles abrasion and takes a frontal knock. It was never built for the repeated sideways load of a foot catching the bike ten times a lap.
Above the foot: shin, calf, knee
The shaft runs high up the calf, and not for looks. Your shin collects footpegs, levers, and whatever rock is lying there while you slide along on your stomach. In technical terrain the legs hit something every single ride.
Check shaft height sitting on the bike with your knee bent, not standing in the shop. Too tall for your leg and it jams against your knee protection the moment you fold up — and the knee protection is what loses, riding up and leaving the kneecap bare. If you ride in an articulated brace, always fit the two together.
Make sure the top of the shaft slides under your riding pants without stretching them. Pants pulled tight over a boot creep up as soon as you stand on the pegs, and eventually let go at the seam.
Soles and footpegs
Standing on serrated pegs, the sole is your only anchor. A hard, smooth compound skates off the moment mud gets involved, and you spend half the lap repositioning your feet instead of riding.
Stiffness is a trade-off. Too soft and the peg teeth push through into your foot; the arch is cooked after two motos. Too stiff and you feel nothing at all: where your foot sits on the peg becomes guesswork, and you hunt for the shifter or the rear brake blind.
Look for a sole that can be replaced on its own. On plenty of models it comes off while the rest of the boot is still healthy. It is the first part to die on riders who walk the track a lot between motos.
Three tiers, three kinds of riding
Model ranges look similar from one brand to the next. What really changes between the bottom and the top of a catalogue is the ankle hinge, the quality of the buckles, and whether you can repair anything.
| Tier | What you get | Who it suits |
|---|---|---|
| Entry level | Tall shaft, simple ankle cup, basic buckles, glued sole | Beginners, occasional rides, tight budget |
| Mid range | Proper ankle hinge, replaceable buckles, easier to walk in | Regular recreational riding, several rides a month |
| Top end | Controlled pivot system, replaceable sole and wear parts, lighter materials | Heavy track use, racing, riders hard on ankles |
A new entry-level pair protects better than a tired flagship pair. If money is tight, buy simple and new rather than prestigious and second-hand with a crash history you know nothing about — the same logic as gearing up on a budget.
Trying boots on, step by step
- Put on the tall technical sock you ride in, not a street sock.
- Open every buckle fully before your foot goes in; forcing entry distorts the ankle cup.
- Heel all the way back, then close the buckles from the bottom upward.
- Stand still: the heel must not lift, and your toes must still move.
- Walk ten steps, rise onto your toes, and hunt for the spot that rubs.
- Bend your knee as if you were in attack position and check the shaft is not pushing under the kneecap.
- If the shop allows it, sit on a bike with your foot on the peg and rock forward and back.
- Open and close the buckles wearing your riding gloves — that is how you will do it in the mud.
New boots are stiff, that is normal, and they soften along the flex points after a few rides. But a hot spot you feel in the shop stays a hot spot: leather relaxes, a plastic cup does not.
Making them last, and knowing when to bin them
Rinse the mud off before it dries, or it hardens in the folds and saws at the stitching every time the boot flexes. Dry at room temperature, never against a heater or in a car in full sun: the plastic reinforcements warp and never come back. The rest of the routine sits in gear maintenance and the post-ride checklist.
Check the buckles often. One that releases itself mid-corner leaves you with an open boot for the rest of the session. Most brands sell buckles as spare parts — order them before they snap, not after.
Three mistakes come up constantly. Picking the softest pair because it feels good in the shop, quietly accepting an ankle with no end stop. Taking an approximate size because the right one is out of stock. And riding on a cracked cup while telling yourself it will hold one more season.
FAQ
How long do dirt bike boots last?
It depends on how often you ride and how you look after them, but several seasons is normal for regular recreational use. The materials rarely decide it. Buckles, soles and ankle cups wear out well before the rest of the boot does. A pair cleaned and inspected after every crash lasts noticeably longer than one left to dry caked in mud.
How do I know my boots are the right size?
The foot should neither slide nor be squeezed. Heel pinned back when you walk, toes free to move without touching the end, no pressure point on the ankle bone. If you have to crank the buckles to their last notch to hold the boot on, it is too big. If your toes cannot wiggle at all, it is too small.
Can I ride in hiking or work boots instead?
No. A hiking boot shaft does nothing to cap lateral twist, and nothing shields your shin from a footpeg. If a proper pair is out of reach right now, ride slower until you can buy one rather than manufacturing a false sense of safety. This is the piece of gear worth improvising on least.
Do I need special socks under motocross boots?
Tall technical socks that finish above the shaft stop the boot rim sawing at your calf. They also move sweat away, where cotton holds it and builds blisters. They pair naturally with the base layers you already wear under the jersey.
More gear guidance in the gear section.
Editorial content. PiloteMX offers no on-site service, no parts or gear sales, no quotes and no bike repairs. Working on a bike and riding it carry risk: what you do with this guide is your own responsibility.