Maintaining Your Dirt Bike Gear: The Routine That Extends Protection
Contents
Dirt bike gear that gets maintained holds its protective properties far longer than gear left dirty in a bag. The routine comes down to three habits: clean after every muddy ride, air-dry away from any heat source, and inspect the rigid shells after every crash. Everything else is just smart storage.
What dirt actually destroys
Dried mud is abrasive. It packs into seams, hinges and vent channels, and every movement turns it into sandpaper. Sweat works from the inside instead: it soaks the foams, stays warm in a closed gear bag, and attacks adhesives and technical fabrics much faster than plain water ever will.
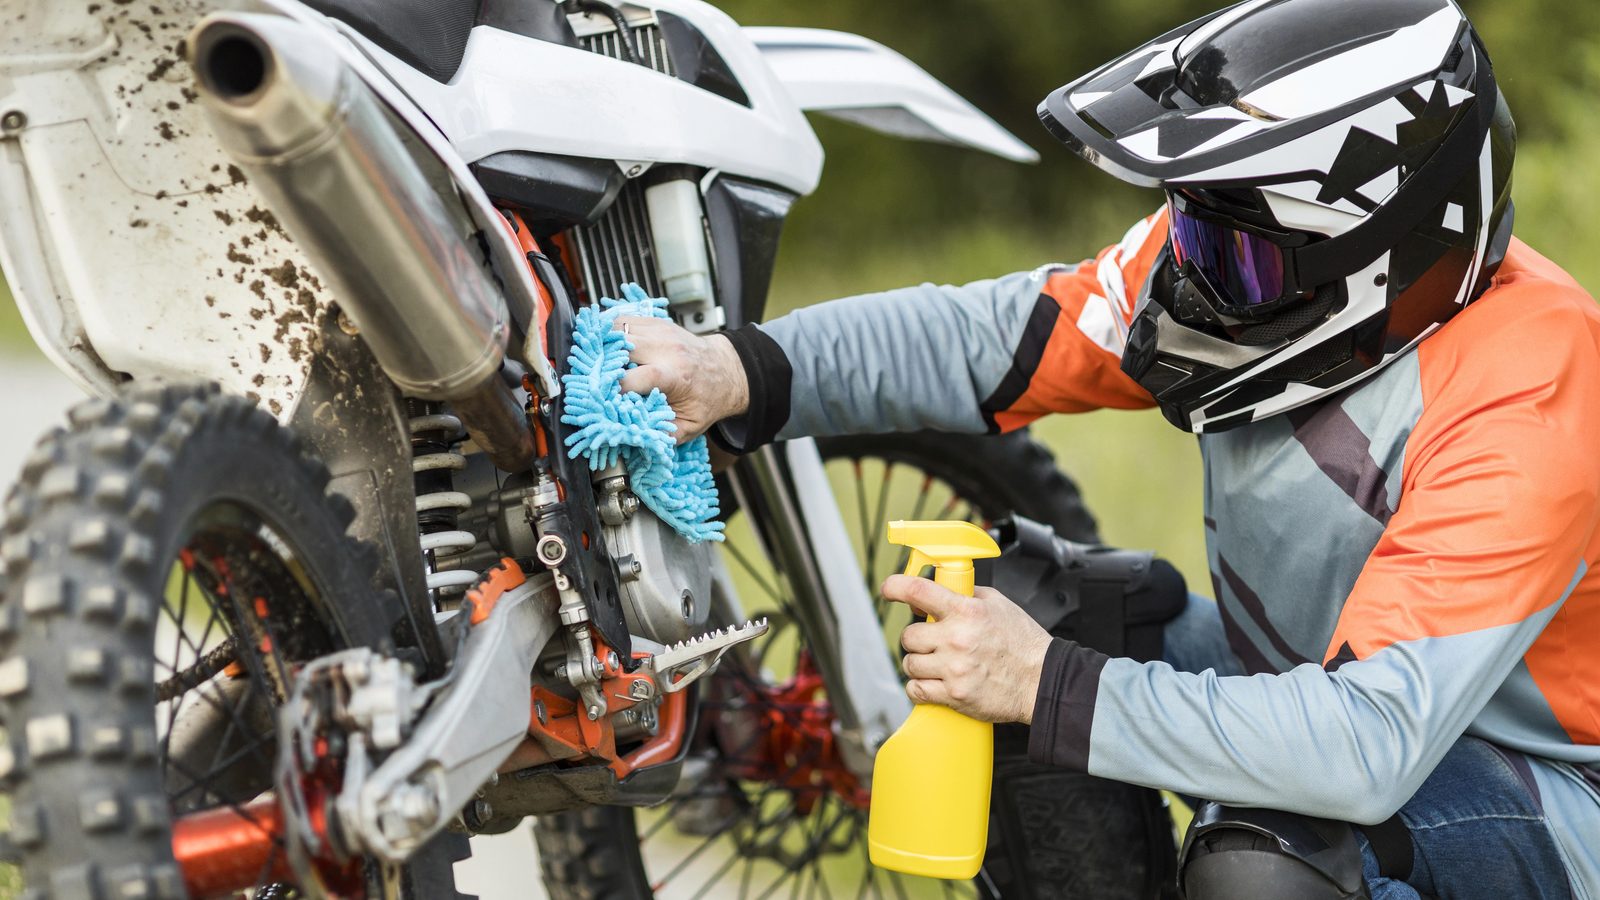
The real problem isn’t cosmetic. A caked chest protector hides a crack. A knee guard packed with dried dirt hides a hinge that has developed play. You keep riding in protection you assume is intact, because you have never seen it clean.
There’s also the obvious money argument: twenty minutes of cleaning after a ride can push a replacement back by a full season. If you’re riding on a tight budget, maintenance is the only free lever you have.
The helmet: the piece that forgives least
Handle it first, and handle it carefully — mistakes here cost the most. A shell weakened by solvent doesn’t show. Liner foam crushed by drying on a radiator doesn’t show either. Both reduce what the helmet absorbs on the day you actually hit something.
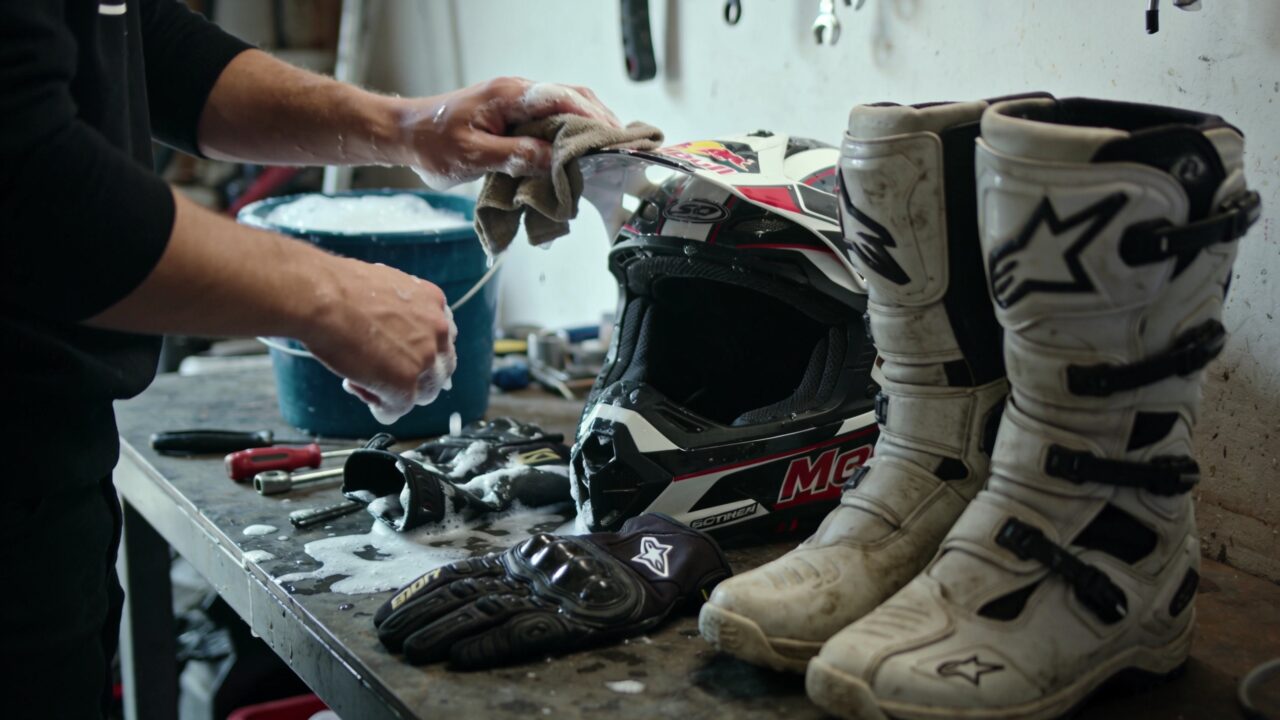
Helmet cleaning, in order
- 1. Strip it
- Pull the cheek pads, the comfort liner and the chin strap if they’re removable.
- 2. Wash the padding
- By hand, lukewarm water, following the manufacturer’s instructions. No fabric softener.
- 3. Soften the mud
- Lay a damp cloth over the shell and let it work instead of scrubbing dry dirt.
- 4. Clean the shell
- Soapy water and a soft cloth. Never solvent, never engine cleaner.
- 5. Vents
- Soft brush or low-pressure air to clear the channels.
- 6. Dry it
- Open air, in the shade, padding removed. No hair dryer, no radiator.
While you’re at it, deal with your goggle lens: rinse it under clean water and let it dry on its own. Wiping a lens that still has sand on it scratches it, and a scratched lens scatters light the first time you ride into the sun. Wash the goggle foam separately and gently — scrub it and it stops absorbing, which means fogging on your next ride.
Rigid protection: the post-crash check
Knee guards, elbow guards, chest protector and neck brace all clean the same way: soapy water, soft brush on the straps, thorough rinse, dry flat. Focus on the skin-contact faces, where sweat builds up and eventually lifts the comfort padding off the shell.
The part that really matters comes after. Run your thumb across every shell surface — a starting crack can be felt before it can be seen. Cycle the hinges on articulated knee braces with nothing in them; both sides should move through the same travel, with no notch and no creaking. Pull on each strap and watch the anchor point rather than the strap itself, because the rivet or the mounting plate is what lets go first. On elbow guards and the chest protector, check that the foam hasn’t gone hard — stiff foam no longer works.
Kit, base layers, boots and gloves
Technical textiles die from two things: heat and fabric softener. Softener leaves a film that plugs the fabric’s pores — your jersey stops breathing and starts sponging. The tumble dryer kills stretch and lifts printed graphics. Wash inside out, gentle cycle, dry on a hanger in the shade.
| Item | After a dirty ride | What ruins it |
|---|---|---|
| Jersey and pants | Inside out, gentle cycle, hang to dry | Softener, tumble dryer, bleach on the reinforcements |
| Base layers | Quick wash the same evening, never mixed with cotton | Anti-odor treatment stripped by softener |
| Boots | Brush and clean water, soles up, paper stuffed inside | Mud left to dry, forced heat that cracks the leather |
| Gloves | Rinse in clean water, dry flat, fingers spread | Direct heat: the palm hardens and loses feel |
On boots, the mechanical side matters as much as the washing. Buckles, hooks and springs collect sand; a pass with a brush and a drop of light oil keeps you from finding a seized buckle on the start line. Check the soles at the same time — once the lugs go smooth, your footing on the pegs becomes a guess. And if you’re stacking up wet and cold weekends, keep a second set going: a membrane that never fully dries stops breathing.
Storing it without deforming it
Storage does as much damage as riding. A dry, temperate room with moving air beats a damp garage where foam grows mold. The gear bag is not a storage solution — that’s where everything ferments.
Hang whatever can hang; a shelf and four hooks is enough. The goal is simple: nothing rigid should carry the weight of anything else. A chest protector squashed under a pair of boots for three weeks keeps the deformation.
Keep the helmet in its cloth bag, never hooked over the handlebar — that’s the fastest way to dent the liner. And keep it out of direct sun: UV works on plastics and clear coats quietly, over months.
Mistakes that shorten gear life
Putting cleaning off until next weekend. Mud hardens overnight and won’t come off without attacking the material underneath. Five minutes of rinsing when you get home beats an hour of scrubbing later.
Speeding up the drying. Radiator, hair dryer, full sun, closed car trunk: anything hot warps foam and stiffens leather.
Reaching for the industrial cleaner. Engine degreaser strips mud in three seconds and weakens plastics at the same time.
Carrying on with a cracked piece because it “still holds”. This is the one non-negotiable item on the list: damaged protection gets replaced, not monitored.
FAQ
How often should I clean my dirt bike gear?
After every ride on dirty or wet ground, even if it’s rushed. A rinse and a proper dry covers it most of the time. The full job — padding stripped out, hinges brushed, straps scrubbed — fits about once a month, or as soon as the gear smells despite the rinses. Consistency protects the kit; the big deep clean doesn’t.
Can I machine wash a helmet?
Never the shell. The drum knocks it around, hot water works on the adhesive between the outer shell and the impact liner, and none of that damage shows from the outside. Only the comfort liner, the cheek pads and sometimes the chin strap can go in a machine, if they’re removable and if the manufacturer’s instructions explicitly allow it.
How do I know whether a guard needs replacing rather than cleaning?
Three signals settle it: a crack or the start of one in a shell, foam that stays compressed and no longer springs back under your thumb, or an articulated mechanism that binds or has developed play. Add any hard impact the piece has taken, even without a visible mark. In those cases cleaning changes nothing.
More gear guidance in the gear section.
Editorial content. PiloteMX offers no on-site service, no parts or gear sales, no quotes and no bike repairs. Working on a bike and riding it carry risk: what you do with this guide is your own responsibility.